 Data Structure
 Networking
 RDBMS
RDBMS Operating System
 Java
Java MS Excel
 iOS
iOS HTML
HTML CSS
CSS Android
 Python
 C Programming
 C++
C++ C#
C# MongoDB
 MySQL
MySQL Javascript
 PHP
PHP
- Selected Reading
- UPSC IAS Exams Notes
- Developer's Best Practices
- Questions and Answers
- Effective Resume Writing
- HR Interview Questions
- Computer Glossary
- Who is Who
Can I Make a Program to Automatically Reply to WhatsApp Texts Using Python?
In today's world, WhatsApp has gotten to be a basic portion of our everyday lives. From casual discussions to vital commerce talks, we depend intensely on WhatsApp to communicate with our companions, family, and colleagues. In any case, some of the time we can be too busy to reply to messages in a convenient way. To address this issue, we can use Python to make a program that will naturally react to WhatsApp messages. In this article, we'll investigate the steps to make such a program.
Step 1: Installing Necessary Libraries
Before we start, we have to introduce the fundamental libraries that will enable us to be associated with WhatsApp utilizing Python. We are going to be utilizing the Twilio library for this reason. To introduce the Twilio library, open your terminal or command prompt and run the below command:
pip install twilio
Step 2: Setting up the Twilio Account

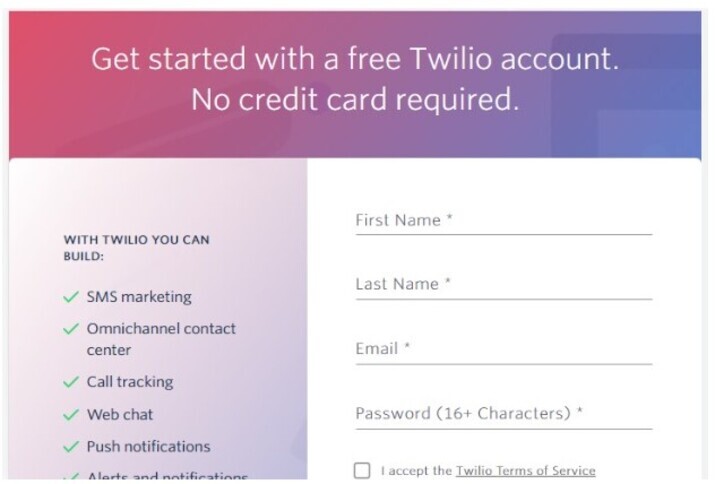
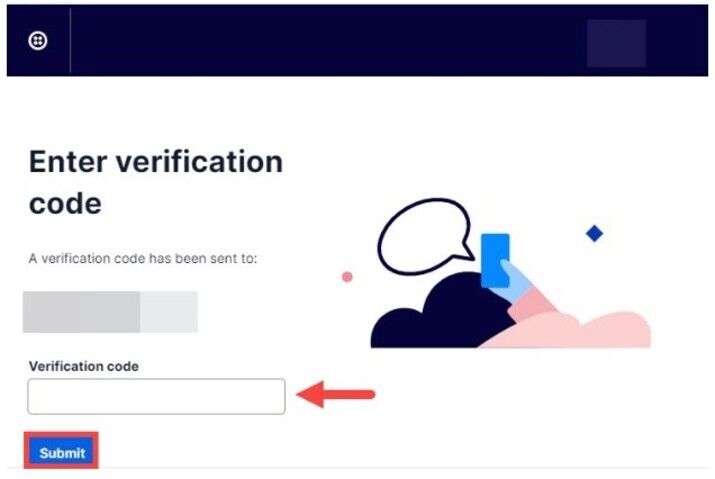
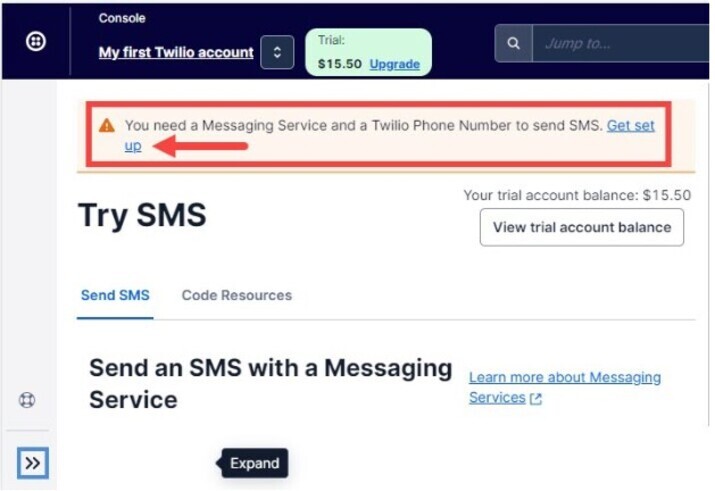
The other step is to set up a Twilio account. Twilio is a cloud communications stage that provides APIs for informing, voice, and video. You'll be able to sign up for a free account on the Twilio website.

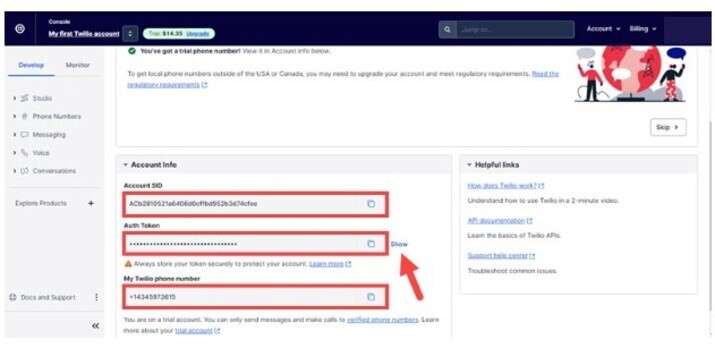
Once you have got marked up, you may be given an Account SID and an Auth Token. These are basically the API keys that permit you to be associated with the Twilio API. Make sure to keep them secure as they will be required afterward within the code.
Step 3: Setting up the WhatsApp Sandbox

Twilio gives a WhatsApp sandbox that empowers programmers to test their WhatsApp applications. To set up the WhatsApp sandbox, log in to your Twilio account and explore the "WhatsApp" segment. Tap on the "Sandbox" tab and take after the information to set up the sandbox.

Once you have set up the sandbox, you'll be given a Twilio WhatsApp number. This number will be utilized to send and get WhatsApp messages.
Step 4: Writing the Python Code
Presently that we have set up the essential tools, we can start composing the Python code to consequently react to WhatsApp messages. Let's go through the code ?
from twilio.rest import Client
from flask import Flask, request, redirect
import requests
account_sid = 'YOUR_ACCOUNT_SID'
auth_token = 'YOUR_AUTH_TOKEN'
client = Client(account_sid, auth_token)
app = Flask(__name__)
@app.route("/whatsapp", methods=['POST'])
def reply_whatsapp():
   incoming_msg = request.values.get('Body', '').lower()
   resp = requests.get('https://api.adviceslip.com/advice')
   advice = resp.json()['slip']['advice']
   response_msg = f"Thank you for your message: {incoming_msg}. Our advice for you is: {advice}"
   message = client.messages.create(
      from_='whatsapp:+14155238886',
      body=response_msg,
      to='whatsapp:+YOUR_TWILIO_WHATSAPP_NUMBER'
   )
   return '', 200
if __name__ == '__main__':
 app.run()
To have a better understanding, let's split the code into steps.
Importing Necessary Libraries
The primary line of the code imports the Client class from the Twilio library. This class permits us to be associated with the Twilio API and send messages.
The next line imports Flask, which is a micro web framework for Python and it also imports the request and redirects modules from Flask, which we are going to utilize afterward.
Finally, we import the requests library, which permits us to send HTTP requests to an API endpoint.
Setting up the Twilio Client
The other few lines of code set up the Twilio client.
You need to change 'YOUR_ACCOUNT_SID' and 'YOUR_AUTH_TOKEN' along with your own values, which you'll discover in your Twilio account dashboard.
Creating a Flask App
The next line creates a new Flask app with the name of the current module (name).
Defining a Route
The next line uses the app.route decorator to define a new route for the app.
The route is '/whatsapp' and the HTTP method is POST. When someone sends a message to your Twilio WhatsApp number, Twilio will forward the message to this route.
Defining a Function to Handle Incoming Messages
The next few lines define a function called reply_whatsapp().
This function gets called when Twilio sends a message to the '/whatsapp' route. The function recovers the message content from the request utilizing the 'Body' parameter.
It then sends a request to an external API endpoint to get random advice.
The advice is extracted from the JSON response and used to compose a response message.
The message is sent back to the sender's WhatsApp number utilizing the Twilio client.
Finally, the response comprises a clear string and a 200 status code, demonstrating that the request was successful.
Starting the Flask App
The final few lines of code start the Flask app.
Overall, this code sets up a simple Flask app that can respond to incoming messages on a Twilio WhatsApp number with a random piece of advice.
Step 5: Testing the Program
To test the program, we got to start the Flask server by running the below command within the terminal ?
python your_filename.py
Change "your_filename.py" and give the name of your Python file.
Next, send a WhatsApp message to your Twilio WhatsApp number. You should get an automated response with random advice.
Congratulations! You have effectively made a program to consequently react to WhatsApp messages utilizing Python.
Conclusion
In this article, we have learned how to utilize Python and the Twilio API to form a program that can naturally react to WhatsApp messages. By following the steps outlined in this article, you'll make your own customized program to consequently react to WhatsApp messages with particular responses. The conceivable outcomes are unending and you'll utilize this program to spare time and increase efficiency.

