- Agile Data Science - Home
- Agile Data Science - Introduction
- Methodology Concepts
- Agile Data Science - Process
- Agile Tools & Installation
- Data Processing in Agile
- SQL versus NoSQL
- NoSQL & Dataflow programming
- Collecting & Displaying Records
- Data Visualization
- Data Enrichment
- Working with Reports
- Role of Predictions
- Extracting features with PySpark
- Building a Regression Model
- Deploying a predictive system
- Agile Data Science - SparkML
- Fixing Prediction Problem
- Improving Prediction Performance
- Creating better scene with agile & data science
- Implementation of Agile
Building a Regression Model
Logistic Regression refers to the machine learning algorithm that is used to predict the probability of categorical dependent variable. In logistic regression, the dependent variable is binary variable, which consists of data coded as 1 (Boolean values of true and false).
In this chapter, we will focus on developing a regression model in Python using continuous variable. The example for linear regression model will focus on data exploration from CSV file.
The classification goal is to predict whether the client will subscribe (1/0) to a term deposit.
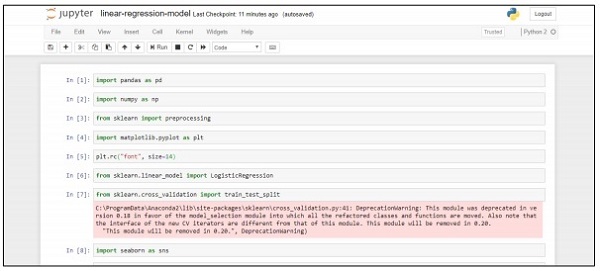
import pandas as pd
import numpy as np
from sklearn import preprocessing
import matplotlib.pyplot as plt
plt.rc("font", size=14)
from sklearn.linear_model import LogisticRegression
from sklearn.cross_validation import train_test_split
import seaborn as sns
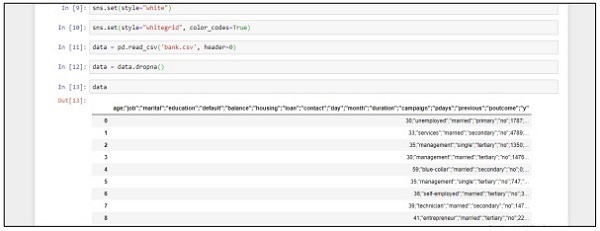
sns.set(style="white")
sns.set(style="whitegrid", color_codes=True)
data = pd.read_csv('bank.csv', header=0)
data = data.dropna()
print(data.shape)
print(list(data.columns))
Follow these steps to implement the above code in Anaconda Navigator with Jupyter Notebook −
Step 1 − Launch the Jupyter Notebook with Anaconda Navigator.

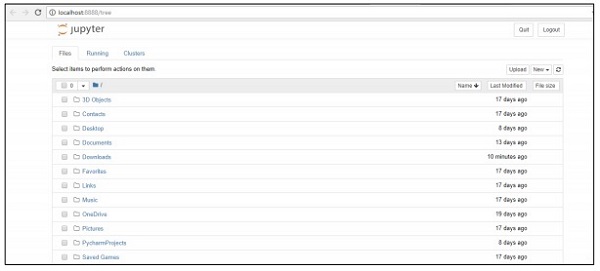
Step 2 − Upload the csv file to get the output of regression model in systematic manner.

Step 3 − Create a new file and execute the above-mentioned code line to get the desired output.