- Less - Nested Rules
- Less - Nested Directives and Bubbling
- Less - Operations
- Less - Escaping
- Less - Functions
- Less - Namespaces and Accessors
- Less - Scope
- Less - Comments
- Less - Importing
- Less - Variables
- Less - Extend
- Less - Mixins
- Less - Parametric Mixins
- Less - Mixins as Functions
- Less - Passing Rulesets to Mixins
- Less - Import Directives
- Less - Import Options
- Less - Mixin Guards
- Less - CSS Guards
- Less - Loops
- Less - Merge
- Less - Parent Selectors
- Functions
- Less - Misc Functions
- Less - String Functions
- Less - List Functions
- Less - Math Functions
- Less - Type Functions
- Less - Color Defination Functions
- Less - Color Channel Functions
- Less - Color Operation
- Less - Color Blending Functions
- Usage
- Less - Command Line Usage
- Using Less In The Browser
- Less - Browser support
- Less - Plugins
- Less - Programmatic Usage
- Less - Online Compilers
- Less - GUIs
- Less - Editors and Plugins
- Less - Third Party Compilers
- Less - Frameworks
- Less Useful Resources
- Less - Quick Guide
- Less - Cheatsheet
- Less - Useful Resources
- Less - Discussion
LESS - Extend
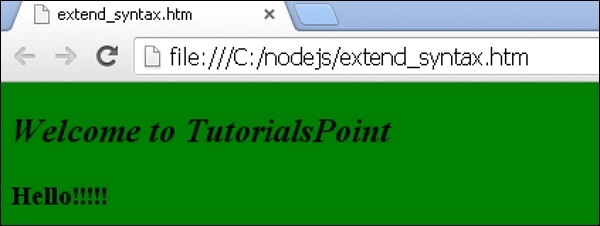
Extend is a LESS pseudo class which extends other selector styles in one selector by using :extend selector.
Example
The following example demonstrates the use of extend in the LESS file −
extend_syntax.htm
<!doctype html>
   <head>
      <link rel = "stylesheet" href = "style.css" type = "text/css" />
   </head>

   <body>
      <div class = "style">
         <h2>Welcome to TutorialsPoint</h2>
         <p>Hello!!!!!</p>
      </div>
   </body>
</html>
Next, create the style.less file.
style.less
h2 {
   &:extend(.style);
   font-style: italic;
}

.style {
   background: green;
}
You can compile the extend.less file to extend.css by using the following command −
lessc style.less style.css
Execute the above command; it will create the style.css file automatically with the following code −
style.css
h2 {
   font-style: italic;
}

.style,
h2 {
   background: blue;
}
Output
Follow these steps to see how the above code works −
Save the above html code in the extend_syntax.htm file.
Open this HTML file in a browser, the following output will get displayed.
Extend Syntax
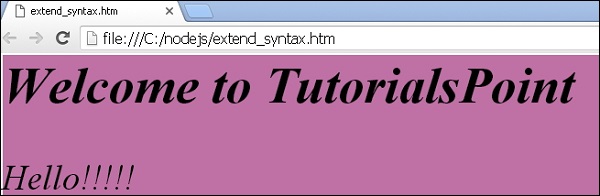
Extend is placed into ruleset or attached to a selector. It is similar to a pseudo class containing one or more classes, which are separated by comma. Using the optional keyword all, each selector can be followed.
Example
The following example demonstrates the use of extend syntax in the LESS file −
extend_syntax.htm
<!doctype html>
   <head>
      <link rel = "stylesheet" href = "style.css" type = "text/css" />
   </head>

   <body>
      <div class = "style">
         <h2>Welcome to TutorialsPoint</h2>

         <div class = "container">
            <p>Hello!!!!!</p>
         </div>

      </div>
   </body>
</html>
Now create the style.less file.
style.less
.style:extend(.container, .img) {
   background: #BF70A5;
}

.container {
   font-style: italic;
}

.img {
   font-size: 30px;
}
You can compile the style.less file to style.css by using the following command −
lessc style.less style.css
Execute the above command; it will create the style.css file automatically with the following code −
style.css
.style {
   background: #BF70A5;
}

.container,
.style {
   font-style: italic;
}

.img,
.style {
   font-size: 30px;
}
Output
Follow these steps to see how the above code works −
Save the above html code in the extend_syntax.htm file.
Open this HTML file in a browser, the following output will get displayed.
The following table lists all the types of extend syntax which you can use in LESS −
| Sr.No. | Types & Description |
|---|---|
| 1 | Extend Attached to Selector
Extend is connected to a selector which looks similar to a pseudo class with selector as parameter. |
| 2 | Extend Inside Ruleset
The &:extend(selector) syntax can be put inside the body of ruleset. |
| 3 | Extending Nested Selectors
Nested selectors are matched using the extend selector. |
| 4 | Exact Matching with Extend
By default, extend looks for the exact match between the selectors. |
| 5 | nth Expression
The form of nth expression is important in extend otherwise, it treats selector as different. |
| 6 | Extend "all"
When the keyword all is identified at last in the extend argument then LESS matches that selector as part of another selector. |
| 7 | Selector Interpolation with Extend
The extend can be connected to interpolated selector. |
| 8 | Scoping/Extend inside @media
Extend matches the selector only that is present inside the same media declaration. |
| 9 | Duplication Detection
It cannot detect the duplication of selectors. |
Following are the types of Use Cases for Extend
| Sr.No. | Types & Description |
|---|---|
| 1 | Classic Use Case
Classic use case is used to avoid adding the base class in LESS. |
| 2 | Reducing CSS Size
Extend is used to move the selector as far as the properties you want to use; this helps in reducing the css generated code. |
| 3 | Combining Styles/ A More Advanced Mixin
Using extend we can combine the same styles of a particular selectors into other selector. |