- PDFBox - Home
- PDFBox - Overview
- PDFBox - Environment
- PDFBox - Creating a PDF Document
- PDFBox - Adding Pages
- PDFBox - Loading a Document
- PDFBox - Removing Pages
- PDFBox - Document Properties
- PDFBox - Adding Text
- PDFBox - Adding Multiple Lines
- PDFBox - Reading Text
- PDFBox - Inserting Image
- Encrypting a PDF Document
- JavaScript in PDF Document
- PDFBox - Splitting a PDF Document
- Merging Multiple PDF Documents
- PDFBox - Converting PDF To Image
- PDFBox - Adding Rectangles
PDFBox - Useful Resources
PDFBox - Converting PDF To Image
In the previous chapter, we have seen how to merge multiple PDF documents. In this chapter, we will understand how to extract an image from a page of a PDF document.
Generating an Image from a PDF Document
PDFBox library provides you a class named PDFRenderer which renders a PDF document into an AWT BufferedImage.
Following are the steps to generate an image from a PDF document.
Step 1: Loading an Existing PDF Document
Load an existing PDF document using the static method loadPDF() of the Loader class. This method accepts a RandomAccessReadBufferedFile object as a parameter, since this is a static method you can invoke it using class name as shown below.
// Loading an existing document
PDDocument document = Loader.loadPDF(
   new RandomAccessReadBufferedFile("D:/Projects/PDFBox/PdfBox_Examples/sample.pdf"));
Step 2: Instantiating the PDFRenderer Class
The class named PDFRenderer renders a PDF document into an AWT BufferedImage. Therefore, you need to instantiate this class as shown below. The constructor of this class accepts a document object; pass the document object created in the previous step as shown below.
PDFRenderer renderer = new PDFRenderer(document);
Step 3: Rendering Image from the PDF Document
You can render the image in a particular page using the method renderImage() of the Renderer class, to this method you need to pass the index of the page where you have the image that is to be rendered.
BufferedImage image = renderer.renderImage(0);
Step 4: Writing the Image to a File
You can write the image rendered in the previous step to a file using the write() method. To this method, you need to pass three parameters −
The rendered image object.
String representing the type of the image (jpg or png).
File object to which you need to save the extracted image.
ImageIO.write(image, "JPEG", new File("C:/PdfBox_Examples/myimage.jpg"));
Step 5: Closing the Document
Finally, close the document using the close() method of the PDDocument class as shown below.
document.close();
Example - Converting PDF to JPG Image
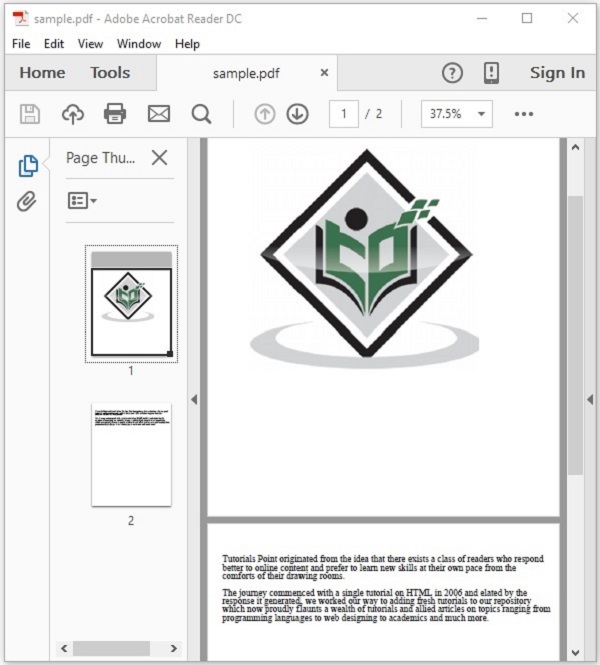
Suppose, we have a PDF document sample.pdf in the path C:\PdfBox_Examples\ and this contains an image in its first page as shown below.

This example demonstrates how to convert the above PDF document into an image file. Here, we will retrieve the image in the 1st page of the PDF document and save it as myimage.jpg. Save this code as PdfToImage.java
package com.tutorialspoint.pdfbox;

import java.awt.image.BufferedImage;
import java.io.File;
import java.io.IOException;

import javax.imageio.ImageIO;

import org.apache.pdfbox.Loader;
import org.apache.pdfbox.io.RandomAccessReadBufferedFile;
import org.apache.pdfbox.pdmodel.PDDocument;
import org.apache.pdfbox.rendering.PDFRenderer;

public class PDFBoxDemo {
   public static void main(String[] args) throws IOException {
      // Loading an existing document
      PDDocument document = Loader.loadPDF(
         new RandomAccessReadBufferedFile("D:/Projects/PDFBox/PdfBox_Examples/sample.pdf"));

      //Instantiating the PDFRenderer class
      PDFRenderer renderer = new PDFRenderer(document);

      //Rendering an image from the PDF document
      BufferedImage image = renderer.renderImage(0);

      //Writing the image to a file
      ImageIO.write(image, "JPEG", new File("D:/Projects/PDFBox/PdfBox_Examples/myimage.jpg"));

      System.out.println("Image created");

      //Closing the document
      document.close();
   }
}
Output
Compile and run the code to verify the following output −
Image created
If you verify the given path, you can observe that the image is generated and saved as myimage.jpg as shown below.
