 Data Structure
 Networking
 RDBMS
RDBMS Operating System
 Java
Java MS Excel
 iOS
iOS HTML
HTML CSS
CSS Android
 Python
 C Programming
 C++
C++ C#
C# MongoDB
 MySQL
MySQL Javascript
 PHP
PHP
- Selected Reading
- UPSC IAS Exams Notes
- Developer's Best Practices
- Questions and Answers
- Effective Resume Writing
- HR Interview Questions
- Computer Glossary
- Who is Who
OpenCV Python – How to draw a rectangle using Mouse Events?
There are different types of muse events such as left or right button click, mouse move, left button double click etc. A mouse event returns the coordinates (x,y) of the mouse event.
To perform an action when an event happens we define a mouse callback function. We use cv2.EVENT_LBUTTONDOWN, cv2.EVENT_MOUSEMOVE and cv2.EVENT_LBUTTONUP mouse events to draw rectangles on the image.
Steps
To draw rectangles using mouse events, follow the steps given below ?
Import required library OpenCV. Make sure you have already installed it.
Create a black image. We draw the rectangles on this black image. We can also read an image using cv2.imread() method to draw the rectangles on it.
Define a mouse callback function 'draw_rectangle' to draw a rectangle on the image. The mouse callback function is executed when a mouse event happens. A mouse event gives the coordinate of the mouse event. To draw a rectangle, we need at least two points on the image.
Create a window 'Rectangle Window' and bind the mouse callback function 'draw_rectangle' to this window.
Display the image window "Rectangle Window". This window opens the image on which we draw the circle. To close the window press esc button.
Let's look at some program examples to understand it clearly.
Example
In this example, we draw rectangles using mouse events cv2.EVENT_LBUTTONDOWN and cv2.EVENT_LBUTTONUP.
# import required libraries
import cv2
import numpy as np
drawing = False
ix,iy = -1,-1

# define mouse callback function to draw circle
def draw_rectangle(event, x, y, flags, param):
   global ix, iy, drawing, img
   if event == cv2.EVENT_LBUTTONDOWN:
      drawing = True
      ix = x
      iy = y
   elif event == cv2.EVENT_LBUTTONUP:
      drawing = False
      cv2.rectangle(img, (ix, iy),(x, y),(0, 255, 255),-1)

# Create a black image
img = np.zeros((512,700,3), np.uint8)

# Create a window and bind the function to window
cv2.namedWindow("Rectangle Window")

# Connect the mouse button to our callback function
cv2.setMouseCallback("Rectangle Window", draw_rectangle)

# display the window
while True:
   cv2.imshow("Rectangle Window", img)
   if cv2.waitKey(10) == 27:
   break
cv2.destroyAllWindows()
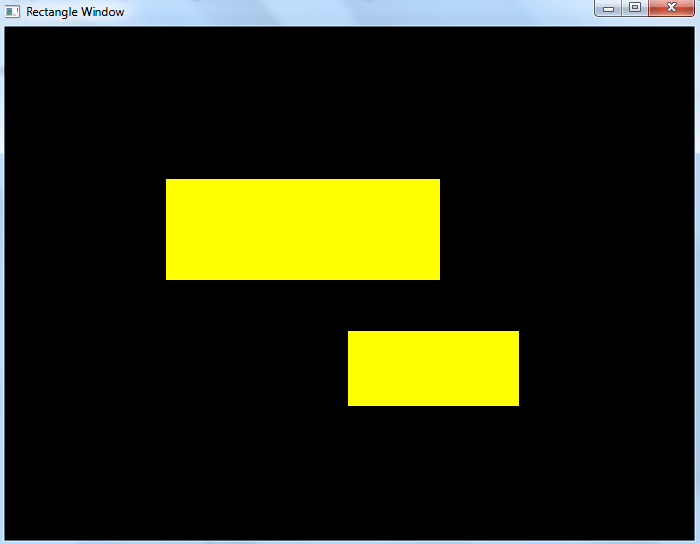
When you execute the above python code, it will open a window showing a black image. We can draw a rectangle on it by dragging the mouse. The process to draw a rectangle is first press down the left mouse button (EVENT_LBUTTONDOWN) and move the mouse (EVENT_MOUSEMOVE) and then release the button (EVENT_LBUTTONUP).
In this example, the rectangle is not drawn until the button is released (EVENT_LBUTTONUP). We draw two rectangles using mouse events. See the following screenshot.

Example
In this Python example, we draw rectangles using three mouse events cv2.EVENT_LBUTTONDOWN, cv2.EVENT_MOUSEMOVE and cv2.EVENT_LBUTTONUP.
# import required libraries
import cv2
import numpy as np
drawing = False
ix,iy = -1,-1

# define mouse callback function to draw circle
def draw_rectangle(event, x, y, flags, param):
   global ix, iy, drawing, img
   if event == cv2.EVENT_LBUTTONDOWN:
      drawing = True
      ix = x
      iy = y
   elif event == cv2.EVENT_MOUSEMOVE:
      if drawing == True:
         cv2.rectangle(img, (ix, iy), (x, y),(0, 0, 255),-1)
      elif event == cv2.EVENT_LBUTTONUP:
         drawing = False
         cv2.rectangle(img, (ix, iy), (x, y), (0, 0, 255), 2)

# Create a black image
img = np.zeros((512,700,3), np.uint8)

# Create a window and bind the function to window
cv2.namedWindow("Rectangle Window")

# Connect the mouse button to our callback function
cv2.setMouseCallback("Rectangle Window", draw_rectangle)

# display the window
while True:
   cv2.imshow("Rectangle Window", img)
   if cv2.waitKey(10) == 27:
      break
cv2.destroyAllWindows()
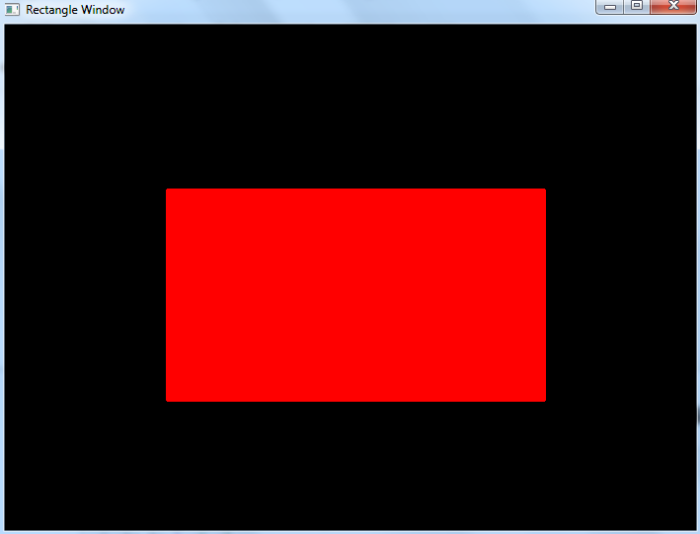
When you execute the above python code, it will open a window showing a black image. The process to draw a rectangle is the same as discussed in Example 1. In this example, the rectangle is drawn while moving the mouse (EVENT_MOUSEMOVE). And the final rectangle is drawn when the mouse left button is released (EVENT_LBUTTONUP).
We draw a rectangle using mouse events. See the following screenshot.


