- NovelAI - Home
- NovelAI - Getting Started
- NovelAI - Editor
- NovelAI - User Settings
- NovelAI - Lorebook
- NovelAI - Text Adventure
- NovelAI - Module Training
- NovelAI - Models
- NovelAI - Image Generation
- NovelAI Useful Resources
- NovelAI - Quick Guide
- NovelAI - Useful Resources
- NovelAI - Discussion
NovelAI - Quick Guide
NovelAI - Getting Started
NovelAI is an efficient AI tool that allows users to draft impressive stories through advanced AI technology. Whether you are looking to explore interactive narratives or traditional storytelling, NovelAI provides the flexibility to access it based on the user's need. This chapter will guide you through the initial steps of getting started with NovelAI.
Getting Started with NovelAI
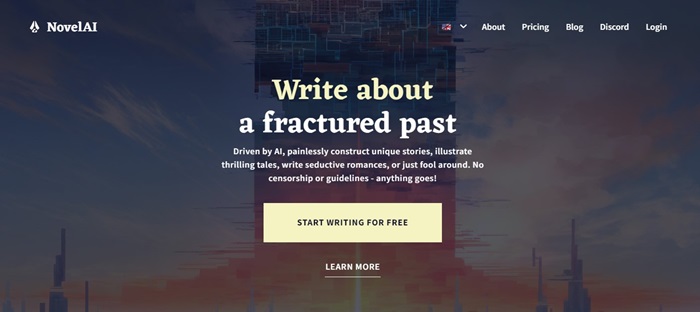
The first step would be to visit their website, where you will find a little introduction about NovelAI and a button "Start Writing For Free".
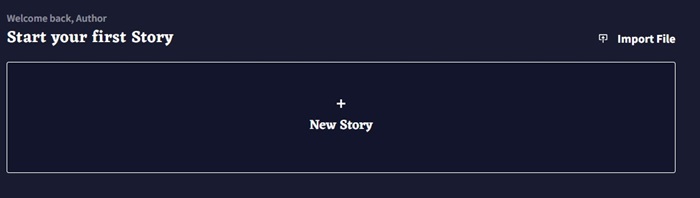
Once you click the "Start Writing for Free" button, the dashboard is opened. You will find the "Sign Up" option on the top, signing up would ensure that your stories are saved. Once you log in, click on the "New Story" button to start generation and exploring.
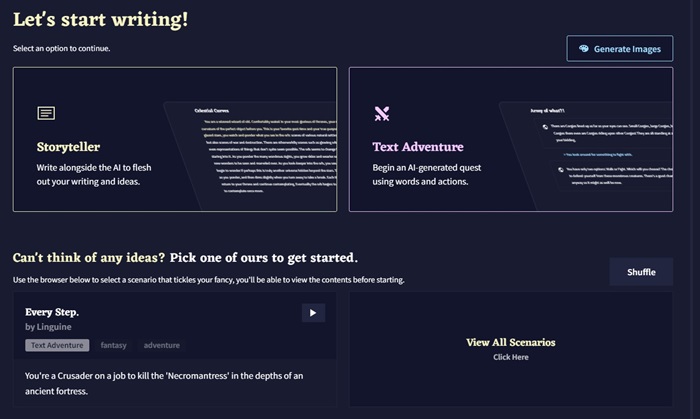
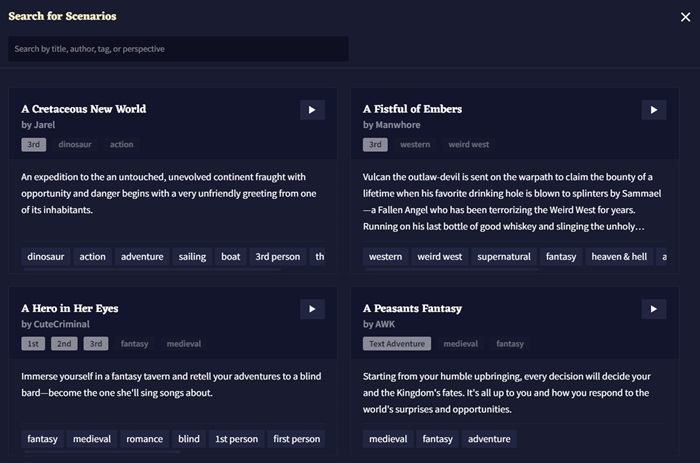
You will be given the option of choosing which mode you want the AI to generate the story in which includes Storyteller mode and Text Adventure mode. Additionally, the "View All Scenarios" on the right bottom will help users to get an idea on how to prompt with the existing generations by different authors and users.
After selecting the mode, you will be directed to the interface where you can prompt and generate the story. Additionally, NovelAI provides various features with choices to the users. On the right side is where we had options regarding the generation like selection go mode, AI model, AI module, Config Preset, Memory and others. There are also advanced settings available in case the user is looking for more personalization.
On the left side are the general options, like tokenizer, documentation, account, and subscription details. Additionally, it also contains the user settings to change the AI Settings, Interface, theme, defaults and hotkeys.
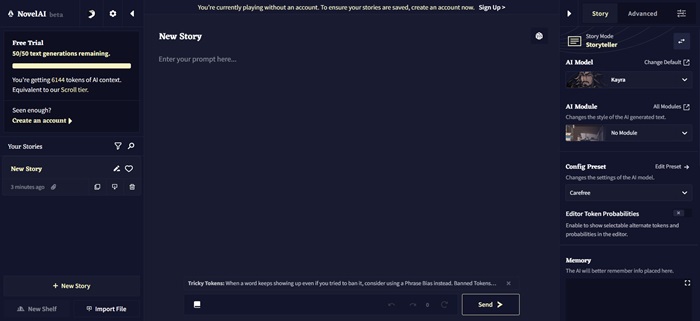
Image Generation using NovelAI
NovelAI not only excels in text-based storytelling but also in image generation capabilities. This feature of NovelAI allows the users to generate visuals that complement the narrative, to make the stories more impressive. After logging in, you will find a button on the dashboard ,"Image Generation Tool".
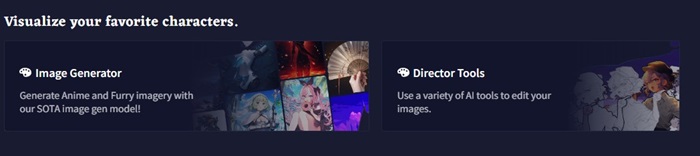
The images can be generated only if the user has a subscription, the tool cannot be accessed for free. In the interface, you will find an input box to enter the prompts, various style options, and resolution settings.
NovelAI - Editor
As you sign up for free, you would get a console to enter your prompt with various other options. There would be a "settings" option on the right corner, which will allow you to select an AI model, select a Config Preset and many more.

Story Settings
Coming down to the options and features Novel AI allows you to choose, the first one is the story mode, which will allow you to select the mode of the story. It has two options −
- Story Teller − In this mode, you will be writing a story where the AI model gets in between and contributes.
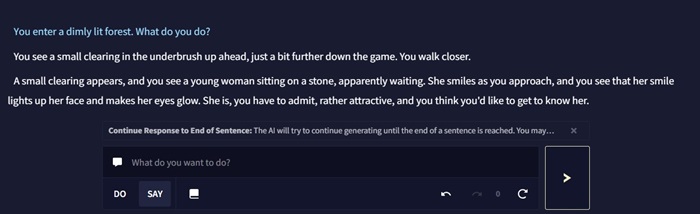
- Text Adventure − This mode is similar to playing a role-play game, where the model is interactive by asking options like "say" or "do," which helps in specifying what happens next.
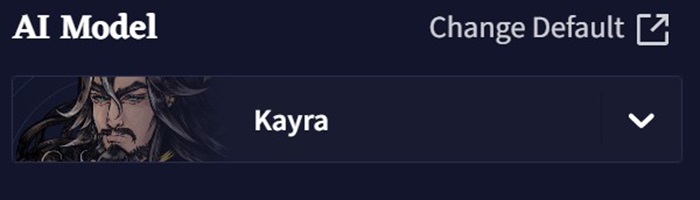
AI Model
The next tab would be AI Model Selector, where you can choose from their collection of fine-tune models. Some of the models available for users who are accessing free are Kayra, Clio, Euterpe, Sigurd, and Genji.
AI Module
The tab followed by AI Model is the AI module, which is used to change the style of the AI generated text. This helps the users focus the AI on the desired genre, tone, settings, and world. With over 60 different options, these modules allow users to mimic the writing style of novelists like William Shakespeare, themes like Christmas, Comedic fantasy, and inspirations from stories like Nervegear.

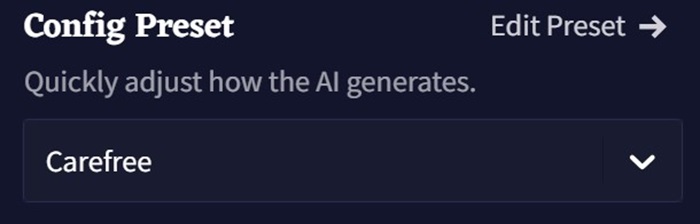
Config Preset
The Config Preset drop down contains options on how the AI should generate. The default settings would be carefree, while the other options include stelens, fresh coffee, which allows the AI to keep things on track, asper, which allows the AI to generate creative writing, and Writer's Daemon which allows the AI to generate extremely imaginative content.
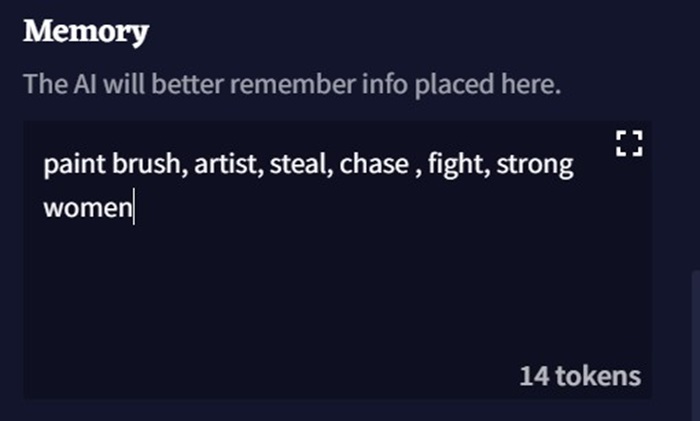
Memory
This box allows you to store information that you want the AI to remember while generating content, like terms related to the story settings, characters, or the story plot. Updating this field with important story elements will help the AI stay consistent.
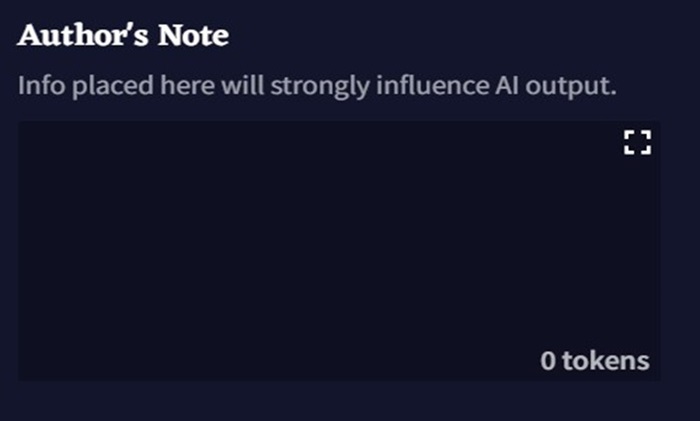
Author's Note
Information entered in the Author's Note box is the most recent things that story influences AI output. This helps you divert the AI's output in your desired direction by mentioning a few short sentences to describe details of the story you want the AI to focus on.
Story Options
The View Strong Stats open a window full of technical stats related to your story, as well as a few experimental options for editing the story.
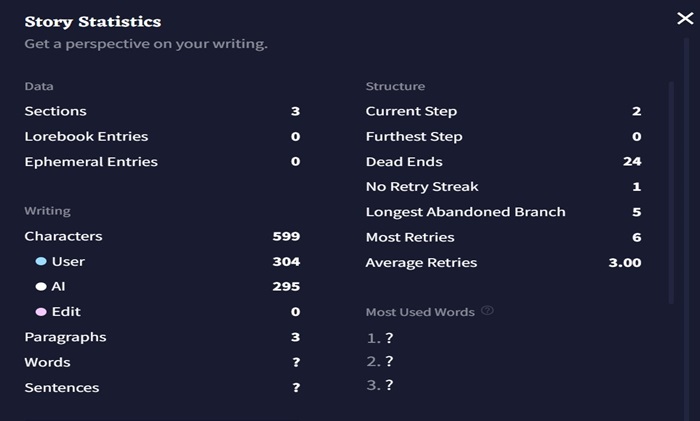
The following is the description of the experimental stats −
- Trim Story − This option can be used to trip unwanted branches of undos/redos from your story while saving your story as a .story life.
- Flatten Story − This option removes all the undo/retry history and branches from your story, considering the current story as a starting prompt.
- Reset to Prompt − This option cuts everything out of the window except for the prompt you have entered. Also removes all the branches and history.
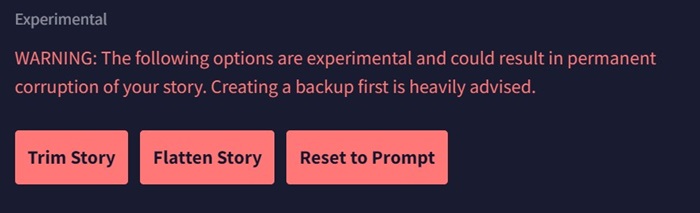
Export Story
You can export your NovelAI story in different ways like −
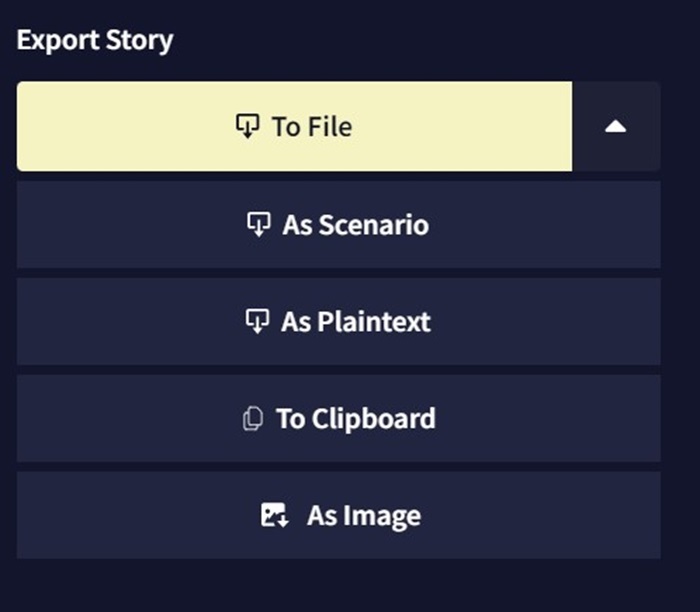
- To File − This option saves the story in the .story file, with all branches and history inside.
- As Scenario − Using this option will allow to export the story in a unique .scenario file. When this file is imported, an interactive popup appears each time, letting the user set tags and provide a brief description or to add user-defined placeholders for customized storytelling.
- As Plaintext − This option allows to save the story in .txt file, which contains only the raw story for viewing on other devices.
- To Clipboard − This option exports the full story to the clipboard, this option may be quite slow, especially on huge stories with more content.
- As Image − This option opens the screenshot designer, an interface used to generate a personalized screenshot of your story for a unique way of sharing.
Additionally, there is a delete option to remove your story. Make sure you actually want to remove the story, because there is no way to retrieve it after deleting.
Additional Settings
Additional settings in NovelAI provide comprehensive tools for managing the story's context, which would influence AI outputs effectively. The key features include Context Viewer, which breaks down the elements of the story in detail; Ephemeral Context allows entries that have a limited lifespan; and Context Settings enable memory and lorebook interactions to be customized as per the user's needs.
The Phrase Bias settings let the user change the likelihood of some words, while the Banned Tokens feature allows to stop unwanted phrases from being generated. Additionally, the user can stop generating output in response to certain triggers using the Stop Sequence.
NovelAI - User Settings
The User Settings Menu, represented by the Settings Icon at the top of the Library Sidebar. The menu contains several tabs allowing you to customize multiple aspects of how NovelAI generated the output and is represented. It also consists of text- speech features, default AI model preferences, and a list of hotkeys for editor shortcuts. The majority of options are explained with their descriptions −
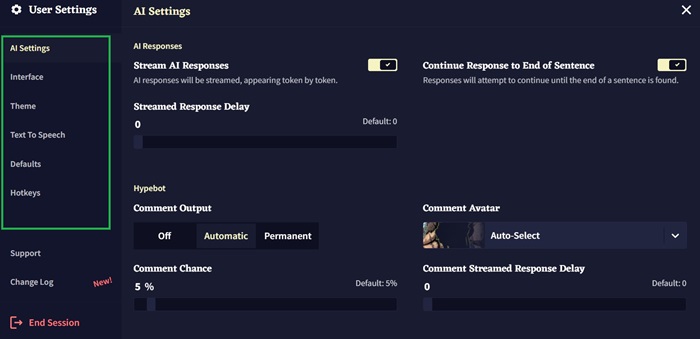
AI Settings
The AI Settings tab is where you will find options concerning the presentation and generation of AI outputs. Some of them include sentence trimming, HypeBot, and token limits as well as default bias preferences.
The tab will also contain a checkbox for the Inline Generation model, allowing the user to toggle between the special bidirectional model.
Interface
This tab contains many text formatting and UI settings. Using this tab, you can change the language, buttons and text size, text spacing, and also allow the user to enable and disable certain UI features.
Options for enhancing the touchscreen experience, modifying the right-click behavior and toggling the minibar are also found in this section.
Theme
In this tab, there are various options to select among a number of default themes and can create their own by importing and exporting themes. Additionally, for aesthetic experience, the advanced custom CSS features are also available, allowing for personalization.
Account
This tab is dedicated for subscription management and user-related information. You can update your email and password, purchase gift keys, and disable the Remote Story Conflict popup. There is an option "Download All Stories," which lets the user back up their narratives.
Text to Speech
This tab allows for extensive customization. Our Text to speech page contains a full rundown of each of its features.
Defaults
The default tab allows the users to set their preferred model and preset configurations. It is preferred to revisit these sections whenever there is an update regarding the models.
Hotkeys
The Hotkeys tab contains a complete list of keyboard shortcuts available in NovelAI. This tab serves as a reference for all shortcuts, ensuring to navigate the platform efficiently.
Debug
The Debug menu is an advanced feature specially designed for users who need comprehensive access to the data. You can download and delete stories from your account by ID and can also access the metadata of your account. For further information, you can view the Debug page.
NovelAI - Lorebook
Lorebook acts as 'occasional memory', where it appears only when certain keywords appear in the story. The Lorebook allows users to create references for specific nouns in their story. It acts as a repository for supplemental information that can be added to the AI's content each time an entry comes up in the story.
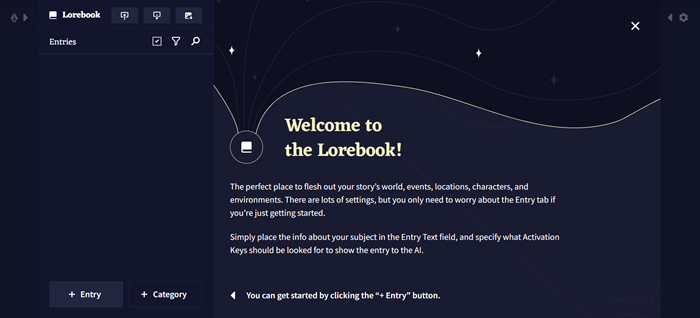
You can Import and Export the story with the option on the top left. Additionally, the Image embed button helps you embed your Lorebook inside a .png image, which allows you to share it with others.
Entry
The main component of Lorebook is the Entries. Each entry has its own activation keys, and when an activation key is identified in the context, the entry's respective activation keys get inserted.
Description for the buttons beside entries are −
- The Selection icon is used to select multiple entries for the purpose of deletion or export.
- The Sort icon is used to sort entries alphabetically or by recent most.
- The Search icon is used to search for entries.
When you want to enter a new Lorebook, there is a button "+ Entry" which allows you to create one.
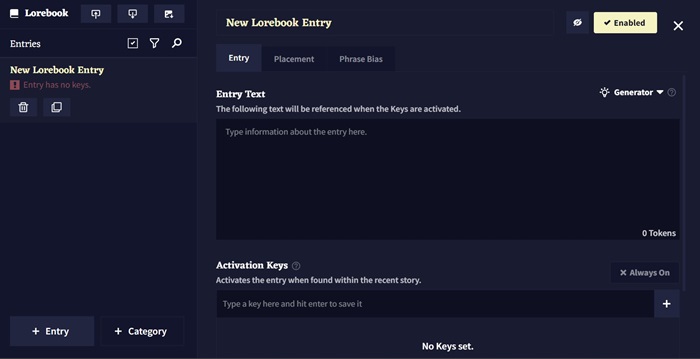
The options provided by NovelAI for creating an entry are −
- The Delete button allows to delete the selected entry, while the Duplicate button is used to make a copy of the selected entry.
- The Entry Title is for organizational purposes and can't be visible by AI. For the AI to interpret, you should add the title somewhere in the entry text.
- The Enabled toggle on the right of the entry's title determines if the entry is activated or not. If it is disabled, the entry will not be inserted into the context.
- The Entry Text is the text that will be inserted in the context when the entry is active.
- Activation Keys are words or phrases that activate the lorebook entry when found in the story context.
- The Hide button will make the entry hidden, preventing you from viewing its content until you choose to reveal it.
Additionally, some powerful tools include the Generator which can be used to generate lore about any character, scenario, or concept. Choose the type of entry from the drop-down, enter the context you want to generate, and hit generate. The Placement tab allows you to decide where and how the entry is inserted into the context. And, Phrase Bias allows you to adjust the likelihood of specific words or phrases when generated by the AI while the entry is active.
Category
This button allows you to organize your lorebook entries into groups. The Default tab allows you to modify the default placement settings for new entries within that category or to update the settings for all existing entries.
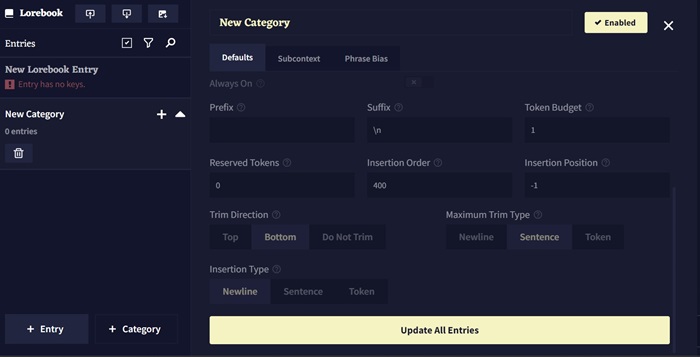
The Subcontext has a Create Subcontext toggle, which, when enabled, organizes the Lorebook entries in that category, allowing them to be incorporated into the context using the selected settings. The Phrase Bias tab established at the category level will take effect whenever any entry within that category is active.
NovelAI - Text Adventure
Text Adventure Mode combines the working of traditional text-based role-playing games with advanced AI story telling capabilities. Unlike the story telling mode, where the narrative follows a linear path, this model provides the users to make choices that lead to branching story plot and directly influences the story line.
Text adventure mode allows users to walk through interactive narrative with choices that influence the story line.
Interaction with NovelAI in Text Adventure Mode
Crafting your Adventure
One needs to login on NovelAI to enter Text Adventure mode. Once after signing in, you will be directed to the interface where you have to choose the "New Story" option.

After choosing to create a new story, you will be given an option to choose between Storyteller mode and Text Adventure mode.
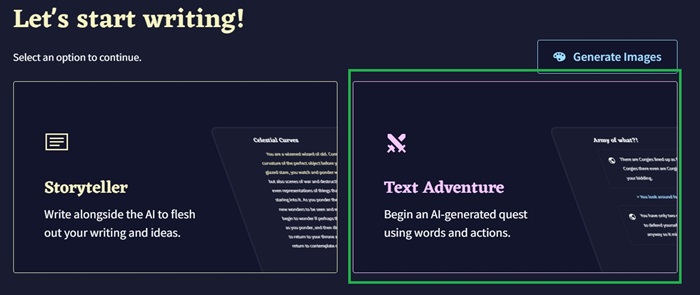
Selecting an Existing Prompt
At the bottom right of the screen, click on "View All Scenarios" to open the scenario viewer. Find a promt tagged with "text Adventure" and clock on it. You also search using the search bar.
Text Adventure contains all the modules to choose like AI Model, AI modules, Config Preset many more just like the options discussed in the Story telling chapter.
Two Input Modes
Text adventure mode takes inut differently from the user than the normal storyteller editor. The input is taken in the form of commands, which get formatted automatically to fit in its style. There are two different formatting modes in Text adventure, one for actions and the other for dialogue.
- Do − This input method lets the user state what they intended for their character to do.
- Say − This input method modifies your input depending on the punctuation mark.
Text Adventure Mode Vs Storyteller Mode
Well, NovelAI offers two distinct mode for crafting narratives, Text Adventure Mode and SToryteller Mode. Each mode has a unique approach for storytelling, with different preferences and styles of interaction. While Text Adventure Mode provides users into a dynamic experience of choice-driving of early role-playing games, Storyteller mode takes the for of a more traditional narrative flow where the AI drives the story.
Text Adventure combines the elements of interactive storytelling and role-playing games. Users explore a narrative via a command system that can influence the story line. Whereas Storyteller Mode focuses on a linear storytelling experience, which is guided by the AI and driven in a non-linear sequence of event based on the users prompts or ideas. The basic difference between the two modes in NovelAI is provided the table below −
| Feature | Text Adventure Mode | Storyteller Mode |
|---|---|---|
| Narrative Style | Users experience a story that is interactive and branching as it evolves based on their choices. | In this mode, the AI narrates a story that unfolds in a predetermined manner, proving a more structured and guided narrative experience. |
| User Interaction | Users provide specific commands to interact with the environment and characters. | Users can provide only the prompt and description of the character. |
| Decision Making | Users choices have direct influence on the story line. | User prompts guide the story but fo not always dictate the direction. |
| Input Modes | It has two modes: Do mode for quoting character actions and Say mode for dialogue. | Geared towards the AI crafting the story based on the user input in the form of a prompt. |
| Focus | Users have significant control over actions and environment. | In this mode, AI lead the story. |
| Ideal for | Gamers and Interactive story enthusiasts | Users who prefer stories that are narrative focused. |
NovelAI - Module Training
NovelAI stands above all the other virtual interactive storytelling worlds, since it allows users to tailor AI output to specific styles, genres, or settings. Module Trainer is one of the tools that helps achieve this customization.
This tutorial will walk you through the effective steps in the use of Module Trainer to help you enrich the storytelling experience.
Getting Started with Module Trainer
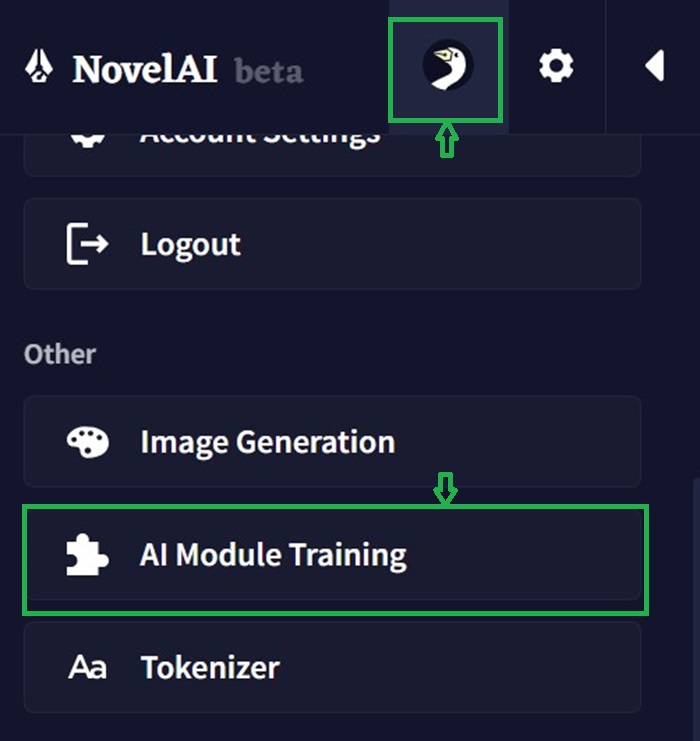
To access the Module Trainer on the NovelAI interface. On the left-hand side, open your Library Sidebar, click the Goose icon to access the User Menu, then select AI Module Training.
This will lead you to the Module Trainer view, where you can train modules using your selected text materials.
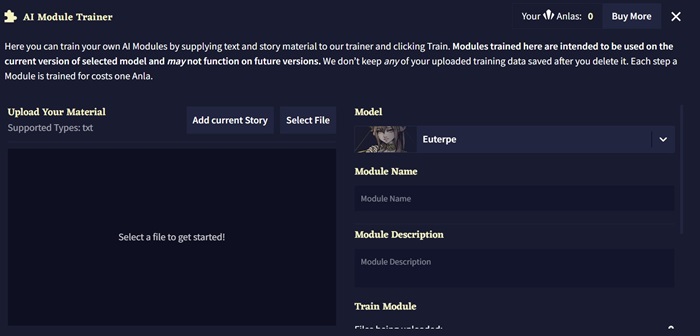
Upload your Material
The first step of training a module is to upload your content. This is anything that is in the .txt file format. It can be employed to the foundation of constructing a module, so the user can obtain the most ideal outcome from the AI to mimic your style and tone of writing based on your source material. It also allows the user to upload multiple .txt files.
Once you upload all your files, they will be listed in the File List accompanied by their names, sizes, and approximate training step counts. A training step count signals how many steps will be required for material processing.
Model
This drop-down allows users to select an AI model that your module will be trained with. Modules are model-specific, so if you want a module for other models, you'll need to run a separate training session.
Module Name
The user then has to provide a name for identification in the drop-down selection and AI Modules Gallery. Additionally, you should add a very short description that will indicate the focus and intent of your module. The sole purpose of this step is to make sure that the module is understood by you and others.
Train Module
After you upload your files and assign a name and description, you can start training the module. You will see a summary of the list of files that are being uploaded, the total training steps required, and the remaining Anlas.
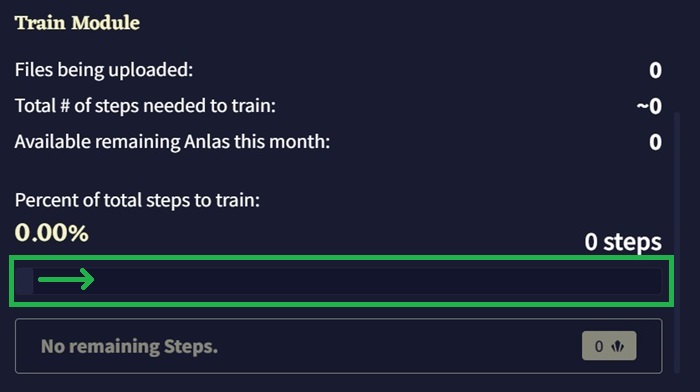
You can set the slider for the number of training steps you'd like to do, from 50 up to your requirements, and click "Train!" when you are ready. Your module will put itself in line, and you can close the window without losing your place in the queue.
After your module makes it to the front of the queue, training will begin, and you'll see an updated Loss Graph as the module trains. The graph gets scrutinized a lot, particularly when the line is running all over the place. You can assess the performance of the module only after using it.
Using a Module
To use a module in NovelAI, open your story from the Library Sidebar, then go to the 'Story' tab of the Options Sidebar - where you can pick from the drop-down menu at the top of the AI module section in the right sidebar of NovelAI to apply to your story.
Clicking "All Modules" opens up the AI Modules Gallery, listing all the modules you have loaded as a grid sorted by categories like Imported which are the custom modules, Specials such as the text adventure, General options such as "No Module" or the Cross-Genre Module, style of specific authors, theme for many and diverse literary genres, and inspirations for more focused works.
Tips to Enhance Module Performance
This is for someone who want to deep dive into the further advanced customization options offered by Module Trainer. Some tips to enhance your module's performance are −
- Adding Images to Custom Modules − To make your modules stand out visually, you can change the thumbnail images. To do this, you have to open your .module file in a text editor and add a line specifying the URL of an image that you'll host somewhere like Imgur.
- Optimizing Training Data − To achieve the best module performance, ensure that the training data is specific and clean. Remove unnecessary white space headers or formatting that might confuse AI.
- Knowledge of How to Train − This entails training a module on splitting your input text into chunks of 256 tokens. During the training stage, the AI shuffles the chunks randomly; hence, you should be aiming for 100% of steps, using all your data.
NovelAI - Models
Since the launch of NovelAI in June 2021, the creators have introduced many innovative storytelling AI models and more. Each name of the model is inspired by mythology and handcrafted artwork to accompany them.
Calliope is the first ever model of NovelAI that is released on 16 July 2021. The model has 2.7 billion parameters but lacks in quality and additional features that we use today. Well, this model is no longer available.
Current Models
Some of the current models in NovelAI include −
1. Erato
Erato is the latest model that is based on the Llama 3 70B Base Model that is released on September 23, 2024. The model is continued to train on the updated parts of the Nerdstash pre-training dataset for tokens. The model is carefully tailored, especially for the task of storytelling. To allow the user to fit more of their story into the context, the Llama 3 tokenizer is used, replacing the Nerdstash V2 tokenizer.
2. Kayra
Kayra is released on 28th July, 2023, which is one of the featured advanced models consisting of 13 billion parameters. The model is popular for its high-quality story telling, text adventures, instructions, and prose augmentation, which help excel in handling a variety of tasks like item lists and video transcripts. The model has an impressive 8,192 token context window, surpassing previous models by four times.
3. Clio
Clio is released on May 23, 2023, which is the first 'from scratch' model that is trained on the Shoggy GPU cluster, with 3 billion parameters and 1.6 trillion tokens for training. Though the model is smaller than other models, it compensates with speed, as it efficiently performs tasks such as text adventure, instruction, and prose augmentation.
4. Legacy Models
Krake is released on March 11, 2022, which is one of the largest models fine-tuned by NovelAI and developed using EleutherAI's Neo-X 20b model for a unique storytelling experience. However, it has slow generation speed, a 2048-token window, and is incompatible with Modules v2. Euterpe is another legacy model that is based on the Fairseq family's 13b transformer model, with impressive generation speed and compatibility with Modules V2.
Sigurd is NovelAI's second model that featutes 6 illion parameters and supports both Custom and Modules V2, also known for its lightning-fast generation. Genji and Snek are experimental models derived from Euterpe, with Genji focusing on text generation in Japanese and Snek on Python coding, but they are no longer recommended for story generation after the introduction of the latest models since they are more capable.
NovelAI - Image Generation
The NovelAI image generator is one of the latest AI tool that brings prompts and description into a visual. The tool is also capable to generate fictional art, including characters and anime-inspired images. This chapter will explore the working of NovelAI image generation.
NovelAI Image Generation Models
There are three models to create images with the NovelAI −
- NovelAI Diffusion Anime (Curated) − This model provides good image quality and focuses on familiar subjects. This model is the best option if you are concerned about generating sensitive content.
- NovelAI Diffusion Anime (Full) − The full NovelAI image generation model expands the training set, resulting in better relatable images. This model can handle rougher concepts or ideas more easily.
- NovelAI Diffusion Furry (Beta) − This model focuses on creating art using anthropomorphic animals and furries. This is the most unique and stand out ascpect of NovelAI Image generating tool from the other image generation tools.
Features of NovelAI Image Generator
Some of the key features of NovelAI Image Generator are −
- Upload Image − Along with the image description you can upload images with appropriate text prompt by which AI will draw an inspiration to generate new images.
- Draw New Image − This image generator can bring your imagination into life, provide a textual description in the prompt area, to generate the image.
- Edit Image − With the edit feature, the users are provided with features to change, improve, or alter the colors within any of the images. It also enables you to edit, enhance or fine-tune uploaded images or generated images.
- Enveloping and Strengthening Vectors − To enhance the image generator's focus by using special symbols inside the textual prompts. By putting curly braces {}, you can indicate the importance of the object, with the square brackets, you de-emphasize other components.
Pricing
NovelAI has different subscription options for users to utilize the image-creation service. Once a renewal subscription has been purchased, the user also gains Paid Anlas which is the currency used in creating images.
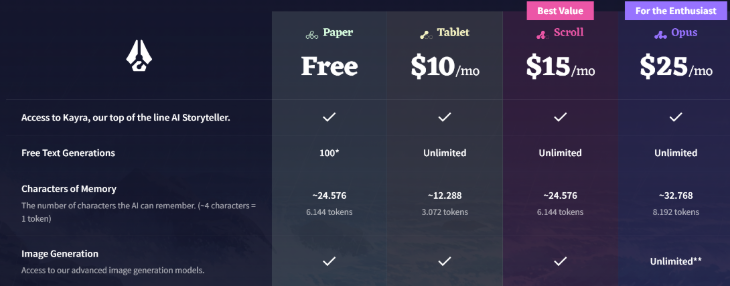
- Table Tier − For $10 monthly
- Scroll Tier − For $15 monthly
- Opus Tier − For $25 monthly, allowing image generation without Anlas cost, with certain conditions.
Settings of NovelAI Image Generator
When using NovelAI Image Generator, adjust these two for better experience.
Image Resolution
With the Image Settings drop down menu in the NovelAI Image generator, you can select the ideal size and orientations for your images. You will have the flexibility to choose between large or standard outputs.
Number of Images
When using the NovelAI image generator, you can specify how many images you which to create at once. However, the maximum number of images you can generate simultaneously is influenced by the chosen image resolution.
