- MuleSoft - Home
- MuleSoft - Introduction to Mule ESB
- MuleSoft - The Mule Project
- MuleSoft - Mule in Our Machine
- MuleSoft - Anypoint Studio
- MuleSoft - Discovering Anypoint Studio
- Creating First Mule Application
- MuleSoft - DataWeave Language
- Message Processor & Script Components
- Core Components & Their Configuration
- MuleSoft - Endpoints
- Flow Control and Transformers
- Web Services Using Anypoint Studio
- MuleSoft - Mule Error Handling
- MuleSoft - Mule exception Handling
- MuleSoft - Testing with MUnit
- MuleSoft Useful Resources
- MuleSoft - Quick Guide
- MuleSoft - Useful Resources
- MuleSoft - Discussion
MuleSoft - Creating First Mule Application
In this chapter we are going to create our first Mule application in MuleSofts Anypoint Studio. For creating it, first we need to launch Anypoint Studio.
Launching Anypoint Studio
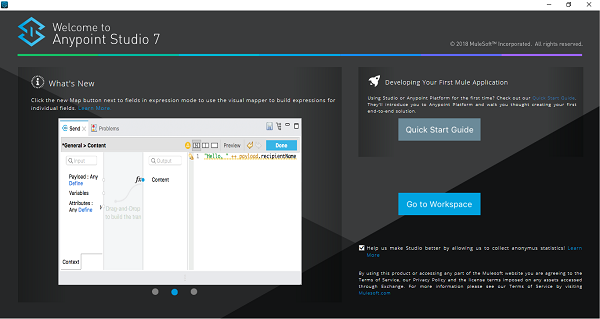
Click on Anypoint Studio to launch it. If you are launching it for first time, then you will see the following window −
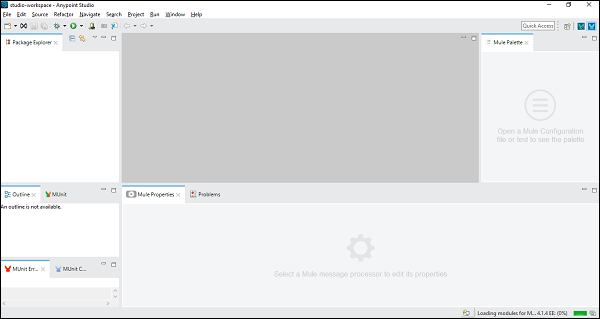
User Interface of Anypoint Studio
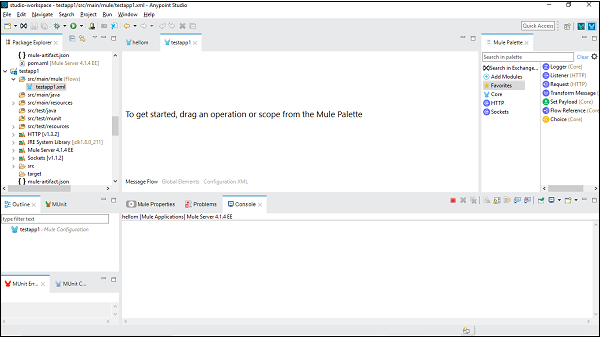
Once you Click on the Go to Workspace button, it will lead you to the user interface of Anypoint Studio as follows −
Steps for Creating Mule Application
In order to create your Mule application, follow the below steps −
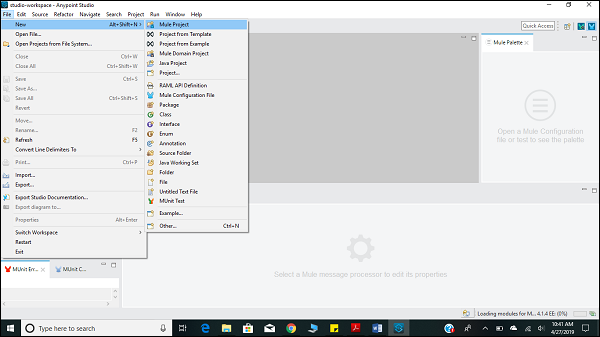
Creating New Project
The very first step for creating Mule application is to create a new project. It can be done by following the path FILE → NEW → Mule Project as shown below −
Naming the Project
After clicking on the new Mule Project, as described above, it will open a new window asking for the project name and other specifications. Give the name of the Project, TestAPP1 and then click on the finish button.

Once you click on the Finish Button, it will open the workspace built for your MuleProject namely TestAPP1. You can see all the Editors and Views described in the previous chapter.
Configuring the Connector
Here, we are going to build a simple Mule application for HTTP Listener. For this, we need to drag the HTTP Listener connector from Mule Palette and drop it to the workspace as shown below −
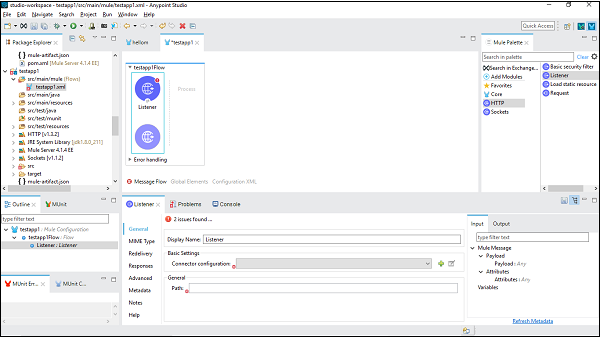
Now, we need to configure it. Click on the green color + sign after Connector configuration under Basic Settings as shown above.
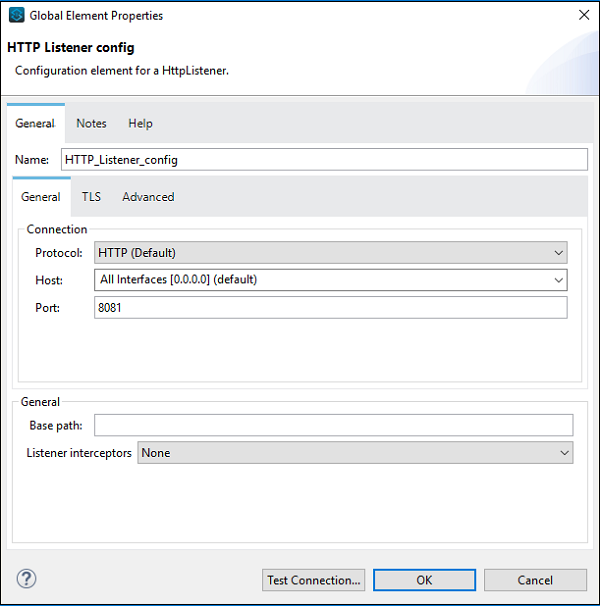
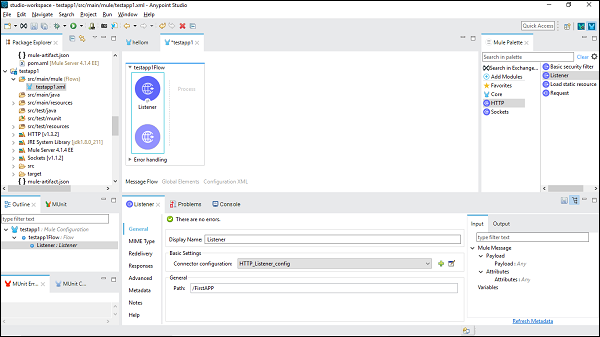
On clicking ok, it will take you back on HTTP Listener property page. Now we need to provide the path under General Tab. In this particular example, we have provided /FirstAPP as path name.
Configuring Set Payload Connector
Now, we need to take a Set Payload connector. We also need to give its value under Settings tab as follows −
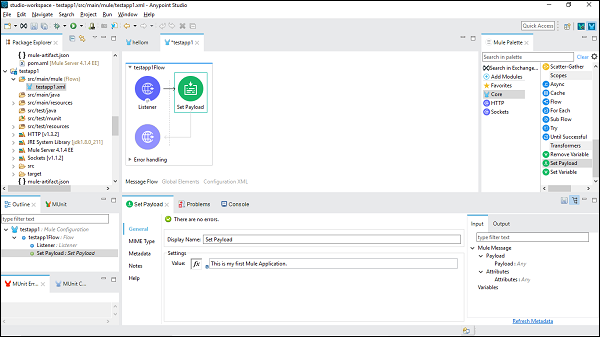
This is my first Mule Application, is the name provided in this example.
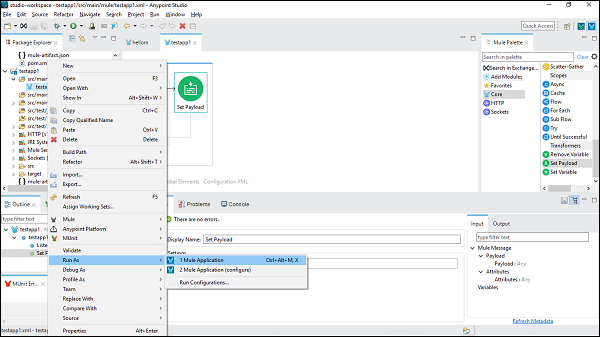
Running Mule Application
Now, save it and click Run as Mule Application as shown below −
We can check it under Console which deploys the application as follows −
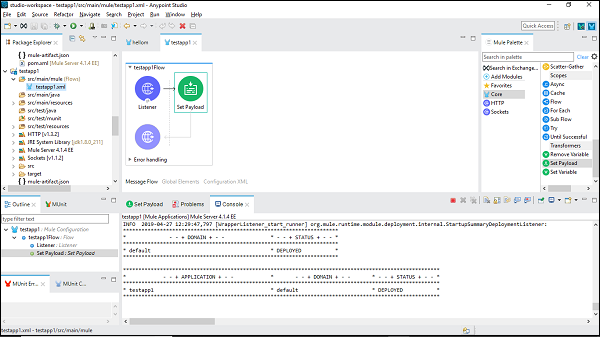
It shows that you have successfully built your first Mule Application.
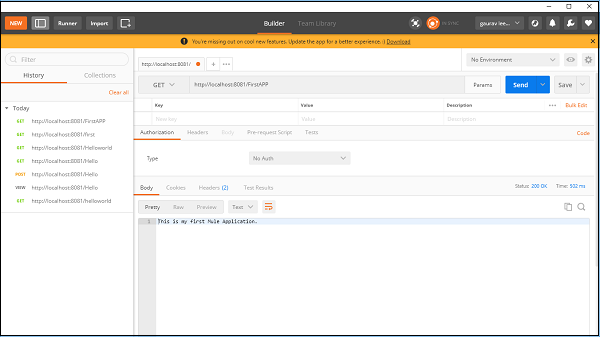
Verifying Mule Application
Now, we need to test whether our app is running or not. Go to POSTMAN, a Chrome app and enter the Url: http:/localhost:8081. It shows the message we have provided while building Mule application as shown below −