 Data Structure
 Networking
 RDBMS
RDBMS Operating System
 Java
Java MS Excel
 iOS
iOS HTML
HTML CSS
CSS Android
 Python
 C Programming
 C++
C++ C#
C# MongoDB
 MySQL
MySQL Javascript
 PHP
PHP
- Selected Reading
- UPSC IAS Exams Notes
- Developer's Best Practices
- Questions and Answers
- Effective Resume Writing
- HR Interview Questions
- Computer Glossary
- Who is Who
How to save pyttsx3 results to MP3 or WAV file?
The pyttsx3 is a Python library that provides a simple interface for using TTS synthesis. Text to Speech (TTS) converts written text to spoken words. It is mainly used to generate speech from text and customize various aspects of the speech audio. The speech output generated by the pyttsx3 library is often saved as an audio file in popular formats like MP3 or WAV. This article will discuss how we can save pyttsx3 results to MP3 or WAV files.
Algorithm
A general algorithm for saving the pyttsx3 result to mp3 or WAV file is as follows :
Import the required libraries: pyttsx3, time, and os.
Initialize the pyttsx3 engine using pyttsx3.init().
Set any desired TTS properties using engine.setProperty(property_name, value). This step is optional.
Provide the text input for TTS synthesis using engine.say(text).
Specify the output file path and name for the temporary WAV file.
Use engine.save_to_file(text, output_path) to save the speech to the temporary WAV file.
Run the TTS synthesis and wait until it finishes using engine.runAndWait().
Convert the temporary WAV file to MP3 format using an audio conversion tool like ffmpeg. Use os.system("ffmpeg ?i input.wav output.mp3") to execute the conversion. Make sure ffmpeg is installed and accessible in the system's PATH.
The final synthesized speech is now saved in the specified MP3 or WAV file format.
Method 1:Using the pydub library to save to MP3
The pydub library simplifies the process of saving pyttsx3 results to MP3 format. With just a few lines of code, you can convert the temporary WAV file to MP3 using the export() method. It offers a convenient way to work with audio files and provides flexibility in handling different formats.
Syntax
audio.export(output_path, format="mp3")
Here, audio.export(output_path, format="mp3") is used with the pydub library to export an audio file. It specifies the output path and format, in this case, saving the audio as an MP3 file.
Example
In the below example,the temporary WAV file generated by pyttsx3 and converts it to an MP3 file using pydub's export() method. The synthesized speech will be saved as an MP3 file named "output.mp3". The pydub library simplifies the process of exporting audio files to different formats, including MP3.
from pydub import AudioSegment
audio = AudioSegment.from_wav("output.wav")
audio.export("output.mp3", format="mp3")
Output

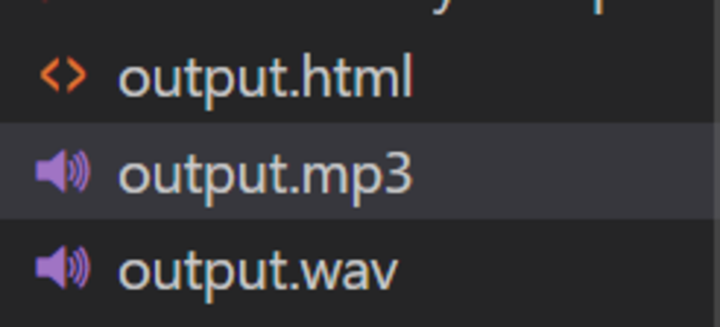
The above image shows that the output.mp3 file is successfully saved as output.wav file in the current directory.
Method 2:Using the wave module to save to WAV
The wave module is a built?in Python module that allows you to save pyttsx3 results to WAV format. By using the wave.open() function, you can set the necessary parameters for the WAV file and write the audio frames to it. This method provides a basic and straightforward way to work with WAV files in Python.
Syntax
audio_file.setparams(params)
Here, the audio_file.setparams(params) is used with the wave module to set the parameters for the WAV file, such as the number of channels, sample width, frame rate, and compression type.
audio_file.writeframes(audio_data)
Here,The syntax audio_file.writeframes(audio_data) is used to write the audio frames, represented by the audio_data variable, to the WAV file. It saves the audio data into the file based on the specified parameters.
Example
In the below example, uses the wave module to save the pyttsx3?generated WAV audio data into a WAV file. It opens the temporary WAV file, sets the parameters for the output file (such as the number of channels, sample width, frame rate, and compression type), and writes the audio frames to the output file named "output_saved.wav".
import wave
audio = open("output.wav", 'rb').read()
params = (2, 2, 44100, 0, 'NONE', 'not compressed')
with wave.open("output_saved.wav", 'wb') as audio_file:
    audio_file.setparams(params)
    audio_file.writeframes(audio)
Output

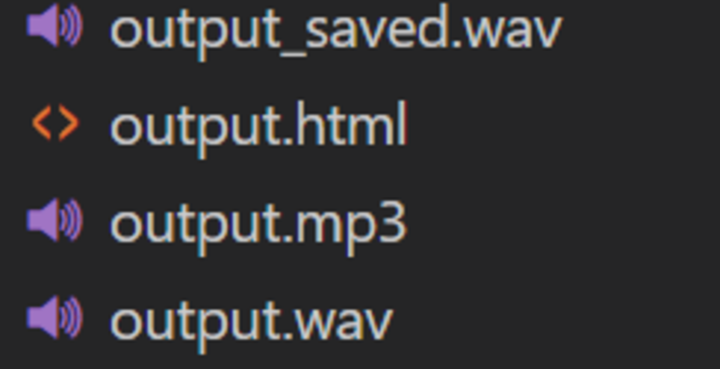
The above image shows that the output.mp3 file is converted to output_saved.wav file and then saved in the current directory.
Method 3:Using the soundfile library to save to WAV
The soundfile library offers a comprehensive solution for saving pyttsx3 results to WAV format. It provides a high?level interface to read and write audio data in various formats. By utilizing the write() function, you can easily save the pyttsx3?generated audio data to a new WAV file.
Syntax
soundfile.write(output_path, audio_data, sample_rate)
Here, soundfile.write(output_path, audio_data, sample_rate) is used with the soundfile library to save audio data to a file. It writes the audio_data array containing the audio samples to the file specified by output_path, using the given sample_rate. This syntax provides a convenient way to save audio data to a WAV file with the desired sample rate and file path.
Example
In the below example, we use the soundfile library to read the audio data and sample rate from the temporary WAV file generated by pyttsx3. Then, it saves the audio data to a new WAV file named "output_saved.wav" using the write() function. The soundfile library provides a straightforward way to save audio data to WAV files with customizable options.
import soundfile as sf
audio, sample_rate = sf.read("output.wav")
sf.write("output_saved.wav", audio, sample_rate)
Output

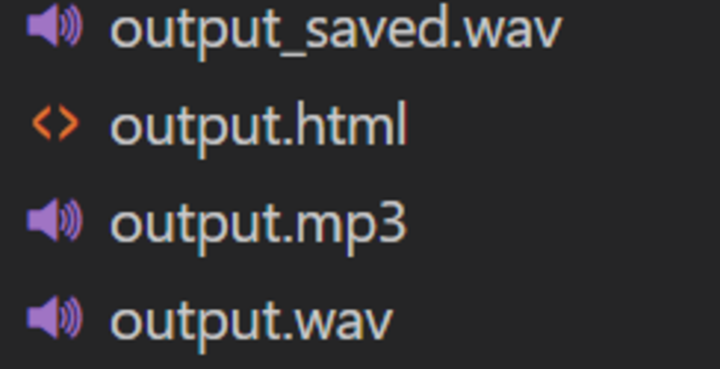
Here, the mp3 file is converted to .wav file and saved as an output_saved.wav file in the same directory in which mp3 file is present.
Conclusion
In this article, we discussed how we can convert text to speech by saving the pyttsx3 result to an mp3 or WAV file. We covered the necessary steps, from installing pyttsx3 to initializing the engine, synthesizing speech, and saving the output to audio files. By following these steps, you can leverage pyttsx3's capabilities to generate high?quality speech and save it in the desired format for further use in your applications or projects.

