
Article Categories
- All Categories
-
 Data Structure
-
 Networking
-
 RDBMS
RDBMS
-
 Operating System
-
 Java
Java
-
 MS Excel
-
 iOS
iOS
-
 HTML
HTML
-
 CSS
CSS
-
 Android
-
 Python
-
 C Programming
-
 C++
C++
-
 C#
C#
-
 MongoDB
-
 MySQL
MySQL
-
 Javascript
-
 PHP
PHP
-
 Economics & Finance
How to list all table names in Excel?
In this article, the user will understand the concept how to list the names of all the tables in a particular Excel worksheet. Excel provides ways to present data to the end user. One of the ways is by organizing the data in a table. A table is a two-dimensional structure that holds data in the form of horizontal rows and vertical columns. In Excel, before inserting a table, we need to enter the data required for the table rows and columns. Then these cells having data are selected and a table is inserted using the Table option under Insert tab.
There are two examples to list the names of all the tables in the given workbook.
Example 1: By Using VBA code.
Example 2: By Using Name box.
Example 1: Using VBA code
VBA programming language serves a variety of purposes. One of the purposes is to display a list of tables in Excel.
Let us look at the steps involved in creating VBA code.
Step 1
Create 2 tables in one of the worksheets as shown.

Step 2
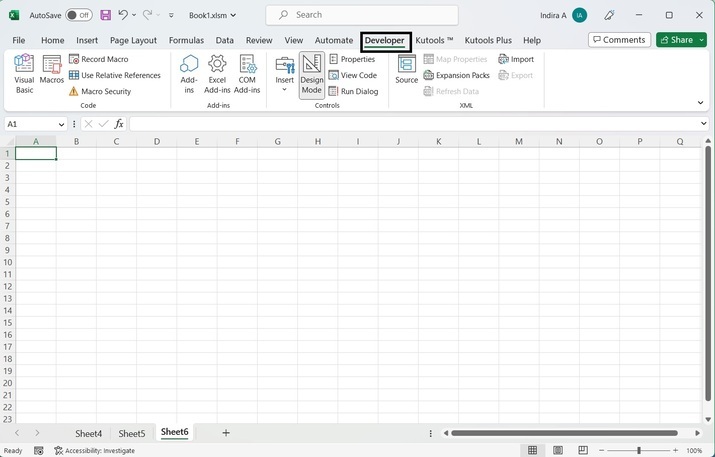
Click on the Developer tab as shown in below image.
Step 3
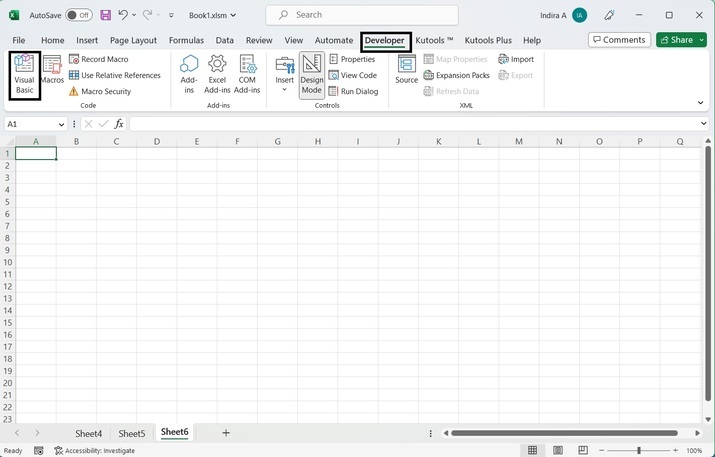
Click on the Visual Basic option as shown in the below figure.
Step 4
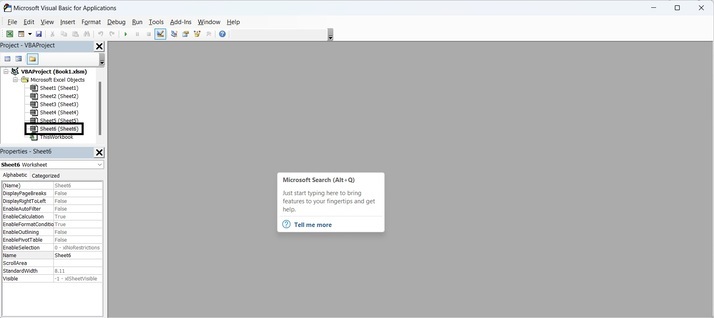
A new window will open with all the worksheets displayed on the left side of the window.
Step 5
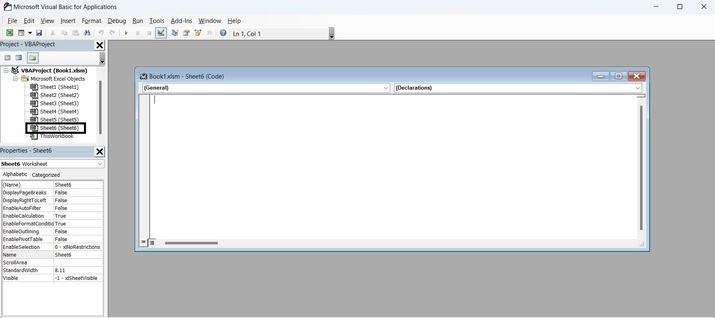
Double click on the worksheet on which table names are to be displayed. An empty box will open.
Step 6
In this empty box, enter the VBA code that is given below.
The VBA code to be used is as follows.
Sub DisplayAllTables()
   ' declaring variables
   Dim k As ListObject
   Dim s1 As Worksheet
   Dim t As Integer

   ' initializing integer variable
   t = -1

   ' traversing through each table and displaying each table name in a new cell
   For Each s1 In Worksheets
      For Each k In s1.ListObjects
         t = t + 1
         Sheets(6).Range("A1").Offset(t).Value = k.Name
      Next k
   Next
End Sub
Step 7
After entering the VBA code, click on Run button and the code will execute.
Output
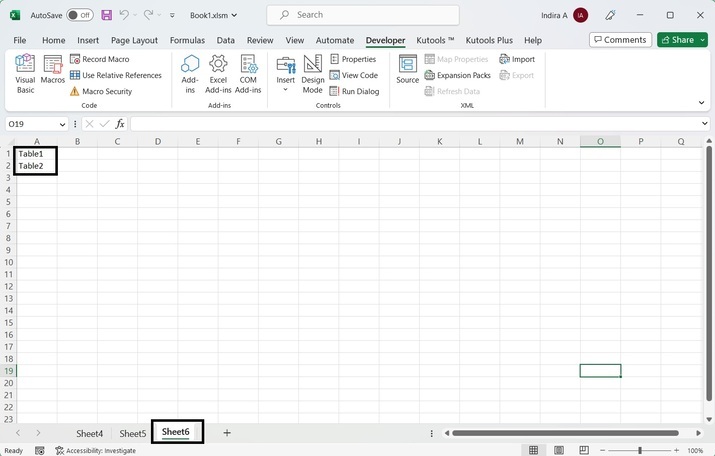
As seen from the output image, the names of all the tables are displayed on Sheet6 which was selected in the previous step.
Example 2: Using Name box
Let us look at the steps involved in displaying the names of all the tables using the Name box.
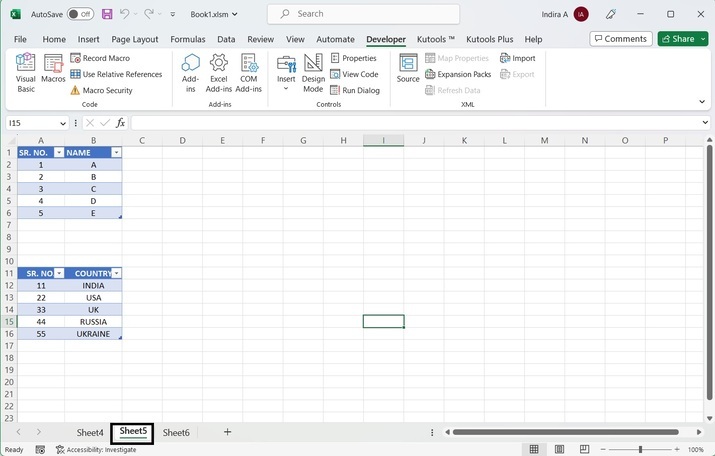
Step 1
Create 2 tables in a worksheet as shown.
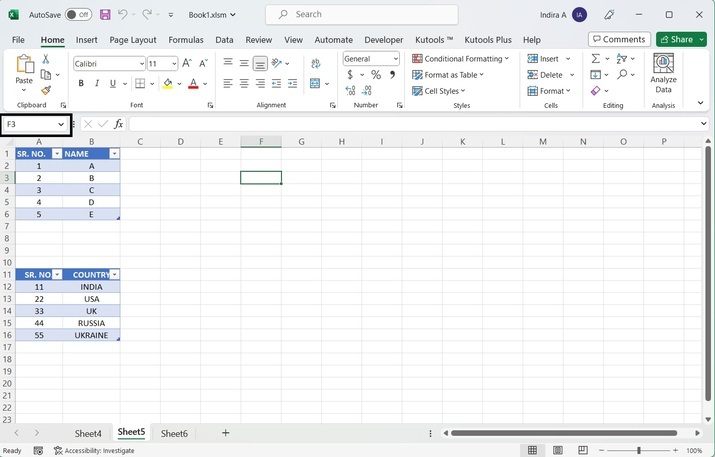
Step 2
Name box is present on the extreme left of the formula bar as highlighted in below image.
Step 3
The name box contains a dropdown list as shown in the previous image. Click on this dropdown and you will be able to see the names of all the tables present in the current Excel workbook.
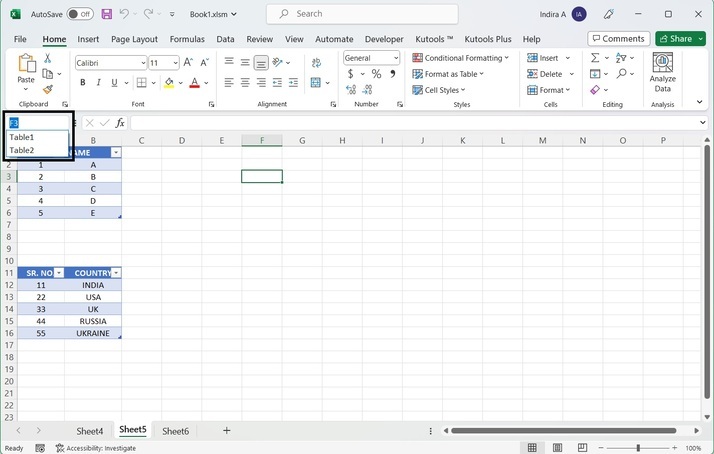
As seen from the output image, the Name box contains the names of the tables along with the name of the currently selected cell.
Conclusion
In this article, we learned about the different methods to list the names of all the tables present in the current workbook. It is mandatory that the user should be comfortable using Excel and should be well-versed in VBA programming language. Also, the user should be able to name all the parts of an Excel worksheet and easily navigate through all the options present in an Excel worksheet.

5K+ Views
