
Article Categories
- All Categories
-
 Data Structure
-
 Networking
-
 RDBMS
RDBMS
-
 Operating System
-
 Java
Java
-
 MS Excel
-
 iOS
iOS
-
 HTML
HTML
-
 CSS
CSS
-
 Android
-
 Python
-
 C Programming
-
 C++
C++
-
 C#
C#
-
 MongoDB
-
 MySQL
MySQL
-
 Javascript
-
 PHP
PHP
-
 Economics & Finance
How to install the MSI file using PowerShell?
To install the MSI file with PowerShell, we can use cmdlet Start-Process.
Let say we want to install the 7ZIP MSI file on the local computer and we have downloaded and stored the source file on the C:\temp location. Once we run the below command it will start the MSI installation.
Start-Process C:\Temp\7z1900-x64.msi
The above command will open the GUI to install the MSI file but we use PowerShell to avoid GUI interaction so we can add the argument to install the file.
If you check which arguments are available to run the MSI file, use the below command.
C:\Temp\7z1900-x64.msi /?
It will popup box like this,
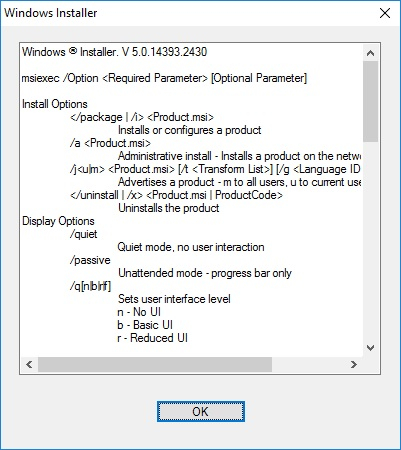
We need here /quiet argument to install the 7zip silently.
Start-Process C:\Temp\7z1900-x64.msi -ArgumentList "/quiet"
If you want to see the progress bar in unattended mode add /Passive argument
Start-Process C:\Temp\7z1900-x64.msi -ArgumentList "/quiet /passive"
To install the MSI file on the remote server, we can use Invoke-Command.
Invoke-Command -ComputerName LabMachine2k16 -ScriptBlock{
   Start-Process C:\Temp\7z1900-x64.msi -ArgumentList "/quiet"
} 
26K+ Views
