
Article Categories
- All Categories
-
 Data Structure
-
 Networking
-
 RDBMS
RDBMS
-
 Operating System
-
 Java
Java
-
 MS Excel
-
 iOS
iOS
-
 HTML
HTML
-
 CSS
CSS
-
 Android
-
 Python
-
 C Programming
-
 C++
C++
-
 C#
C#
-
 MongoDB
-
 MySQL
MySQL
-
 Javascript
-
 PHP
PHP
-
 Economics & Finance
How to Add Spaces after Commas in Excel?
We use commas to separate items of the same category in a list. If the words are not separated clearly by commas and spaces, then it looks ugly and impossible to understand. You might have come across situations where you borrowed some data from the Internet and used it in an Excel sheet, only to realize that the data missing spaces and commas. You can, of course, insert commas manually, but it will be a time-consuming affair. In this tutorial, we will show you a simple way to insert spaces after commas in an Excel sheet.
Adding Spaces after Commas in Excel
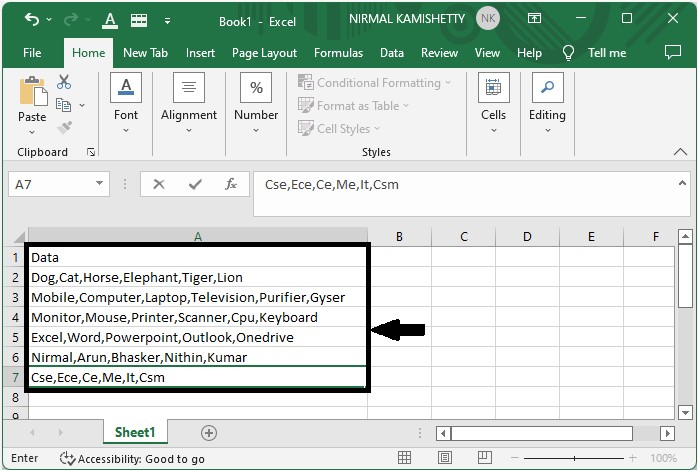
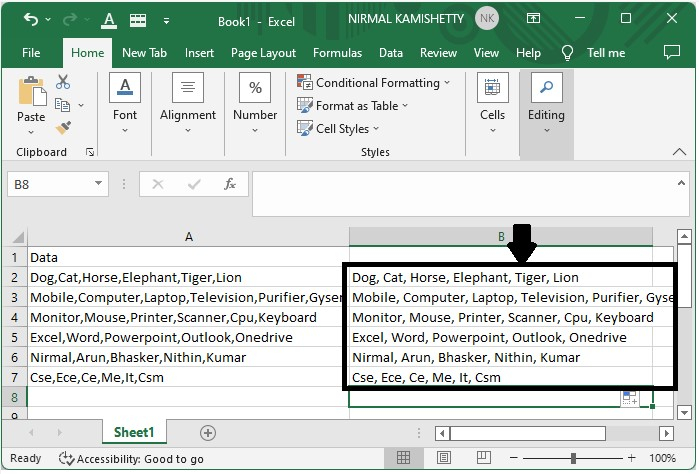
You can use the Formulas provided in Excel to add spaces after commas. Let's suppose we have an Excel sheet with the following data:
Step 1
Click the Formula bar and use the formula =TRIM(SUBSTITUTE(A2,",",", ")) to add spaces after commas.
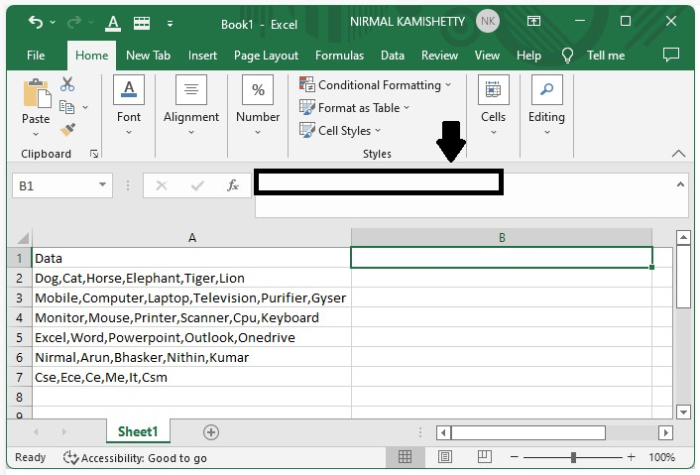
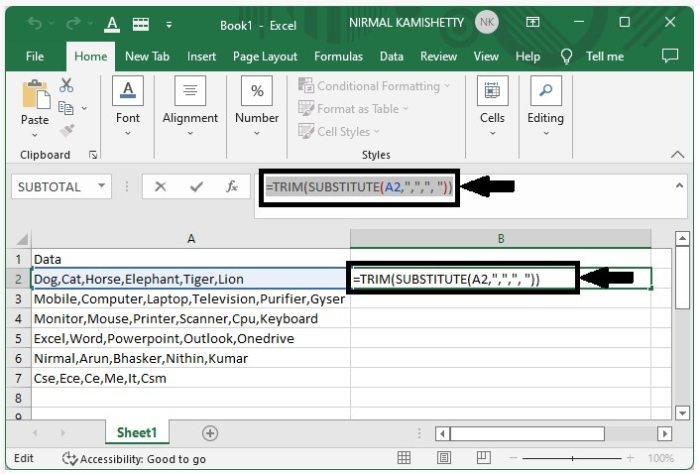
Step 2
Type the formula in the cell which is next to the box with the data. In our case, it can be "A2", as shown in the screenshot below:
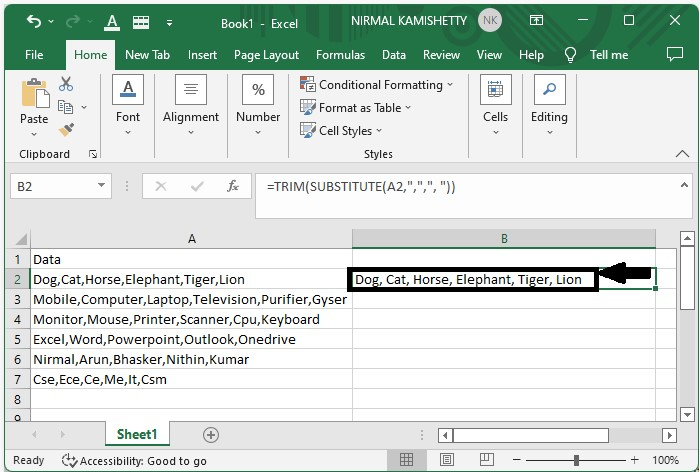
After typing the formula, hit the "Enter" button to get the first result. The contents of cell "A2" will now appear as follows:
Step 3
As we have successfully got the required output for the first data, now we can just drag down from the right end of the cell to get the other cells filled with the formatted data. Our final result will look like the one shown below:
Conclusion
In this tutorial, we used an example to demonstrate how you can use a simple formula to format a set of given data in Excel by inserting spaces after commas to make the text more readable and easy to comprehend.

7K+ Views
