
Article Categories
- All Categories
-
 Data Structure
-
 Networking
-
 RDBMS
RDBMS
-
 Operating System
-
 Java
Java
-
 MS Excel
-
 iOS
iOS
-
 HTML
HTML
-
 CSS
CSS
-
 Android
-
 Python
-
 C Programming
-
 C++
C++
-
 C#
C#
-
 MongoDB
-
 MySQL
MySQL
-
 Javascript
-
 PHP
PHP
-
 Economics & Finance
How to add comma at the end of cell/text in Excel?
When you are working on an Excel Worksheet, you will run into situations in which the last name and the first name are not separated by a comma. Adding a comma between the two names manually can be a difficult and time-consuming task. It is highly typical for there to be an absence of commas in the data. This is particularly true in situations in which the data is copied from word editors. but, when you deal with a vast amount of data, you have to discover a better approach to do it or come up with a different way to do it manually.
In this article. You are going to learn about different methods to add comma at the end of the cell. Let?s learn step by step with some examples.
Using "&" Sign
Step 1
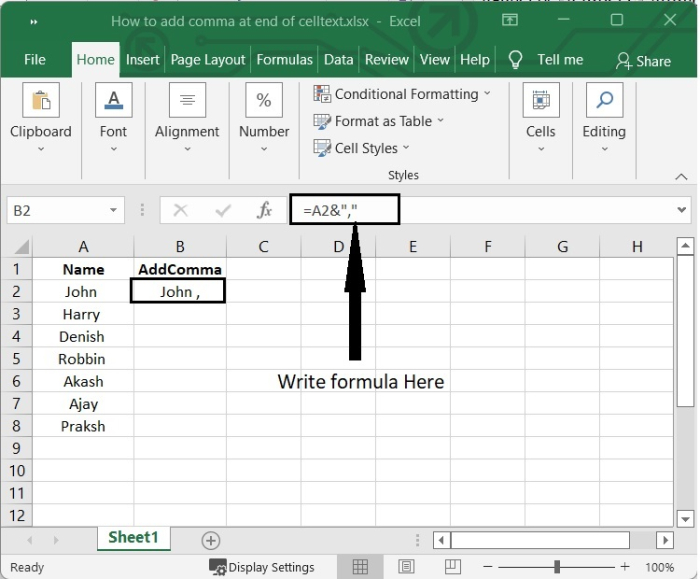
In our example, we have some employee names in an Excel sheet. We want to add comma at the end of those names.

Step 2
Select the blank cell B2 and add the following formula into it.
=A2&","
After adding the above formula in the formula bar, when you press Enter, you will see that comma has been added at the end of the text.
Step 3
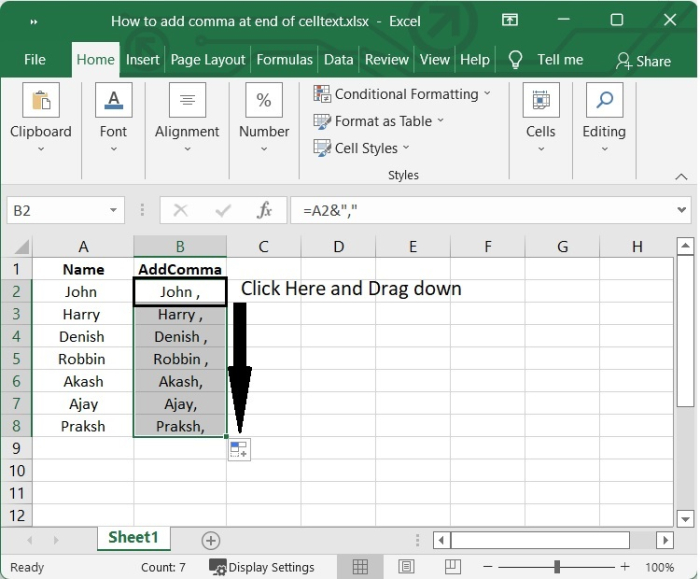
To get the result in the range of cells, click the ?+? sign that appears on the Lower-right corner of the cell B2, which activates the autofill function and then drag down. Refer the following screenshot.
Using CONCATENATE function
To unite or combine is what is meant by the word "CONCATENATE". The CONCATENATE function in excel is used for when you want to merge the contents of multiple cells into a single one. Excel's CONCATENATE function can connect up to 30 separate text elements into a single text string, which it then returns to the user. You can use the "concatenate" function to add comma in a cell.
Step 1
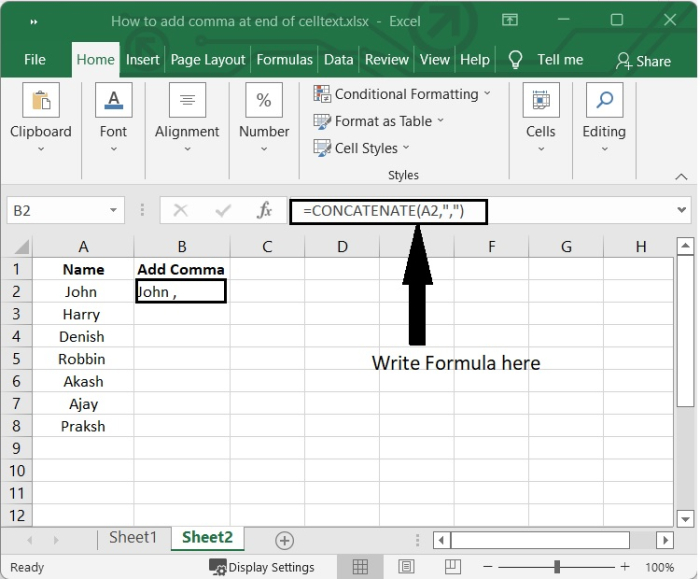
In this example, we have some employee names listed in an Excel spreadsheet. It is necessary for us to place a comma after each of those names.

Step 2
Select B2 cell and add the following formula.
=CONCATENATE(A2,",")
After Adding the formula, press enter and you will see the comma added at the end of the text. See the following image.
Step 3
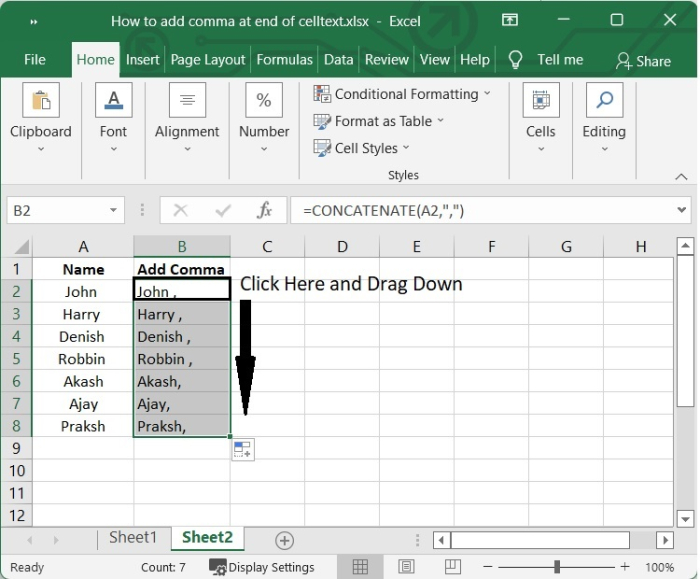
To get the result in the range of cells, click on the ?+? sign appears on the lower right corner of the cell B2, which activates the autofill function and then drag down. See the below given image.
Conclusion
In this tutorial, you have learned how to use the "&" symbol and the Concatenate function to add comma at the end of the text or a cell in Excel.

23K+ Views
