
Article Categories
- All Categories
-
 Data Structure
-
 Networking
-
 RDBMS
RDBMS
-
 Operating System
-
 Java
Java
-
 MS Excel
-
 iOS
iOS
-
 HTML
HTML
-
 CSS
CSS
-
 Android
-
 Python
-
 C Programming
-
 C++
C++
-
 C#
C#
-
 MongoDB
-
 MySQL
MySQL
-
 Javascript
-
 PHP
PHP
-
 Economics & Finance
How to add and change document author (document properties) in Excel
In the Excel workbook by default author will be the name of the person who creates the Excel workbook and it usually is the one name. At times workbook may be created by multiple/several persons, in that case, it requires adding the author names to the Excel workbook. Here you will see how to add and change the author names in an Excel workbook.
How to quickly add authors for Excel workbook
Below steps guides you, on how to add the other authors to the current Excel workbook.
Step 1
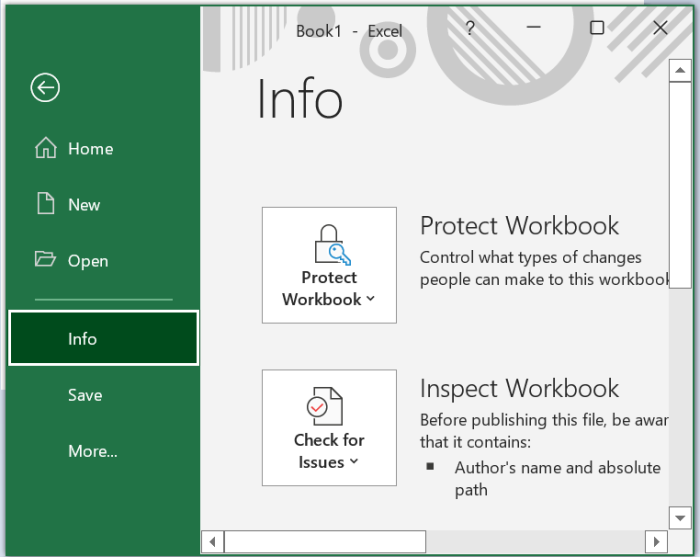
Open an Excel workbook, click on File and then select info as shown in the below screenshot.
Step 2
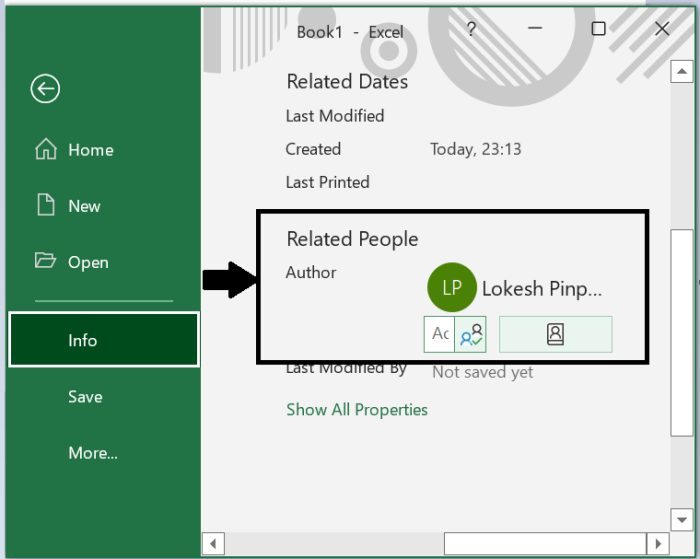
Now go to the Related people section on the right side of the Excel workbook. There you will see a box under the first author?s name wherein you can add a new author name in that box and click ok as shown in the below screenshot.
Note
This method will not work in Microsoft excel 2007.
Add or change the document properties and author in Excel
Below are the steps you need to follow for adding or changing author name and other document properties in Excel workbook.
Step 1
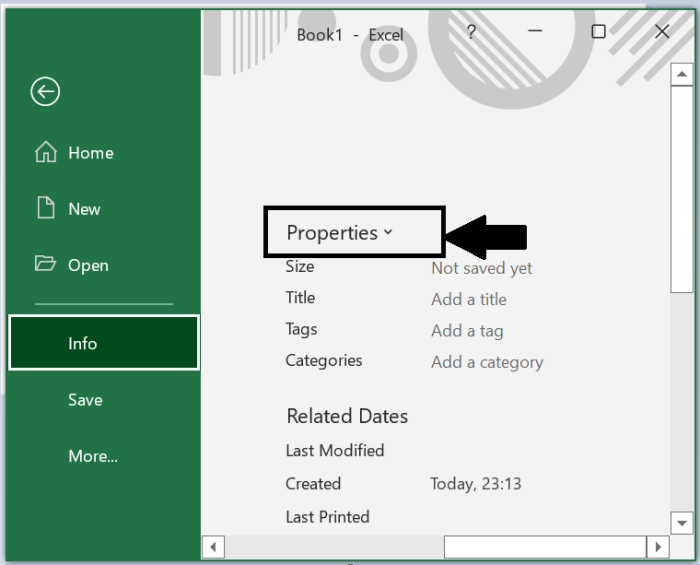
Open an Excel workbook, click on File and then select Info, after that click on properties as shown in the below screenshot.
Step 2
Once you click on properties, you will see Advanced properties as shown in the below screenshot.

Step 3
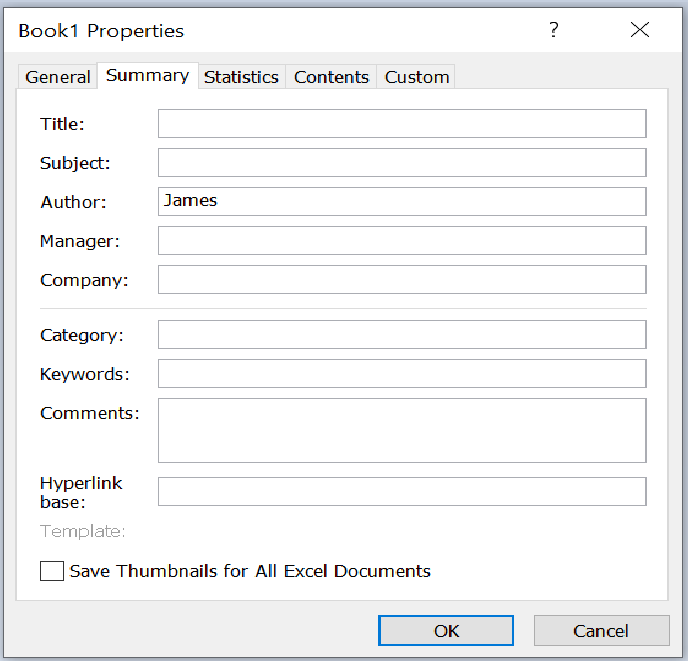
Once you click on Advanced properties you will see a dialog box. Under the summary tab you can add or change the author?s name also you can change the document properties. Find the below screenshot.
Step 4
Once you have updated the changes click on Ok.
This is how you will add or change the author names and document properties to the Excel workbook.

3K+ Views
