
Article Categories
- All Categories
-
 Data Structure
-
 Networking
-
 RDBMS
RDBMS
-
 Operating System
-
 Java
Java
-
 MS Excel
-
 iOS
iOS
-
 HTML
HTML
-
 CSS
CSS
-
 Android
-
 Python
-
 C Programming
-
 C++
C++
-
 C#
C#
-
 MongoDB
-
 MySQL
MySQL
-
 Javascript
-
 PHP
PHP
-
 Economics & Finance
How to add a border to the top and bottom of an iOS View?
In this post we will learn how to add top and bottom border to view.
In this example we will take as sample view and add borders to it.
Step 1 − Open Xcode → New Project → Single View Application → Let’s name it “AddBorderTopAndBottom”
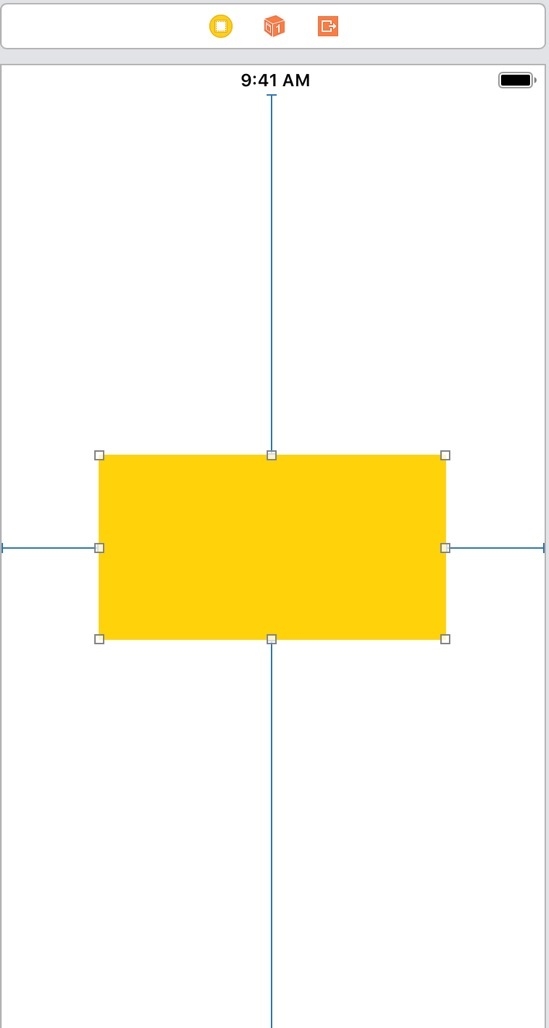
Step 2 − Open Main.storyboard add a UIView to it as shown below.
Step 3 − Add one @IBOutlet for the view, name it centerView.
Step 4 − We will write separate method to add borders to this view. To add borders to this view we will create two layers with desired thickness. We will set the frame of these two layers to top and bottom of the view. We will set the desired background color of the borders on these layers and add these layers as subLayers to the view.
So create a function addTopAndBottomBorders and add the following lines
func addTopAndBottomBorders() {
   let thickness: CGFloat = 2.0
   let topBorder = CALayer()
   let bottomBorder = CALayer()
   topBorder.frame = CGRect(x: 0.0, y: 0.0, width: self.centerView.frame.size.width, height: thickness)
   topBorder.backgroundColor = UIColor.red.cgColor
   bottomBorder.frame = CGRect(x:0, y: self.centerView.frame.size.height - thickness, width: self.centerView.frame.size.width, height:thickness)
   bottomBorder.backgroundColor = UIColor.red.cgColor
   centerView.layer.addSublayer(topBorder)
   centerView.layer.addSublayer(bottomBorder)
}
As you can see, we have set the appropriate thickness, frame and color for the layers and added them as sublayer.
Step 5 − Call addTopAndBottomBorders method in viewDidAppear of the ViewController class.
override func viewDidAppear(_ animated: Bool) {
   addTopAndBottomBorders()
}
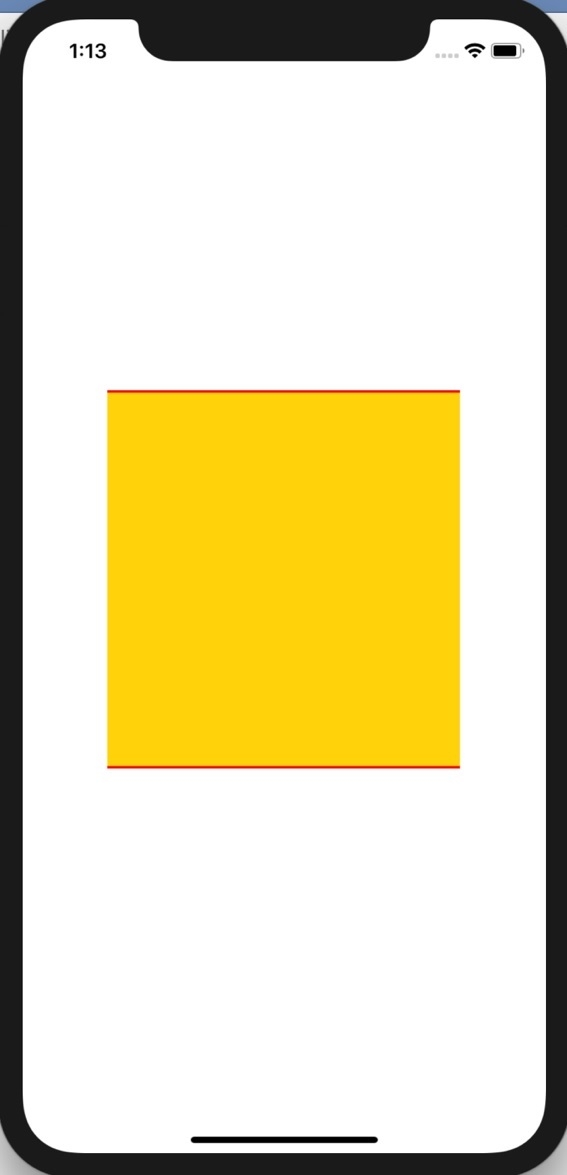
Step 6 − Run the project, you should be able to see the top and bottom borders of the center view.
5K+ Views
