- Apache Flume - Home
- Apache Flume - Introduction
- Data Transfer in Hadoop
- Apache Flume - Architecture
- Apache Flume - Data Flow
- Apache Flume - Environment
- Apache Flume - configuration
- Apache Flume - Fetching Twitter Data
- Sequence Generator Source
- Apache Flume - NetCat Source
Apache Flume - Environment
We already discussed the architecture of Flume in the previous chapter. In this chapter, let us see how to download and setup Apache Flume.
Before proceeding further, you need to have a Java environment in your system. So first of all, make sure you have Java installed in your system. For some examples in this tutorial, we have used Hadoop HDFS (as sink). Therefore, we would recommend that you go install Hadoop along with Java. To collect more information, follow the link − https://www.tutorialspoint.com/hadoop/hadoop_enviornment_setup.htm
Installing Flume
First of all, download the latest version of Apache Flume software from the website https://flume.apache.org/.
Step 1
Open the website. Click on the download link on the left-hand side of the home page. It will take you to the download page of Apache Flume.
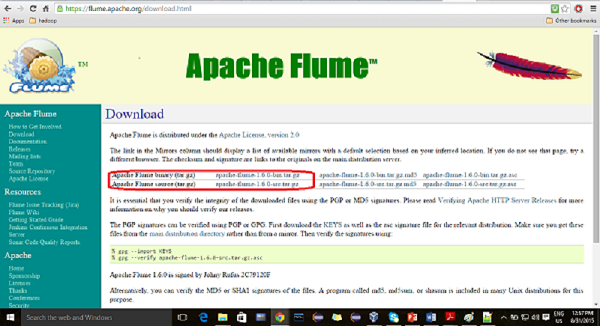
Step 2
In the Download page, you can see the links for binary and source files of Apache Flume. Click on the link apache-flume-1.6.0-bin.tar.gz
You will be redirected to a list of mirrors where you can start your download by clicking any of these mirrors. In the same way, you can download the source code of Apache Flume by clicking on apache-flume-1.6.0-src.tar.gz.
Step 3
Create a directory with the name Flume in the same directory where the installation directories of Hadoop, HBase, and other software were installed (if you have already installed any) as shown below.
$ mkdir Flume
Step 4
Extract the downloaded tar files as shown below.
$ cd Downloads/
$ tar zxvf apache-flume-1.6.0-bin.tar.gz
$ tar zxvf apache-flume-1.6.0-src.tar.gz
Step 5
Move the content of apache-flume-1.6.0-bin.tar file to the Flume directory created earlier as shown below. (Assume we have created the Flume directory in the local user named Hadoop.)
$ mv apache-flume-1.6.0-bin.tar/* /home/Hadoop/Flume/
Configuring Flume
To configure Flume, we have to modify three files namely, flume-env.sh, flumeconf.properties, and bash.rc.
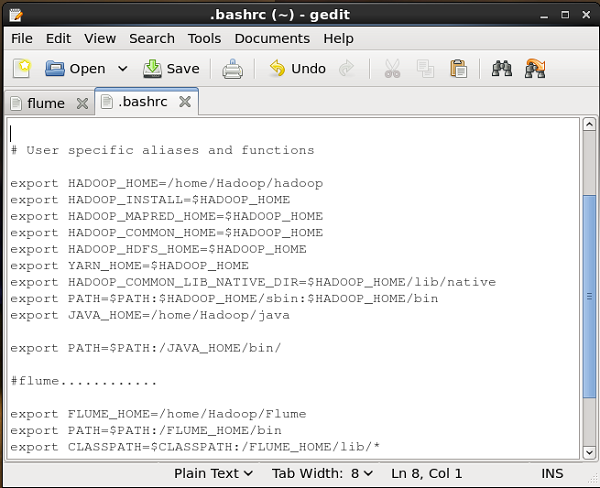
Setting the Path / Classpath
In the .bashrc file, set the home folder, the path, and the classpath for Flume as shown below.
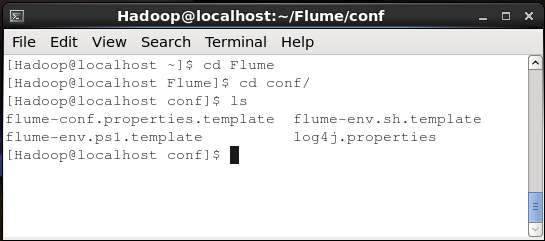
conf Folder
If you open the conf folder of Apache Flume, you will have the following four files −
- flume-conf.properties.template,
- flume-env.sh.template,
- flume-env.ps1.template, and
- log4j.properties.
Now rename
flume-conf.properties.template file as flume-conf.properties and
flume-env.sh.template as flume-env.sh
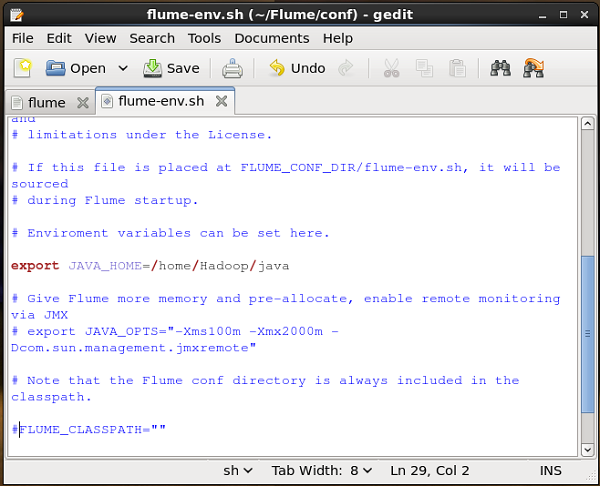
flume-env.sh
Open flume-env.sh file and set the JAVA_Home to the folder where Java was installed in your system.
Verifying the Installation
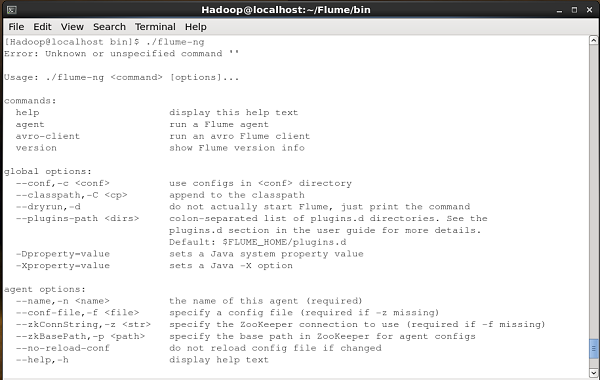
Verify the installation of Apache Flume by browsing through the bin folder and typing the following command.
$ ./flume-ng
If you have successfully installed Flume, you will get a help prompt of Flume as shown below.