- Watir - Home
- Watir - Overview
- Watir - Introduction
- Watir - Environment Setup
- Watir - Installing Drivers for Browsers
- Watir - Working with Browsers
- Watir - Web Elements
- Watir - Locating Web Elements
- Watir - Working with Iframes
- Watir - Automatic Waits
- Watir - Headless Testing
- Watir - Mobile Testing
- Watir - Capturing Screenshots
- Watir - Page Objects
- Watir - Page Performance
- Watir - Cookies
- Watir - Proxies
- Watir - Alerts
- Watir - Downloads
- Watir - Browser Windows
- Watir Useful Resources
- Watir - Quick Guide
- Watir - Useful Resources
- Watir - Discussion
Watir - Environment Setup
To work with Watir, we need to install the following −
- Install Ruby
- Install Watir
- Ruby Mine (IDE)
Since Watir is build using Ruby, we need to install Ruby and gem (package manager for Ruby).
Ruby Installation on Windows
To install Ruby on Windows, go to − https://rubyinstaller.org/downloads/
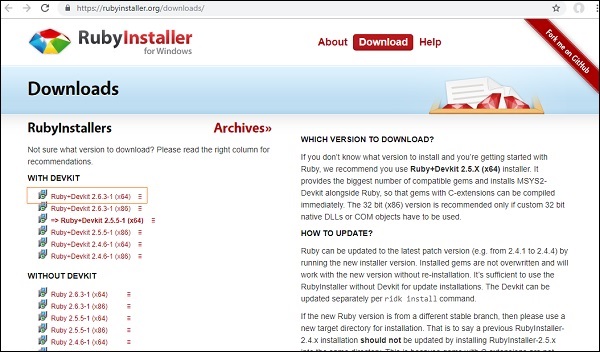
Install the ruby version based on your 32 or 64 bit operating system. Here we have installed the highlighted one as shown in the screenshot. Once you download it, follow the steps as prompted and install accordingly.
When you are done with the installation, check if ruby is installed by checking the version in command line as shown below −
C:\> ruby -v
If Ruby is successfully installed, you can see an output as shown below −

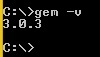
The version installed is 2.6.3. We have successfully installed Ruby on our system. Along with Ruby installation gem i.e. ruby package manager is also installed. You can check the version of gem installed as follows −
We are done with the installation of Ruby and Gem on windows.
Ruby Installation on Linux
For installing Ruby on Linux, run the following commands in your Linux terminal −
wget -O ruby-install-0.6.0.tar.gz https://github.com/postmodern/ruby-install/archive/v0.6.0.tar.gz
tar -xzvf ruby-install-0.6.0.tar.gz
cd ruby-install-0.6.0/
sudo make install
ruby-install ruby 2.5.3
Ruby Installation for Mac
For installing Ruby on Linux, run below commands in your Mac terminal −
Install xcode
xcode-select --install
Install HomeBrew
/usr/bin/ruby -e "$(curl -fsSL https://raw.githubusercontent.com/Homebrew/install/master/install)"
Install rbenv
brew install rbenv
rbenv init
touch ~/.bash_profile
echo 'eval "$(rbenv init -)"' >> ~/.bash_profile
source ~/.bash_profile
rbenv install 2.5.3
rbenv local 2.5.3
Installing Watir
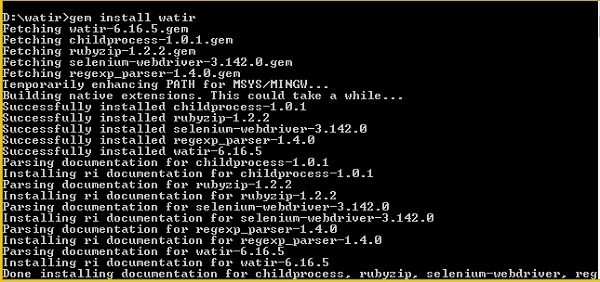
The command to install watir is −
gem install watir
gem install watir
Then you can observe an output screen as shown below −
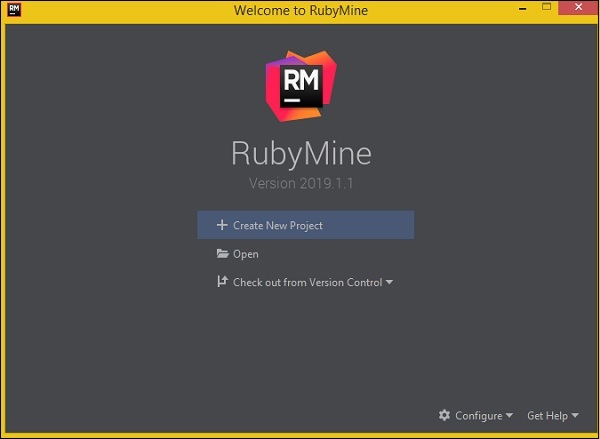
RubyMine IDE
We will use RubyMine IDE to write and execute our test cases. The official website for RubyMine IDE is www.jetbrains.com/ruby.

RubyMine is a paid IDE with a 30-day free trial. Click on free trial button to download. You may also use some other IDE of your choice to write the test-cases.
On-click of the free trial button, it will start downloading. Once the download is done, install it on your system.
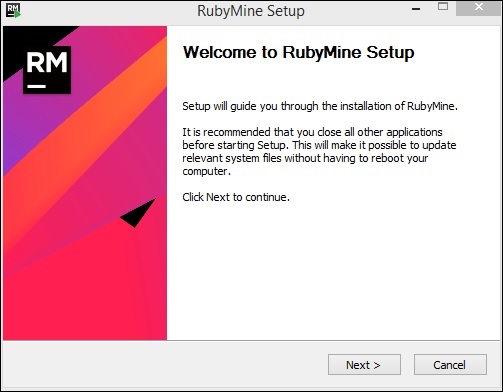
Click on Next and proceed with the installation. Once the installation is complete, open the IDE and it will ask you to create the project as shown below −
Click on Create New Project, we have entered the name of the project as Watir and here is the display in the IDE −
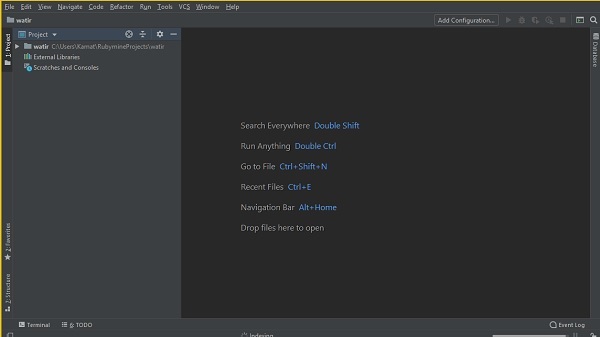
We will write our test-cases in watir/ folder and execute it.
