- Virtualization 2.0 - Home
- Virtualization 2.0 - Overview
- Virtualization 2.0 - Pros and Cons
- Virtualization 2.0 - Common Uses
- Virtualization 2.0 - Hardware
- Virtualization 2.0 - Microsoft HyperV
- VMware Workstation Player
- Virtualization 2.0 - VirtualBox
- Virtualization 2.0 - Openstack
- Preparing the Infrastructure
- Virtualization 2.0 - Troubleshooting
- Backing Up, Restoring & Migrating VM
- Virtualization 2.0 - Quick Guide
- Virtualization 2.0 - Useful Resources
- Virtualization 2.0 - Discussion
Virtualization 2.0 - VirtualBox
In this chapter, we will understand what a VirtualBox is and discuss in detail the various components it has.
Installing VirtualBox
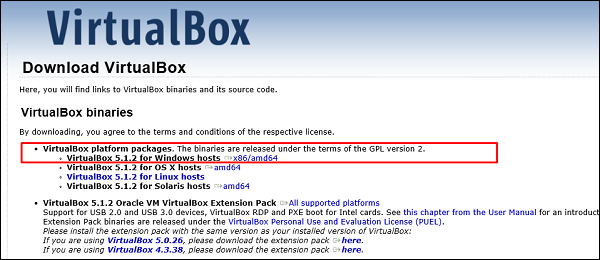
To start with, we will download VirtualBox and install it. We should follow the steps given below for the installation.
Step 1 − To download VirtualBox, click on the following link https://www.virtualbox.org/wiki/Downloads Now, depending on your OS, select which version to install. In our case, it will be the first one (Windows host).
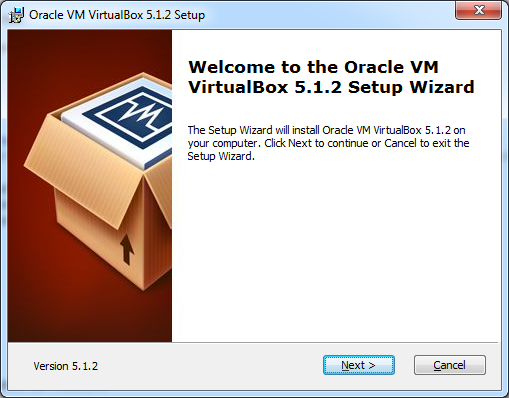
Step 2 − Once the option is selected, click on Next.
Step 3 − You have the option asking where to install the application. We can leave it as default and click on Next.
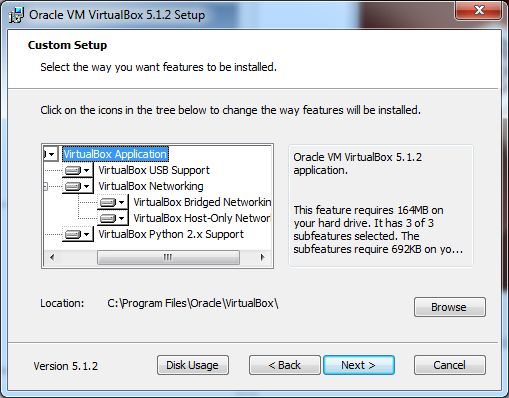
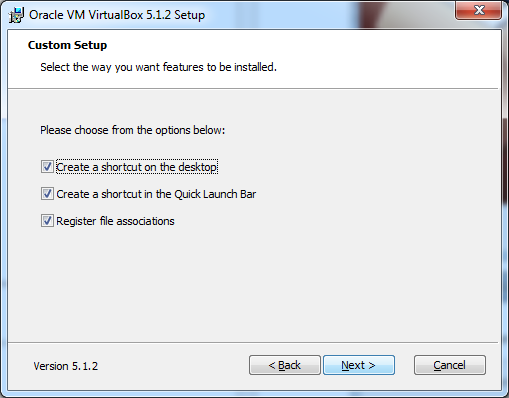
Step 4 − Once the options are selected as shown in the following screenshot, click on Next.
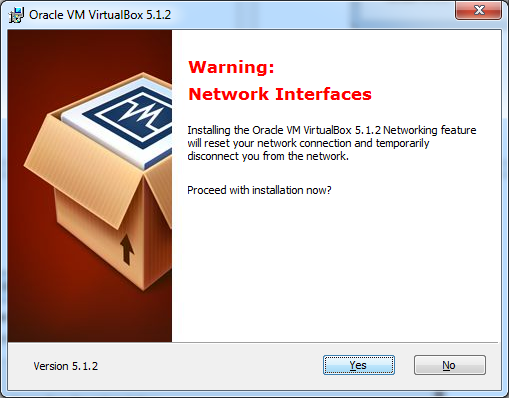
Step 5 − A dialog box will come up asking whether to proceed with the installation. Click Yes.
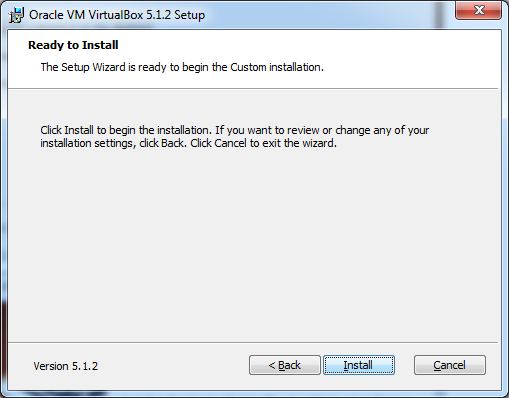
Step 6 − In the next step, click on Install.
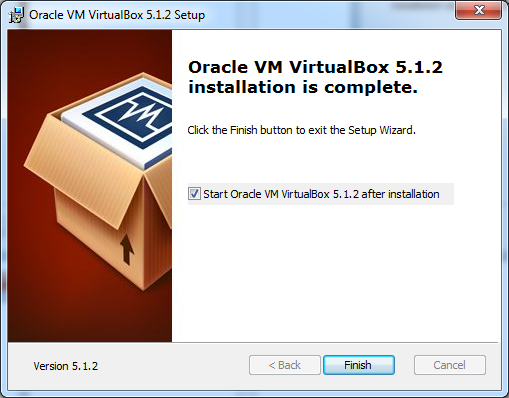
Step 7 − Tick the start VirtualBox check box and click on Finish.
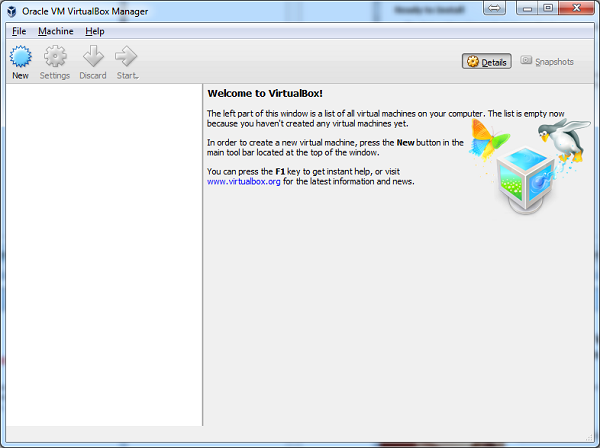
Step 8 − VirtualBox application will now open as shown in the following screenshot. Now, we are ready to install the virtual machines.
Creating a VM with VirtualBox
To create a virtual machine with Oracle VirtualBox, we should follow the steps given below.
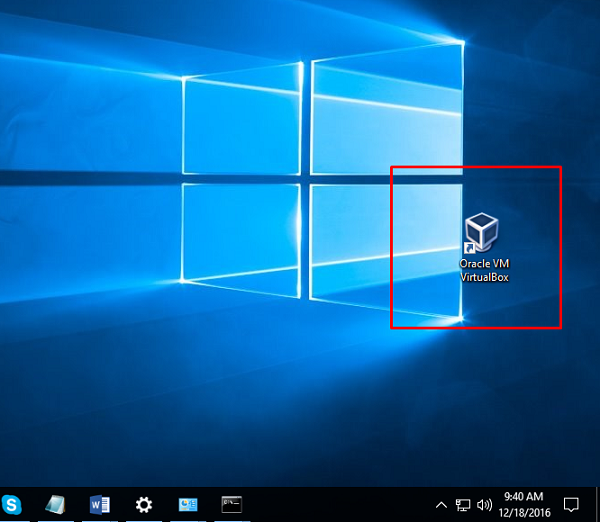
Step 1 − To begin with, click on the Oracle VM VirtualBox icon on the desktop as shown in the screenshot below.
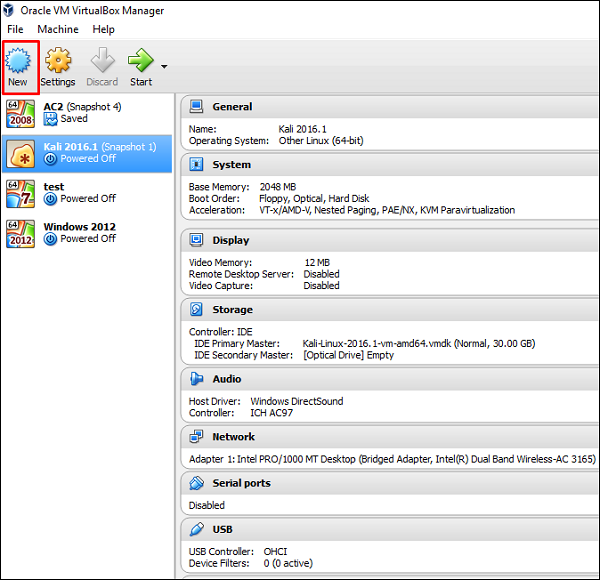
Step 2 − The next step is to click on New button, which is in the top left hand side of the screen.
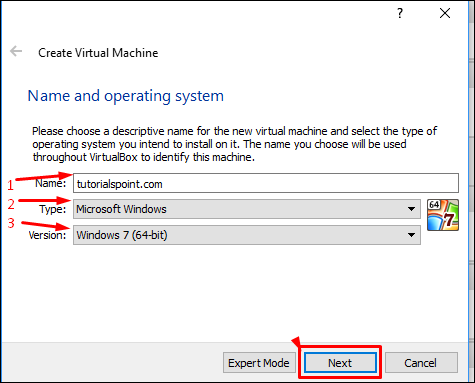
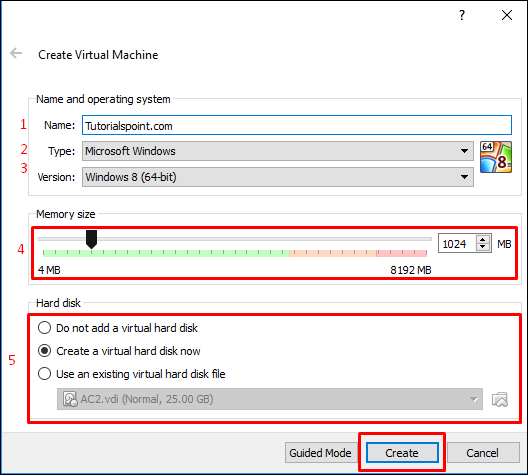
Step 3 − A table will pop-up requesting you the parameters for the virtual machine. These will be −
Name − We have to put a friendly name for this Virtual Machine.
Type − Enter the OS that is going to be installed on it.
Version − Enter the specific version for that OS, which we have selected earlier.
Once all the above parameters are filled, click on Next.
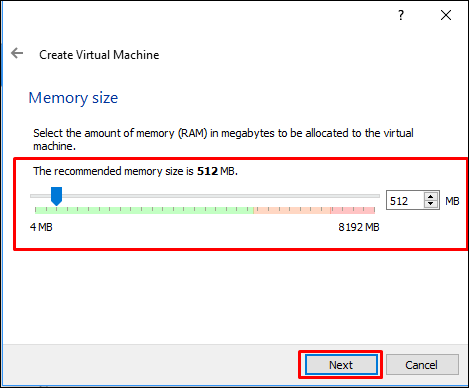
Step 4 − Select the amount of memory that you need to allocate in this VM → Click on Next.
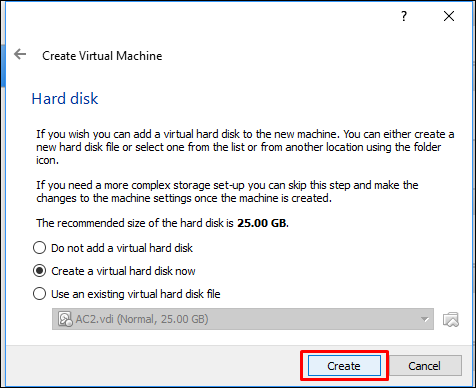
Step 5 − Check one of the three options for the HDD and click on Create.
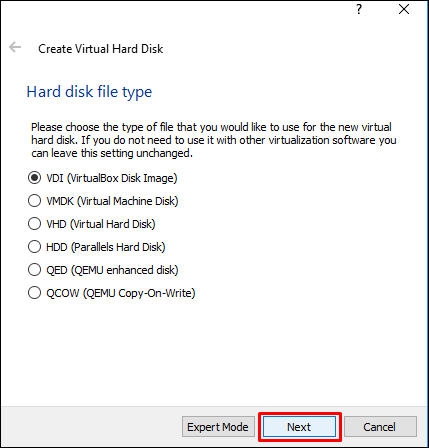
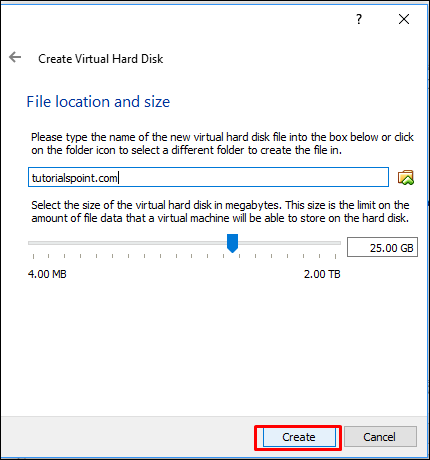
Step 6 − Select a file extension for your virtual HDD (It is recommended to use a common file extension that most of the hypervisors use like VHD) → click on Next.
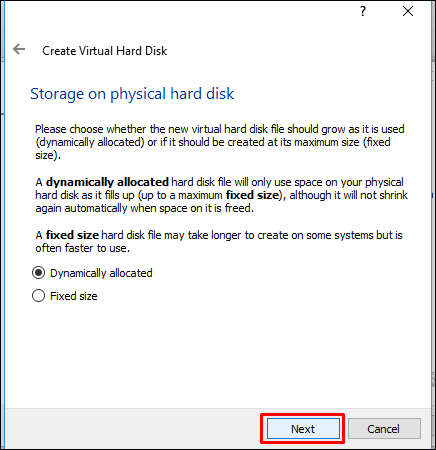
Step 7 − Choose whether you want the Virtual HDD as dynamic or fixed. This is based on your needs → Click on Next.
Step 8 − Put a name for your virtual HDD file and select the disk size for your VM → Click on Create.
All the above steps can be done in one shot by selecting the Expert mode.
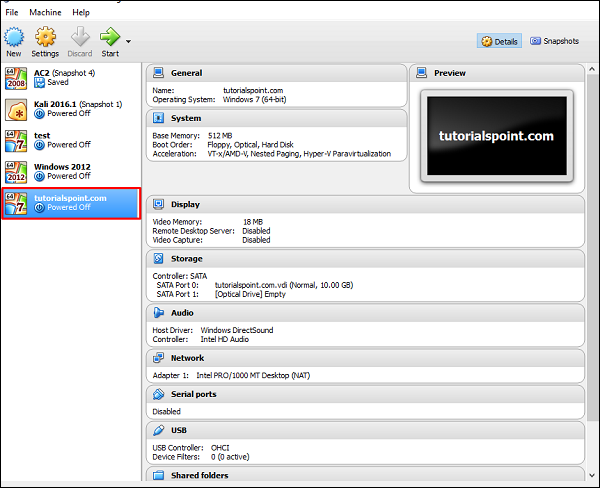
The virtual machine created will be as shown in the screenshot below.
Setting up Networking with VirtualBox
There are two types of networking modes in VirtualBox, which are −
- Nat Networks and
- Host-only Networks.
Both of these are explained in detail below.
Nat Networks
For setting up Nat Networks, we should follow the steps given below.
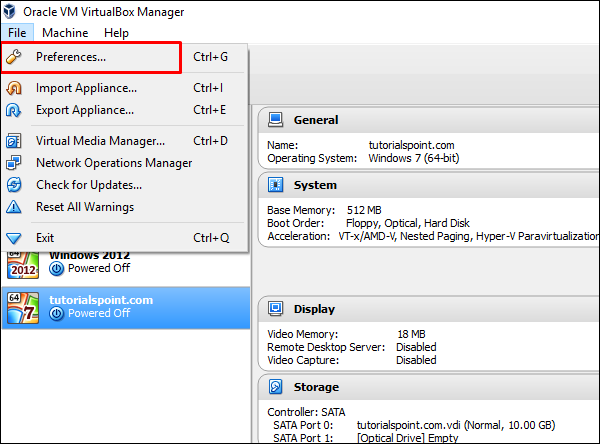
Step 1 − Go to Oracle VM VirtualBox Manager → Click on Preferences
Step 2 − Click on Network and then on the left panel click on the NAT Networks tab.
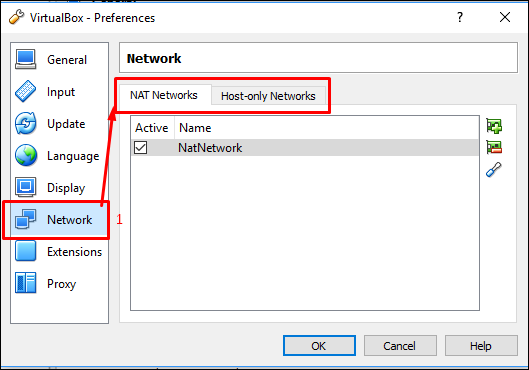
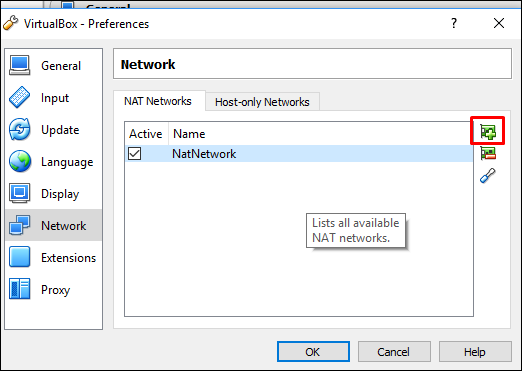
Step 3 − Click on the + button, which is highlighted in the screenshot below.
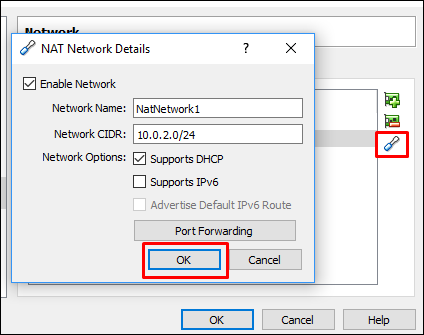
Step 4 − Here, we have to put the Network Name and the IP range for this network that will be NAT-ed, in order to have access to internet and to other networks.
Host-only Networks
For setting up Host-only Networks, we should follow the steps given below.
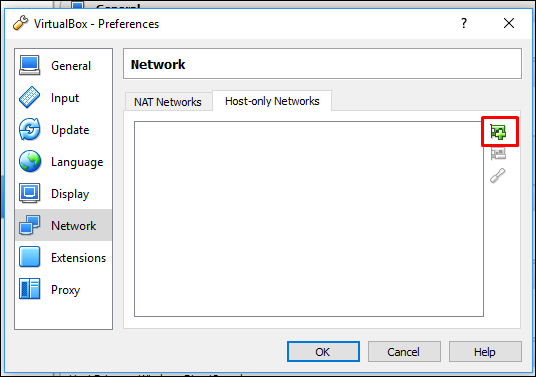
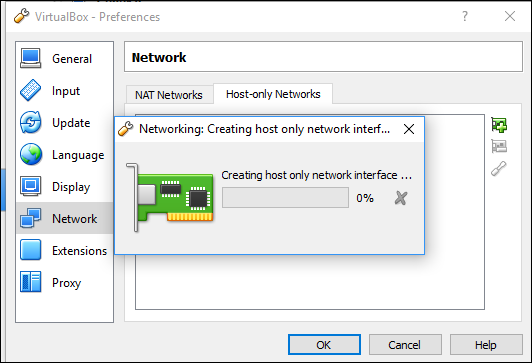
Step 1 − If you click on the Host-only Networks tab, you can create networks that are isolated from the other networks. However, VM hosts communicate with each other and the Hypervisor machine. Click on the + sign.
Step 2 − The host interface will continue to be created as shown in the screenshot below.
Step 3 − If you click on  button, you can edit the settings.

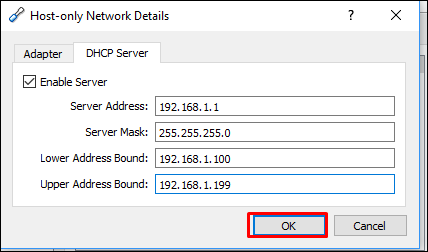
Step 4 − If you want your host machines to take DHCP IP, click on the DHCP Server tab and check the box Enable Server → Click OK.
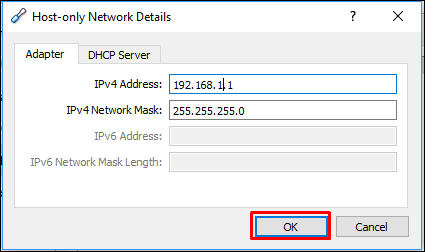
Step 5 − In the Adapter tab, put the IP of the hypervisor.
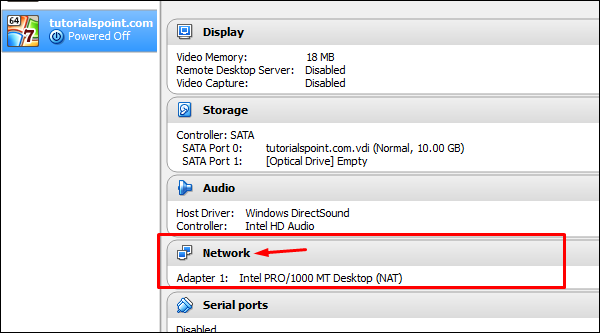
After all these preparations for setting up the network modes is complete. It is now time to assign a network to our VMs.
To do this, Click on the VMs on the left side of the panel, then right click on the Network option and a table will be open.
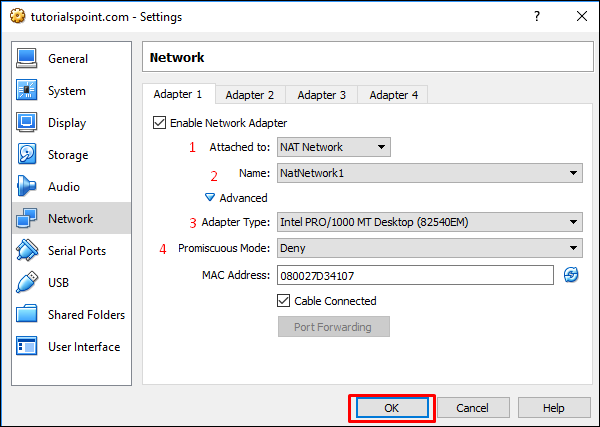
You can have up to four Ethernet adaptors per machine. The following image has four sections highlighted, which are explained below.
Check the box Enable Network Adapter to enable the vNIC on the VM and attach it to one network.
You can have many networks created, so we have to select one of them in the Name dropdown box.
In the adapter type dropdown-box, we have to select a physical NIC that the hypervisor has.
Promiscuous Mode: Here, we can select Deny, if we do not want the VMs to communicate with each other.
Once all the above parameters are completed. Click on OK.
Allocating Processors & Memory to a VM
To allocate processors and memory to a virtual machine using VirtualBox, we should follow the steps given below.
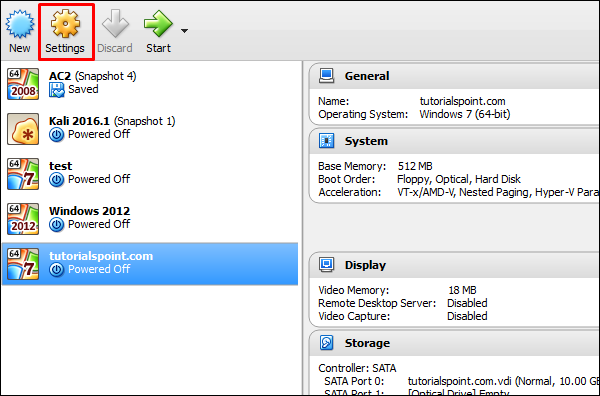
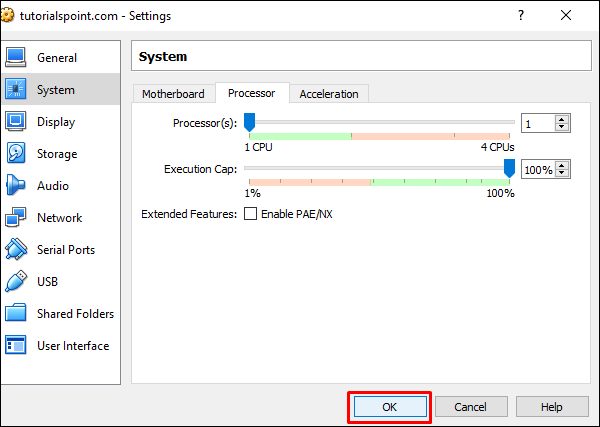
Step 1 − To allocate a processor and memory, you have to click on Settings after you have selected the VM.
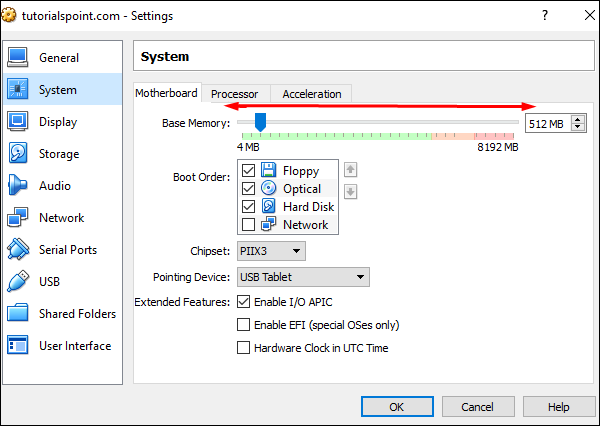
Step 2 − Click on System on the left side tab, then click on the Motherboard tab. Move the arrow left or right to allocate the memory as shown in the screenshot below.
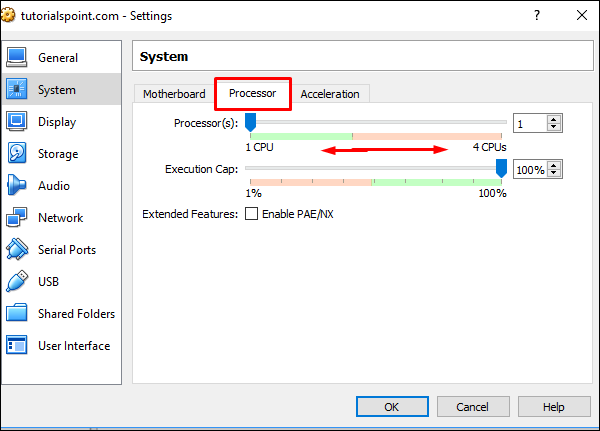
Step 3 − To allocate processors, click on the Processor tab. Move the arrow left or right to allocate the number of processors as shown in the screenshot below.
Step 4 − After all those changes are done → click on OK.
Duplicating a VM Using VirtualBox
To duplicate a virtual machine using VirtualBox, we should follow the steps given below.
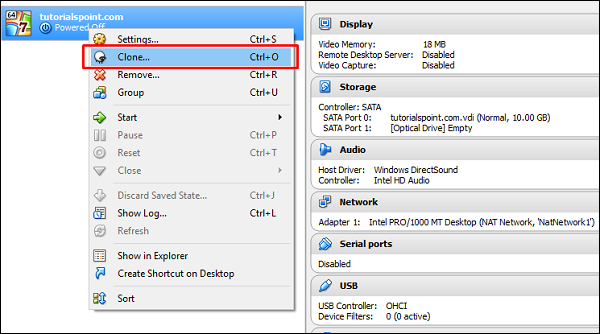
Step 1 − To duplicate a VM that we created before, right click on the VM and select Clone. A wizard will open.
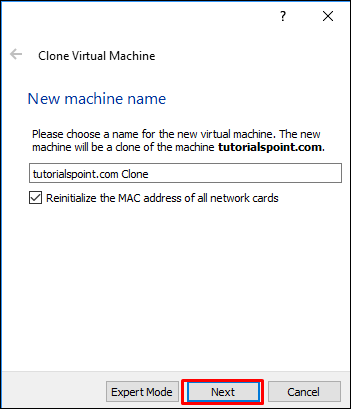
Step 2 − Write the name of the cloning machine and click on Next.
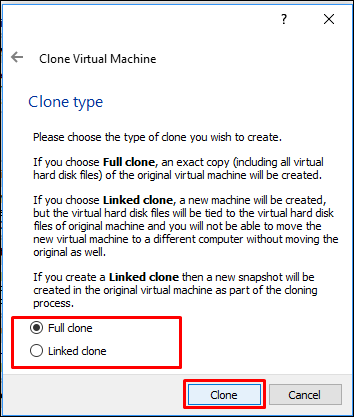
Step 3 − Select one of the options and Click on Clone.
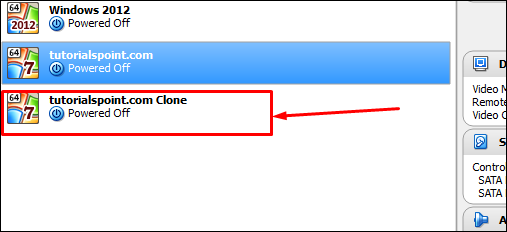
Step 4 − The newly created VM will be as shown in the following screenshot.
Deleting a VM on VirtualBox
To delete a virtual machine on VirtualBox, we should follow the steps given below.
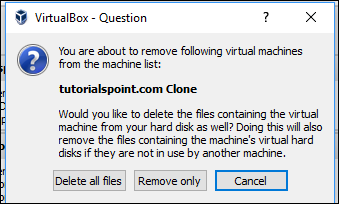
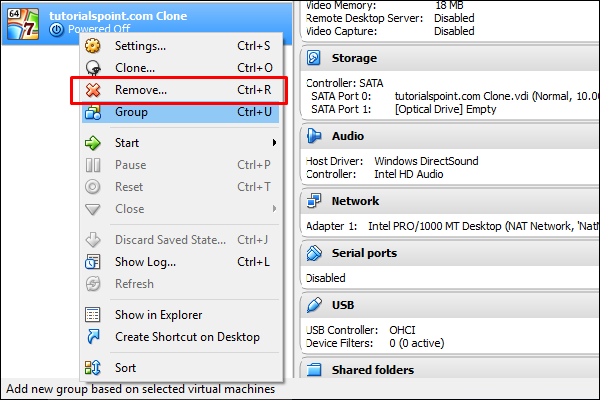
Step 1 − To start with, we have to right click on the VM that we want to delete and then click on Remove.
Step 2 − To delete a virtual machine completely, select Delete all files.