- TypeScript - Home
- TypeScript - Roadmap
- TypeScript - Overview
- TypeScript - Environment Setup
- TypeScript - Basic Syntax
- TypeScript vs. JavaScript
- TypeScript - Features
- TypeScript - Variables
- TypeScript - let & const
- TypeScript - Operators
- TypeScript - Types
- TypeScript - Type Annotations
- TypeScript - Type Inference
- TypeScript - Numbers
- TypeScript - Strings
- TypeScript - Boolean
- TypeScript - Arrays
- TypeScript - Tuples
- TypeScript - Enums
- TypeScript - Any
- TypeScript - Never
- TypeScript - Union
- TypeScript - Literal Types
- TypeScript - Symbols
- TypeScript - null vs. undefined
- TypeScript - Type Aliases
- TypeScript Control Flow
- TypeScript - Decision Making
- TypeScript - If Statement
- TypeScript - If Else Statement
- TypeScript - Nested If Statements
- TypeScript - Switch Statement
- TypeScript - Loops
- TypeScript - For Loop
- TypeScript - While Loop
- TypeScript - Do While Loop
- TypeScript Functions
- TypeScript - Functions
- TypeScript - Function Types
- TypeScript - Optional Parameters
- TypeScript - Default Parameters
- TypeScript - Anonymous Functions
- TypeScript - Function Constructor
- TypeScript - Rest Parameter
- TypeScript - Parameter Destructuring
- TypeScript - Arrow Functions
- TypeScript Interfaces
- TypeScript - Interfaces
- TypeScript - Extending Interfaces
- TypeScript Classes and Objects
- TypeScript - Classes
- TypeScript - Objects
- TypeScript - Access Modifiers
- TypeScript - Readonly Properties
- TypeScript - Inheritance
- TypeScript - Static Methods and Properties
- TypeScript - Abstract Classes
- TypeScript - Accessors
- TypeScript - Duck-Typing
- TypeScript Advanced Types
- TypeScript - Intersection Types
- TypeScript - Type Guards
- TypeScript - Type Assertions
- TypeScript Type Manipulation
- TypeScript - Creating Types from Types
- TypeScript - Keyof Type Operator
- TypeScript - Typeof Type Operator
- TypeScript - Indexed Access Types
- TypeScript - Conditional Types
- TypeScript - Mapped Types
- TypeScript - Template Literal Types
- TypeScript Generics
- TypeScript - Generics
- TypeScript - Generic Constraints
- TypeScript - Generic Interfaces
- TypeScript - Generic Classes
- TypeScript Miscellaneous
- TypeScript - Triple-Slash Directives
- TypeScript - Namespaces
- TypeScript - Modules
- TypeScript - Ambients
- TypeScript - Decorators
- TypeScript - Type Compatibility
- TypeScript - Date Object
- TypeScript - Iterators and Generators
- TypeScript - Mixins
- TypeScript - Utility Types
- TypeScript - Boxing and Unboxing
- TypeScript - tsconfig.json
- From JavaScript To TypeScript
- TypeScript Useful Resources
- TypeScript - Quick Guide
- TypeScript - Cheatsheet
- TypeScript - Useful Resources
- TypeScript - Discussion
TypeScript - Environment Setup
We already have set up TypeScript programming online, so that you can execute all the available examples online at the same time when you are doing your theory work. This gives you confidence in what you are reading and to check the result with different options. Feel free to modify any example and execute it online.
var message:string = "Hello World"
console.log(message)
On compiling, it will generate following JavaScript code.
var message = "Hello World";
console.log(message);
In this chapter, we will discuss how to install TypeScript on Windows platform. We will also explain how to install the Brackets IDE.
You may test your scripts online by using The TypeScript at www.typescriptlang.org/Playground. The online editor shows the corresponding JavaScript emitted by the compiler.
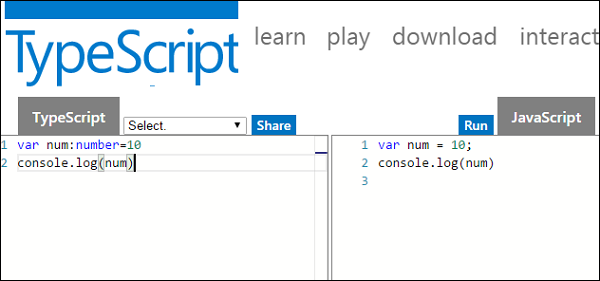
You may try the following example using Playground.
var num:number = 12
console.log(num)
On compiling , it will generate following JavaScript code.
var num = 12;
console.log(num);
The output of the above program is given below −
12
Local Environment Setup
Typescript is an Open Source technology. It can run on any browser, any host, and any OS. You will need the following tools to write and test a Typescript program −
A Text Editor
The text editor helps you to write your source code. Examples of a few editors include Windows Notepad, Notepad++, Emacs, vim or vi, etc. Editors used may vary with Operating Systems.
The source files are typically named with the extension .ts
The TypeScript Compiler
The TypeScript compiler is itself a .ts file compiled down to JavaScript (.js) file. The TSC (TypeScript Compiler) is a source-to-source compiler (transcompiler / transpiler).
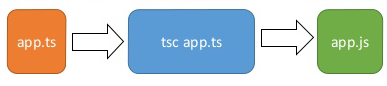
The TSC generates a JavaScript version of the .ts file passed to it. In other words, the TSC produces an equivalent JavaScript source code from the Typescript file given as an input to it. This process is termed as transpilation.
However, the compiler rejects any raw JavaScript file passed to it. The compiler deals with only .ts or .d.ts files.
This TypeScript tutorial is based on the latest typescript 5.5.2 version.
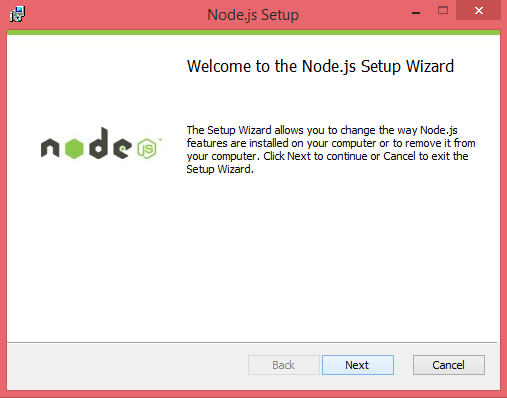
Installing Node.js
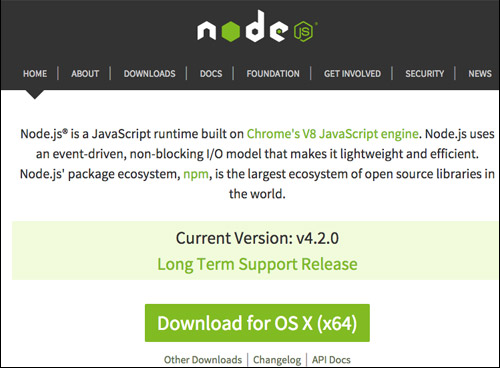
Node.js is an open source, cross-platform runtime environment for server-side JavaScript. Node.js is required to run JavaScript without a browser support. It uses Google V8 JavaScript engine to execute code. You may download Node.js source code or a pre-built installer for your platform. Node is available here − https://nodejs.org/en/download
Installation on Windows
Follow the steps given below to install Node.js in Windows environment.
Step 1 − Download and run the .msi installer for Node.
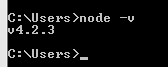
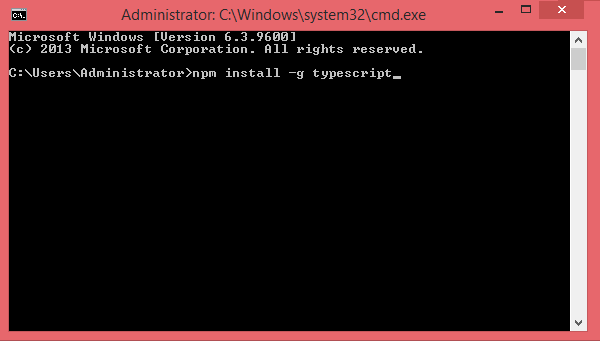
Step 2 − To verify if the installation was successful, enter the command node v in the terminal window.
Step 3 − Type the following command in the terminal window to install TypeScript.
npm install -g typescript
Installation on Mac OS X
To install node.js on Mac OS X, you can download a pre-compiled binary package which makes a nice and easy installation. Head over to http://nodejs.org/ and click the install button to download the latest package.
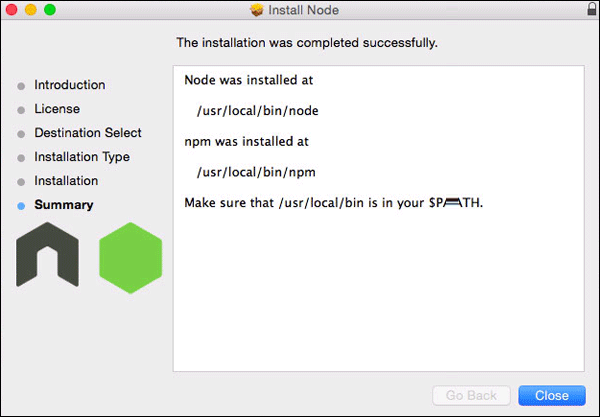
Install the package from the .dmg by following the install wizard which will install both node and npm. npm is Node Package Manager which facilitates installation of additional packages for node.js.
Installation on Linux
You need to install a number of dependencies before you can install Node.js and NPM.
Ruby and GCC. Youll need Ruby 1.8.6 or newer and GCC 4.2 or newer.
Homebrew. Homebrew is a package manager originally designed for Mac, but its been ported to Linux as Linuxbrew. You can learn more about Homebrew at http://brew.sh/ and Linuxbrew at http://brew.sh/linuxbrew
Once these dependencies are installed, you may install Node.js by using the following command on the terminal −
brew install node.
IDE Support
Typescript can be built on a plethora of development environments like Visual Studio, Sublime Text 2, WebStorm/PHPStorm, Eclipse, Brackets, etc. Visual Studio Code and Brackets IDEs are discussed here. The development environment used here is Visual Studio Code (Windows platform).
Visual Studio Code
This is an open source IDE from Visual Studio. It is available for Mac OS X, Linux and Windows platforms. VScode is available at − https://code.visualstudio.com/
Installation on Windows
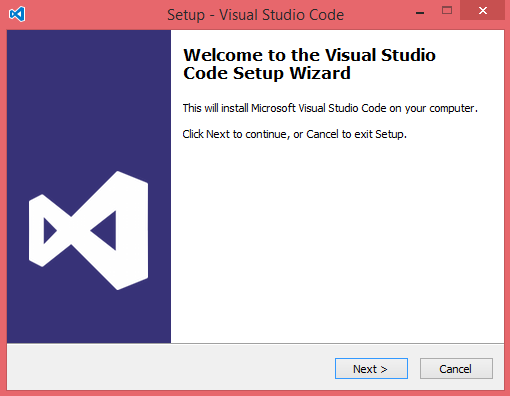
Step 1 − Download Visual Studio Code for Windows.

Step 2 − Double-click on VSCodeSetup.exe  to launch the setup process. This will only take a minute.
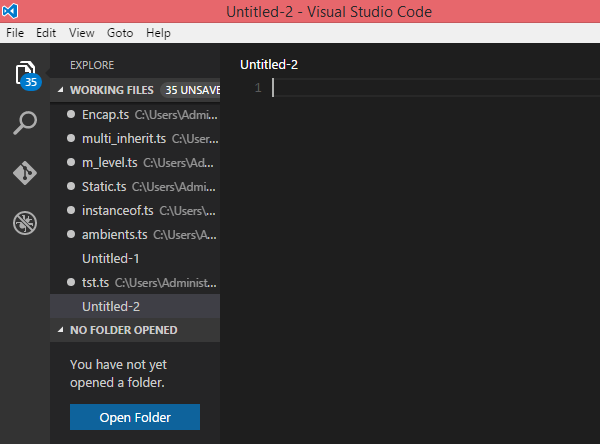
Step 3 − A screenshot of the IDE is given below.
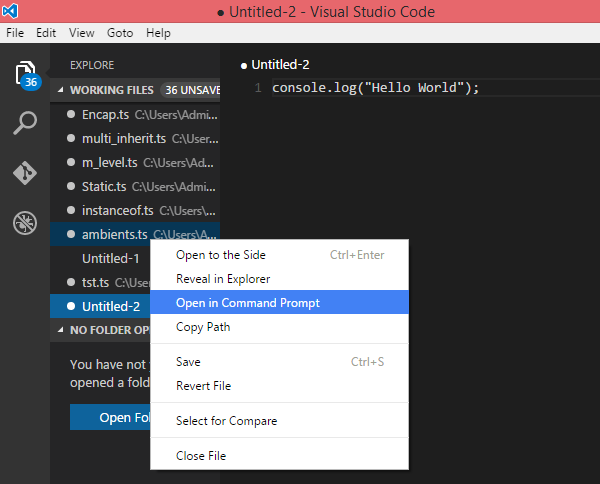
Step 4 − You may directly traverse to the files path by right clicking on the file → open in command prompt. Similarly, the Reveal in Explorer option shows the file in the File Explorer.
Installation on Mac OS X
Visual Studio Codes Mac OS X specific installation guide can be found at
https://code.visualstudio.com/Docs/editor/setup
Installation on Linux
Linux specific installation guide for Visual Studio Code can be found at
https://code.visualstudio.com/Docs/editor/setup
Brackets
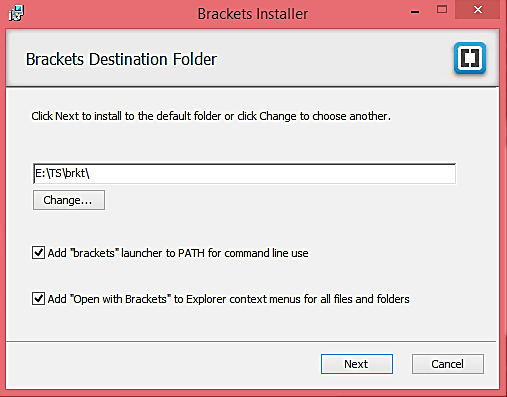
Brackets is a free open-source editor for web development, created by Adobe Systems. It is available for Linux, Windows and Mac OS X. Brackets is available at http://brackets.io/
TypeScript Extensions for Brackets
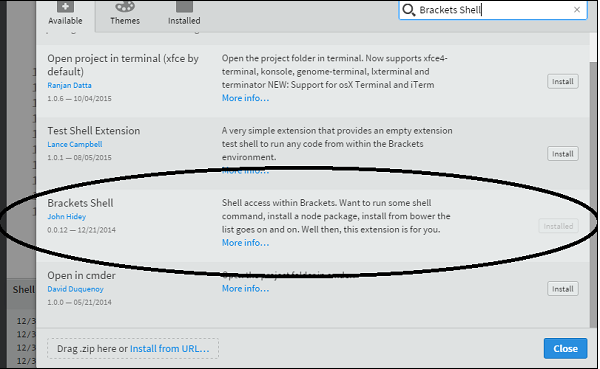
Brackets supports extensions for adding extra functionality via the Extension Manager. The following steps explain installing TypeScript extensions using the same.
Post installation, click on the extension manager icon
 on the right-hand side of the editor. Enter typescript in the search box.
Install the Brackets TSLint and Brackets TypeScript plugins.

You can run DOS prompt / shell within Brackets itself by adding one more extension Brackets Shell.
Upon installation, you will find an icon of shell on the right-hand side of the editor  . Once you click on the icon, you will see the shell window as shown below −

Note − Typescript is also available as a plugin for Visual Studio 2012 and 2013 environments (https://www.typescriptlang.org/#Download).VS 2015 and above includes Typescript plugin by default.
Now, you are all set!!!
