
Article Categories
- All Categories
-
 Data Structure
-
 Networking
-
 RDBMS
RDBMS
-
 Operating System
-
 Java
Java
-
 MS Excel
-
 iOS
iOS
-
 HTML
HTML
-
 CSS
CSS
-
 Android
-
 Python
-
 C Programming
-
 C++
C++
-
 C#
C#
-
 MongoDB
-
 MySQL
MySQL
-
 Javascript
-
 PHP
PHP
-
 Economics & Finance
Removing Black Background and Make Transparent using OpenCV Python
In digital images, transparency is the functionality that supports transparent areas in an image or image layer. For image processing and editing, background removal allows us to highlight the subject of the photo and create a transparent background to place the subject into various new designs and destinations.
Certain image formats do not support transparency. For example, PNG, TIFF, and WebP graphics formats support transparency, whereas JPEGs do not.
In this article, we will see how to remove the black background from an image to make it transparent using OpenCV Python. Like RGB channels, the alpha channel is used to store transparency information.
Approach
We will follow these steps to remove the black background and make it transparent ?
Load the image
Create the alpha channel by specifying threshold values
Split the RGB channels
Merge the RGB and alpha channels
Save the image using the combined channels
The main functions used in this article are cv2.split() and cv2.merge(), which are used to split and merge image channels.
The cv2.split() Function
Python OpenCV provides a function cv2.split() to split a multi-channel/colored array into separate single-channel arrays. It returns an array with the three channels, each corresponding to blue, green, and red channels represented as a ndarray with two dimensions.
Syntax
cv2.split(m[, mv])
Parameters
src: input multi-channel array
mv: output array or vector of arrays
The cv2.merge() Function
The cv2.merge() function takes single-channel arrays and combines them to make a multi-channel array/image. This function returns an array of the concatenation of the elements of the input arrays.
Syntax
cv2.merge(mv[, dst])
Parameters
mv: input vector of matrices to be merged; all matrices must have the same size and depth
count: must be greater than zero; specifies the number of input matrices when the input vector is a plain C array
dst: output array with the same size and depth as input array
Method 1: Using OpenCV Threshold
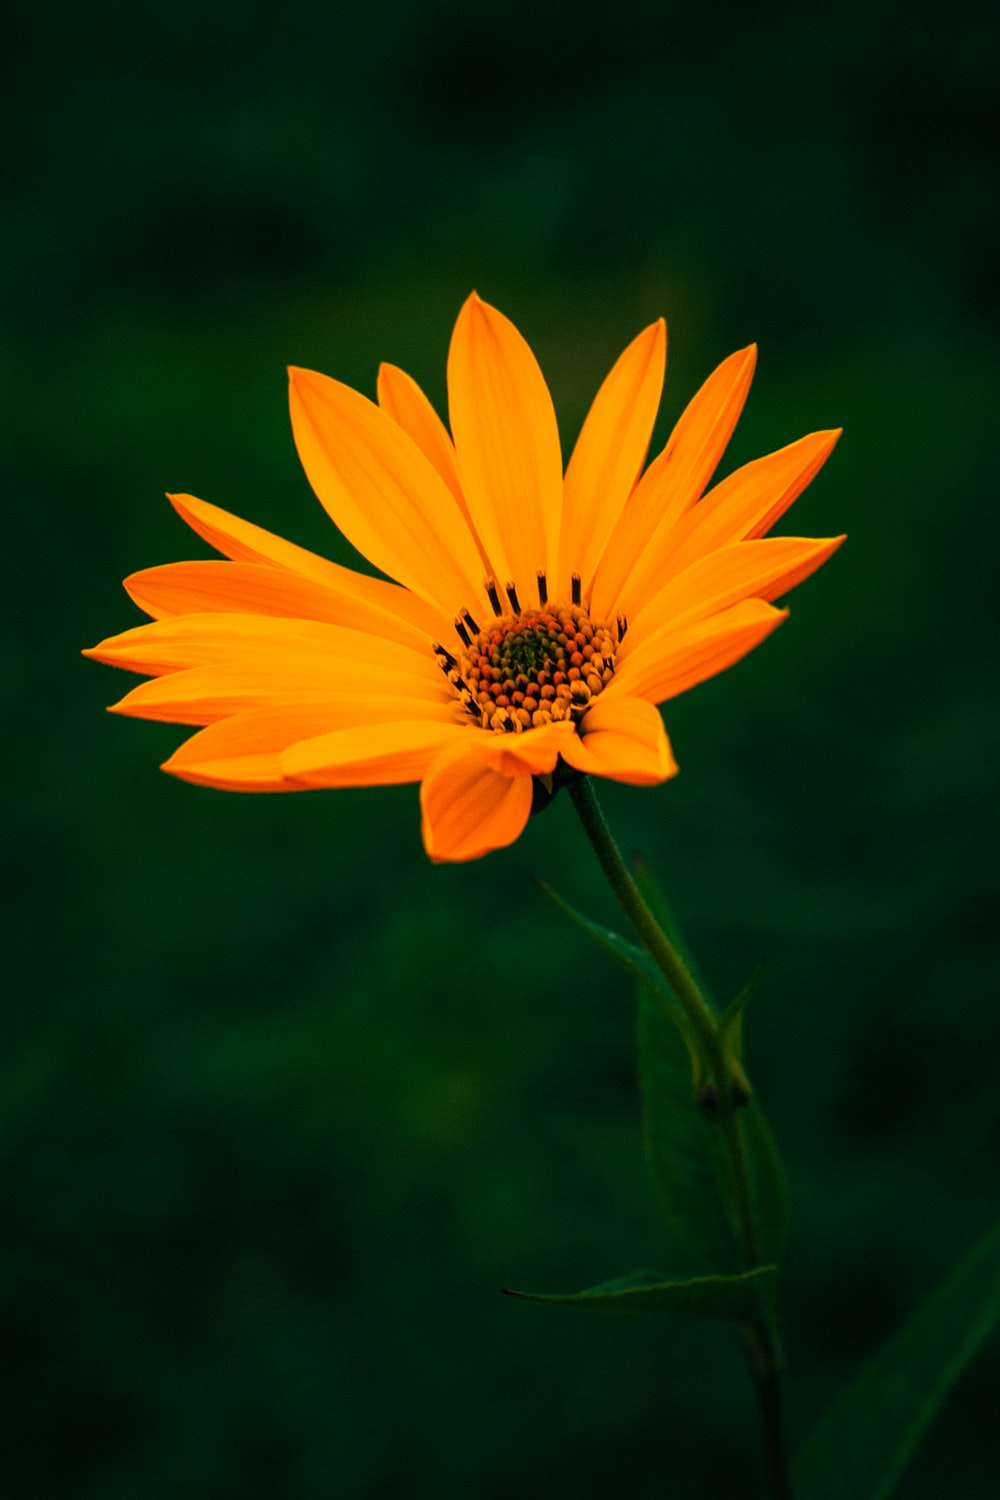
In this example, we will remove the black background from a flower image using threshold operations ?
import cv2

# Load the image
src = cv2.imread('Images/flower-black-background.jpg', 1)

# Convert to grayscale
tmp = cv2.cvtColor(src, cv2.COLOR_BGR2GRAY)

# Create alpha channel using threshold
_, alpha = cv2.threshold(tmp, 0, 255, cv2.THRESH_BINARY)

# Split RGB channels
b, g, r = cv2.split(src)

# Merge RGB with alpha channel
rgba = [b, g, r, alpha]
dst = cv2.merge(rgba, 4)

# Save as PNG to preserve transparency
cv2.imwrite("Images/transparent_flower.png", dst)
Input Image

Output Image

In the output, we can see the transparent image saved as "transparent_flower.png". The input image was converted from BGR domain to BGRA domain by adding the alpha channel.
Method 2: Using NumPy Operations
In this example, we will remove the black background using NumPy operations for more control over the transparency ?
import cv2
import numpy as np

# Load image
image = cv2.imread('Images/WhiteDots.png')

# Create a True/False mask of pixels whose BGR values sum to more than zero
# Black pixels (0,0,0) will be False, all others True
alpha = np.sum(image, axis=-1) > 0

# Convert True/False to 0/255 and change type to "uint8" to match image
alpha = np.uint8(alpha * 255)

# Stack new alpha layer with existing image to go from BGR to BGRA
result = np.dstack((image, alpha))

# Save result as PNG
cv2.imwrite('transparent_result.png', result)
Input Image

Output Image

This method successfully converts black pixels to transparent and saves the result as a PNG file with preserved transparency.
Key Points
Always save transparent images as PNG format, not JPEG
The alpha channel determines transparency: 0 = fully transparent, 255 = fully opaque
Use
cv2.THRESH_BINARYto create clean alpha masksNumPy operations provide more flexibility for complex transparency conditions
Conclusion
OpenCV provides effective methods to remove black backgrounds and create transparent images. Use threshold-based approaches for simple black background removal, or NumPy operations for more complex transparency requirements. Always save the result as PNG to preserve the alpha channel.
4K+ Views
