- QTP - Home
- QTP - Introduction
- QTP - Test Automation
- QTP - Environment Setup
- QTP - Record and Play Back
- QTP - Object Repository
- QTP - Actions
- QTP - DataTables
- QTP - Checkpoints
- QTP - Synchronization
- QTP - Smart Identification
- QTP - Debugging
- QTP - Error Handling
- QTP - Recovery Scenarios
- QTP - Environment Variables
- QTP - Library Files
- QTP - Test Results
- QTP - GUI Objects
- QTP - Virtual Objects
- QTP - Accessing Databases
- QTP - Working with XML
- QTP - Descriptive Programming
- QTP - Automation Object Model
- QTP - Frameworks
- QTP - Designing a Framework
QTP - Automated Testing Results
Test Results
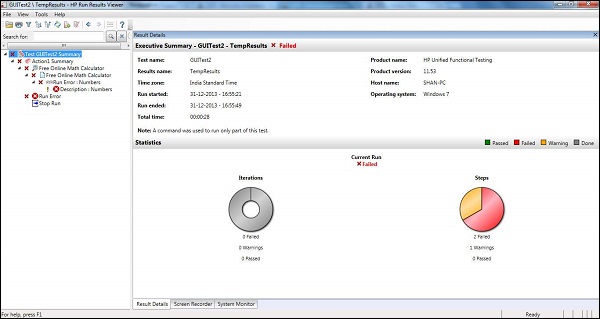
The Test Results Window gives us sufficient information to show the steps passed, failed etc. Results window opens automatically after the execution of the test (as per default settings). The following information is displayed −
- Steps Passed
- Steps Failed
- Environment Parameters
- Graphical Statistics
Operations performed in Test Results
Converting Results to HTML
In the Results Viewer window, navigate to "File" → "Export to File". Export Run Results dialog box opens as shown below −
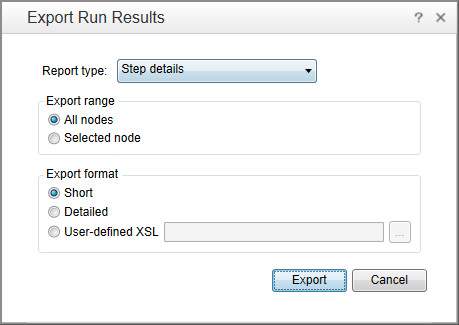
We can choose what type of report is to be exported. It can be short results, detailed results or even, we can select nodes. After selecting the File Name and exporting it, the file is saved as .HTML File
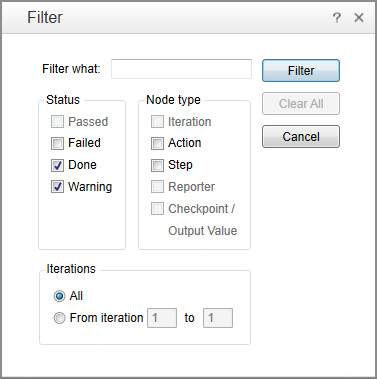
Filtering the Results
Results can be filtered based on Status, Node Type, and Iterations. It can be accessed by using the Filter button in the "Test Results Window".
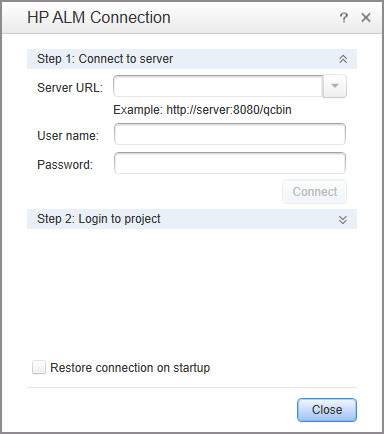
Raising Defects
Defects can be logged into QC directly from the Test Results Window pane by accessing "Tools" → "Add Defect" which open's the connection to ALM as shown below −
Test Results
The Automatic Test Results Window can be configured under "Tools" → "Options" → "Run Sessions" Tab. We can turn it OFF, if required, and also, we can switch ON "Automatically Export Results when session Ends".

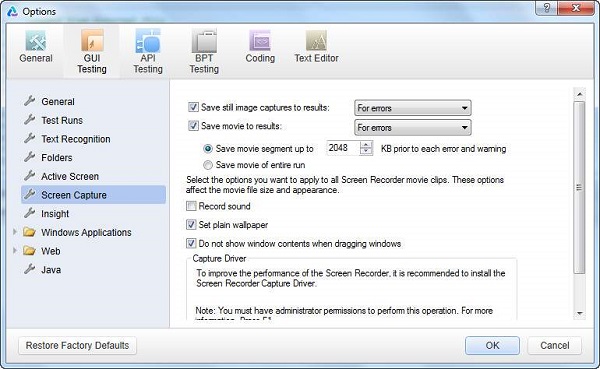
The screenshot or the movie can be recorded based on the settings. The same can be configured under "Tools" → "Options" → "Screen Capture" Tab. We can save the screenshot or movies based on the following three conditions −
- For Errors
- Always
- For Errors and Warnings