- Protractor - Home
- Protractor - Introduction
- Concepts of Javascript Testing
- Protractor - Getting Started
- Protractor and Selenium Server
- Protractor - Writing the First Test
- Protractor - Core APIs
- Protractor - Core APIs(Contd..)
- Protractor - Objects
- Protractor - Debugging
- Protractor - Style Guide for Protractor
- Protractor Useful Resources
- Protractor - Quick Guide
- Protractor - Useful Resources
- Protractor - Discussion
Protractor - Getting Started
In the previous chapters, we have learnt the basics of Protractor. In this chapter, let us learn how to install and configure it.
Prerequisites
We need to satisfy the following prerequisites before installing Protractor on your computer −
Node.js
Protractor is a Node.js module, hence the very important prerequisite is that we must have Node.js installed on our computer. We are going to install Protractor package using npm (a JavaScript package manager), that comes with Node.js.
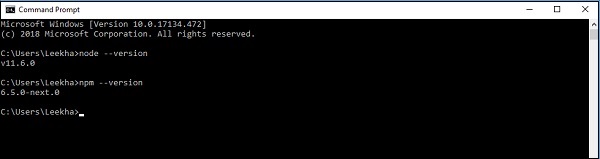
For installing Node.js please follow the official link − https://nodejs.org/en/download/. After installing Node.js, you can check the version of Node.js and npm by writing the command node --version and npm --version in the command prompt as shown below −
Chrome
Google Chrome, a web browser built by Google, will be used to run end-to-end tests in Protractor without the need for a Selenium server. You can download chrome by clicking on the link − https://www.google.com/chrome/.
Selenium WebDriver for Chrome
This tool is provided with the Protractor npm module and allows us to interact with web applications.
Installing Protractor
After installing Node.js on our computer, we can install Protractor with the help of following command −
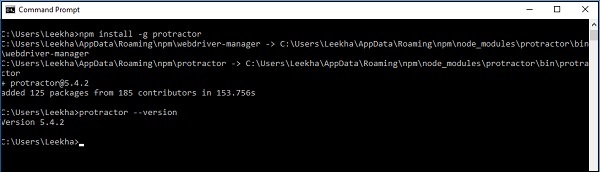
npm install -g protractor
Once protractor is successfully installed, we can check its version by writing protractor --version command in the command prompt as shown below −
Installing WebDriver for Chrome
After installing Protractor, we need to install Selenium WebDriver for Chrome. It can be installed with the help of following command −
webdriver-manager update
The above command will create a Selenium directory which contains the required Chrome driver used in the project.
Confirming Installation & Configuration
We can confirm the installation and configurati on of Protractor by doing a slightly changing the conf.js provided in the example after installing Protractor. You can find this conf.js file in the root directory node_modules/Protractor/example.
For this, first create a new file named testingconfig.js in the same directory i.e. node_modules/Protractor/example.
Now, in the conf.js file, under the source file declaration parameter, write testingconfig.js.
Next, save and close all the files and open command prompt. Run the conf.js file as shown in the screenshot given below.
The configuration and installation of Protractor is successful if you got the output as shown below −
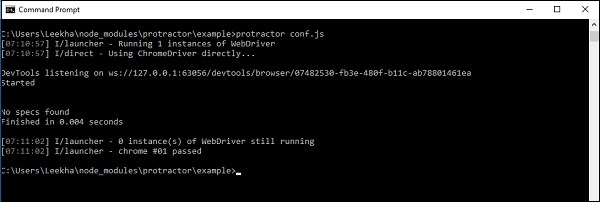
The above output shows that there is no specification because we provided the empty file at source file declaration parameter in conf.js file. But from the above output, we can see that both protractor and WebDriver are running successfully.
Issues in installation & configuration
While installing and configuring Protractor and WebDriver, we might come across the following common issues −
Selenium not installed correctly
It is the most common issue while installing WebDriver. This issue arises if you do not update the WebDriver. Note that we must update WebDriver, otherwise we would not be able to reference it to Protractor installation.
Not able to find tests
Another common issue is that after running Protractor, it shows that unable to find tests. For this,we must have to ensure that the relative paths, filenames or extensions are correct. We also need to write conf.js file very carefully because it starts with configuration file itself.
