- Microsoft Flow - Home
- Microsoft Flow - Introduction
- Microsoft Flow - Getting Started
- Microsoft Flow - Creating a Flow from Blank
- Microsoft Flow - Creating a Flow from Template
- Microsoft Flow - Mobile
- Microsoft Flow - Flow Management
- Microsoft Flow - Conclusion
- Microsoft Flow Useful Resources
- Microsoft Flow - Quick Guide
- Microsoft Flow - Useful Resources
- Microsoft Flow - Discussion
Microsoft Flow - Mobile
This chapter will walk you through the mobile app of Microsoft Flow. While there are many ways in which a flow can be created from a mobile app, we will take an example of receiving a push notification when an email is received.
Get the Microsoft Flow Mobile App
For the purpose of this tutorial, we will be using Microsoft Flow iOS app. Download the Microsoft Flow app from the App Store. The app is available for Android as well, you can find it on Google Play Store.
With mobile app, the complete power of Microsoft Flow is available at your fingertips. If you would like to update an excel sheet with a tap of a button, you can do so using this app.
Once downloaded, launch the app. After the splash screen as shown below, you will need to configure app permissions.
For our tutorial, we have notification permission as the most important one. Tap allow.
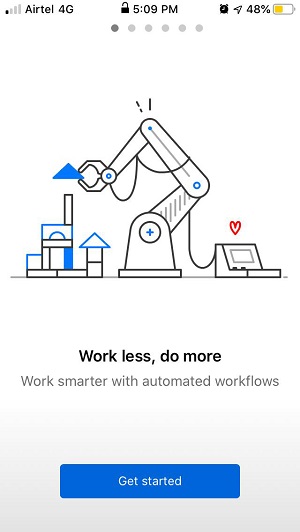
As shown below, Microsoft Flow will launch with this home screen. You can swipe to the right to know more about the mobile app.
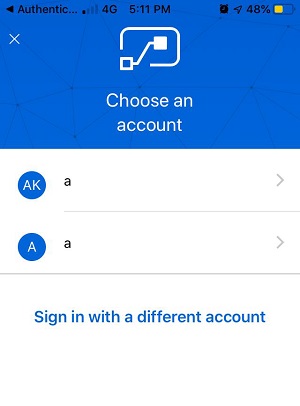
On the next screen, youll get to see the accounts currently in your phone. You can go ahead and sign in with a different account or use the existing one.
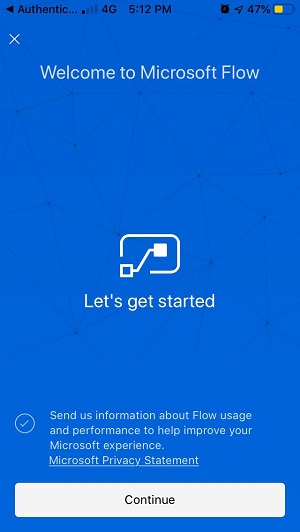
As a confirmation, you will be asked for a password before you are signed in. Once you have provided your password, below screen will get you started with Microsoft Flow. Tap continue.
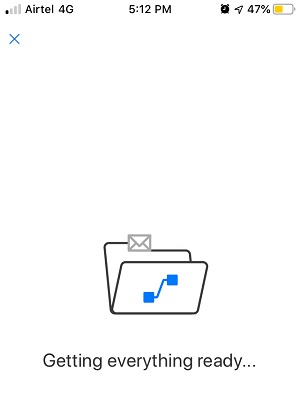
A loading indicator will pop up as shown below −
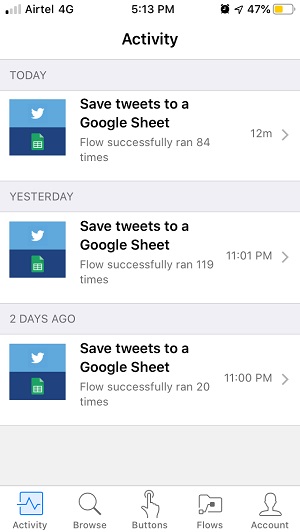
Then, you will get to see the flows we created previously.
Now let us look at the interface real quick.
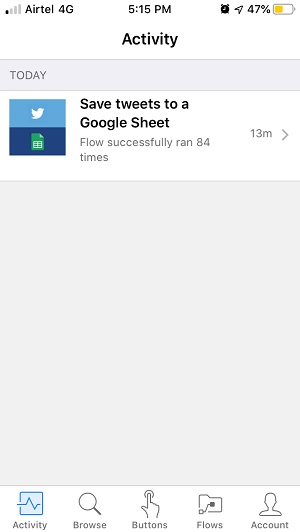
Activity screen
This shows the recent activity by you, you may have created/modified some flow. It will also show the description of how many times the flow was run and provide you a chance to edit it.
Browse screen
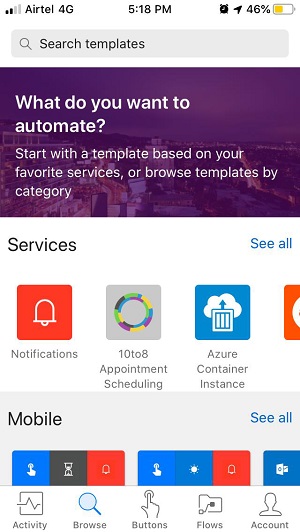
This screen will have all the flows that you can create. This will be similar to the home screen in the web layout, but along with that -- you will have option to create mobile flows as well.
Mobile flows will execute within your mobile device. Also, if you are using buttons in your flows on the web, then you will get a chance to trigger them from mobile as well.
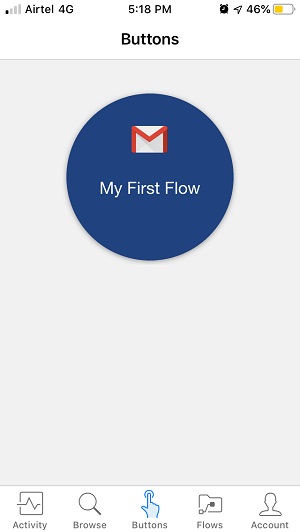
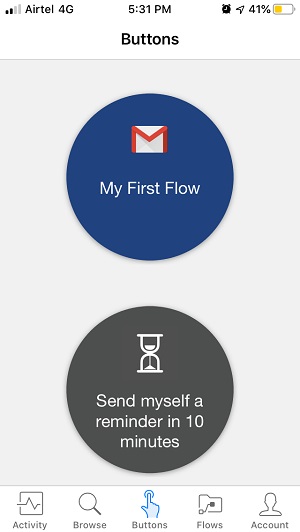
Buttons screen
Under buttons, the flows with button as trigger action, will be shown. You can already see the My First Flow as created in the previous chapter.
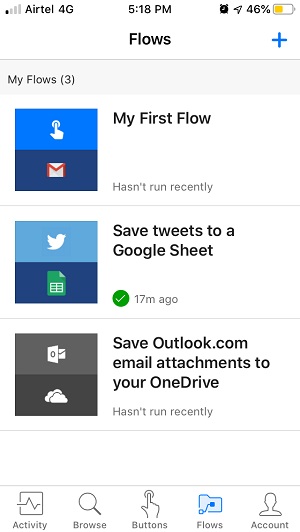
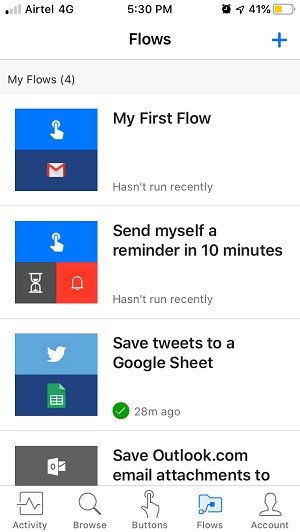
Flows
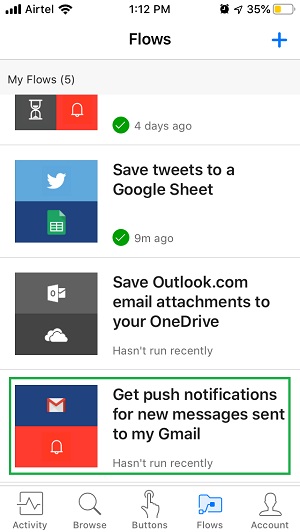
This section is similar to My Flows in web layout. This is the one stop location for all your created flows till date. You can see all the flows that we created from the previous chapters appearing here.
Account
This screen is used for account management purposes. You can log out from the current account or choose to review the privacy policy from this screen.

Create a flow from mobile
To see an example in action, let us create a flow which triggers a reminder after every 10 minutes. We To see an example in action, let us create a flow which triggers a reminder after every 10 minutes. We are going to use existing template to create this flow.
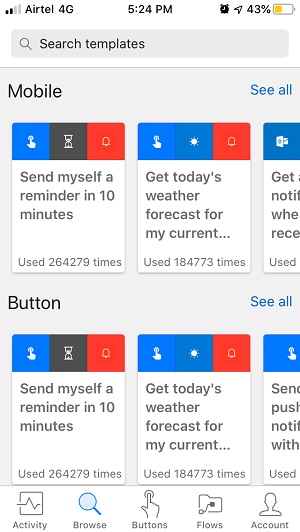
Scroll down from the Browse screen to see Mobile flows. From the mobile flows choose the first one with Send myself a reminder every 10 minutes.
The below description will pop up on the screen −
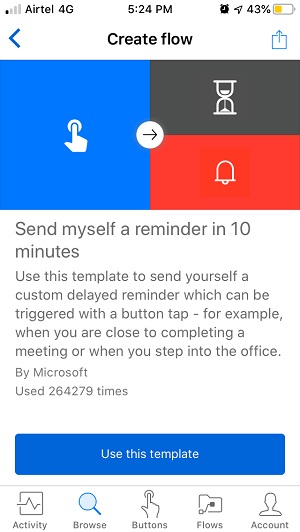
Tap Use this template. The app will take some time to show the below screen −
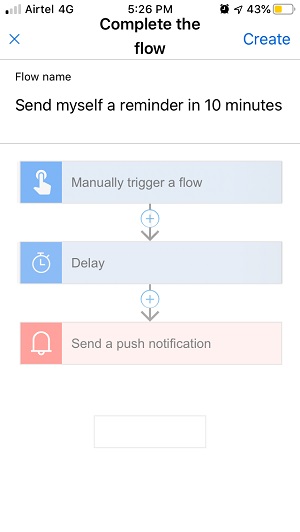
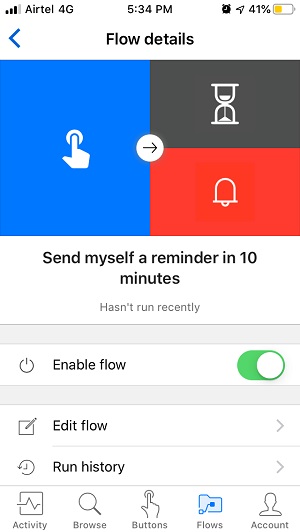
As you can see, there are three components of this flow as follows −
- Manually trigger a flow
- Delay
- Send a push notification
You may tap on each of the steps to know/configure the flow you would like.
Click Create at the right top of the screen.
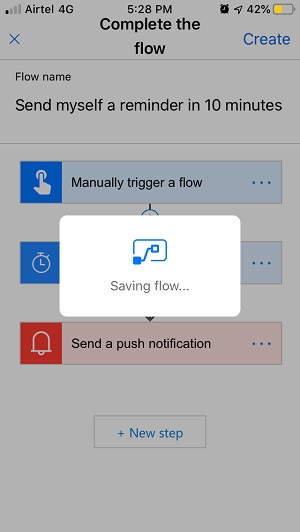
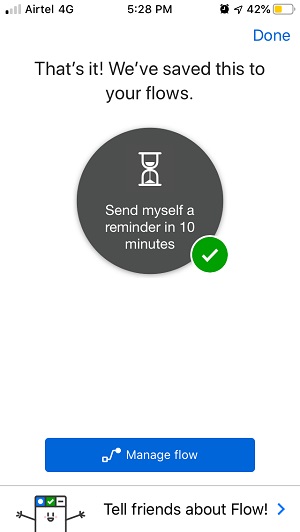
This will take few seconds and display below success message.
Go to the Flows section to see this newly created flow.
Come back to Buttons screen, you will see a new button as created by this flow.
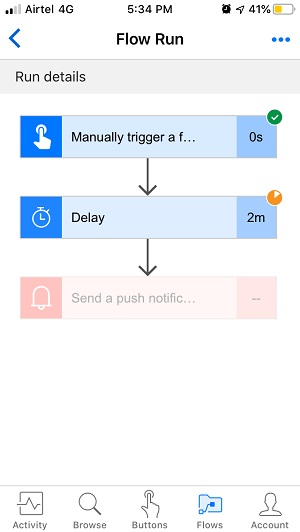
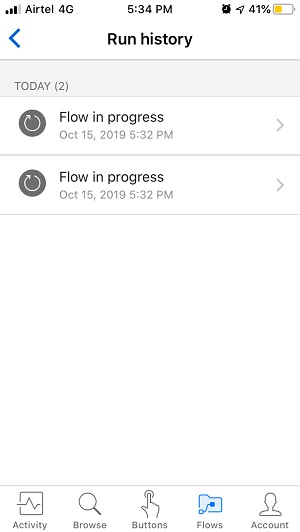
Tap the new Send myself a reminder in 10 minutes flow. The flow will start and youll be able to see progress under Flows section under Run History of this flow.
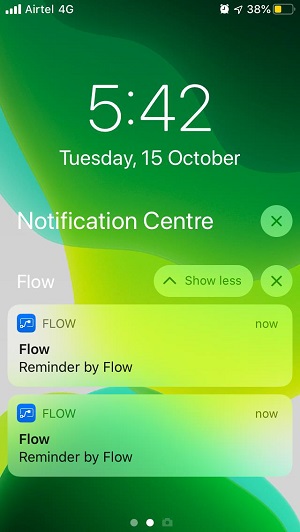
Once the flow is run, we will be able to see notification as shown below −
Receive push notification when you receive an email.
To receive a push notification, we will use an existing template, which uses your Gmail account. The flow works such that, when you receive an email, you will get a push notification from Microsoft Flow.
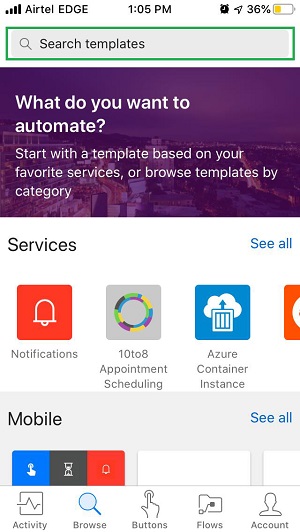
Go to Browse Screen.
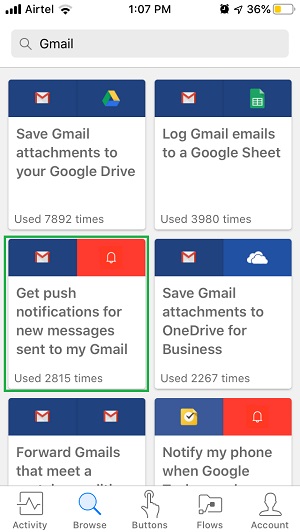
Under Search Templates, type Gmail. Select Get push notifications for new messages sent to my Gmail.
Description of this flow will show up as shown below −
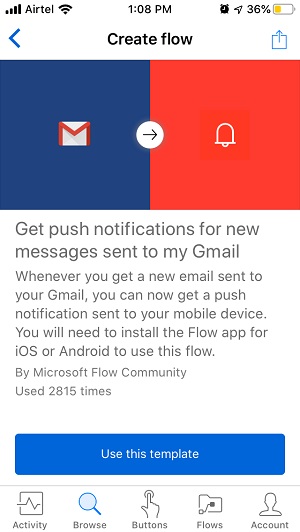
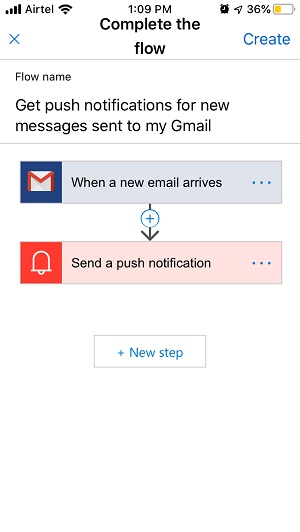
Tap Use this template button. You will see the higher level steps in the flow.
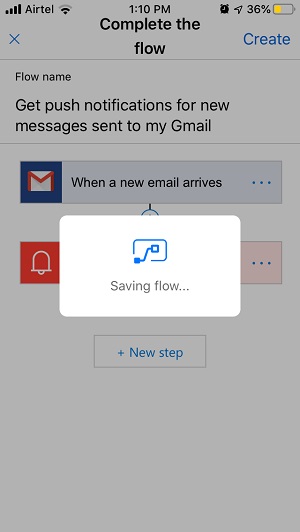
Tap Create button in the top right corner of the screen. You will see the loading screen as below:
A success message will be displayed as below.
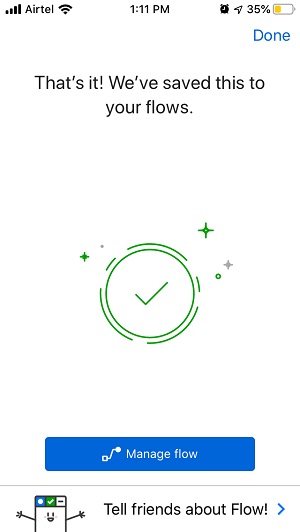
Tap Done button in the top right corner of the screen. Navigate to Flows section from the bottom shortcut bar and confirm the presence of the new flow.
You might be wondering why the Flow has not asked you for any kind of credentials. This is the beauty of having all accounts in one place.
In the previous chapters, we used Gmail account to configure in given flow. That same account is being used for this flow as well. Also, your mobile app takes the account configurations from the mobile settings. So, this additional step is bypassed.
If you havent got the account configured, an appropriate message will be shown.
Now, create a dummy test email and see the notification coming in as below.