- Microsoft Flow - Home
- Microsoft Flow - Introduction
- Microsoft Flow - Getting Started
- Microsoft Flow - Creating a Flow from Blank
- Microsoft Flow - Creating a Flow from Template
- Microsoft Flow - Mobile
- Microsoft Flow - Flow Management
- Microsoft Flow - Conclusion
- Microsoft Flow Useful Resources
- Microsoft Flow - Quick Guide
- Microsoft Flow - Useful Resources
- Microsoft Flow - Discussion
Microsoft Flow - Creating a Flow from Blank
This chapter will take you through the basic elements of a flow and hence make you comfortable with creating a flow.
Before we get started into the elements on Flow, make sure you have logged in and looking at My Flows section.
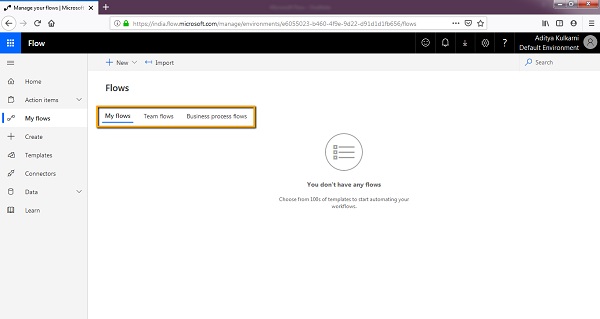
Click New button at the top, you will be presented with the below options.
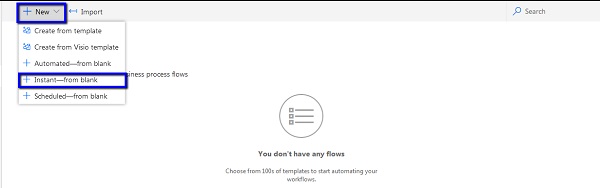
Click Instant - from blank, below screen/wizard will be shown up where you will get to see different Triggers.
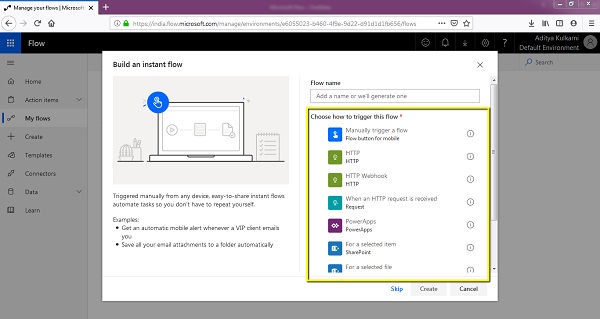
Trigger
In Microsoft Flow, a Trigger acts as a starting point for the flow to be built. This is the step where you specify the action which will initiate the flow. It could be selecting a file from a SharePoint list or as simple as clicking a button in Web and mobile.
For the purpose of this tutorial, let us name our Flow as My First Flow. Select Manually trigger a flow from the choices of triggering this flow.
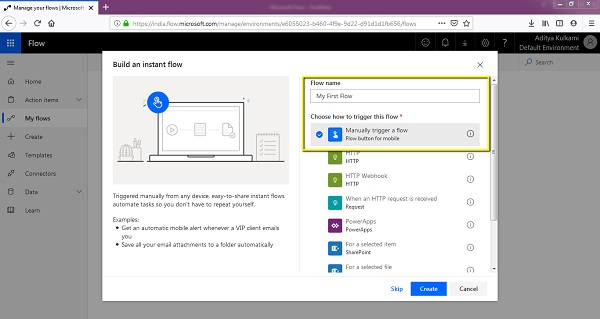
Click Create to move to the next step. You will be able to see below screen.
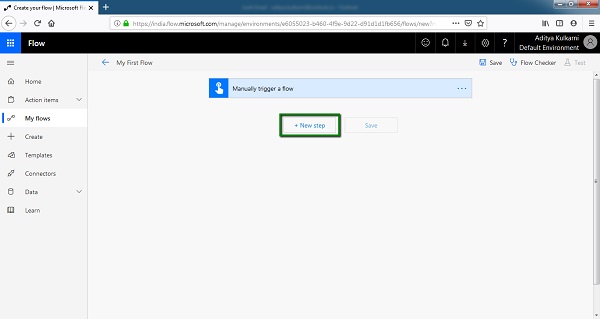
As highlighted above, now we will be adding a step. This step will be the Action as a result of Trigger we created above. When clicked on New Step button, youll be able to see below section.
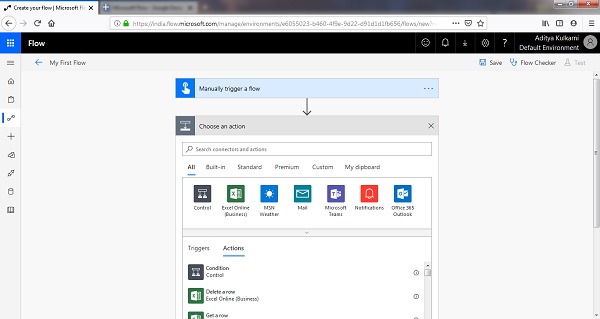
One can easily select an action from the above list. In the proceeding chapters, we will get into the actual details of an Action.
As you can see, there are various categories of Actions −
- Built-in
- Standard
- Premium
- Custom
As required, you can select one from the actions above. You can take some time to understand each tab and respective options.
Steps
A collection of actions makes for the Steps.
For instance, when selected Send Email under Gmail from Actions, one can see Gmail action as shown below.
If you keep on adding multiple actions under this particular action, you will then have created Steps for your flow.
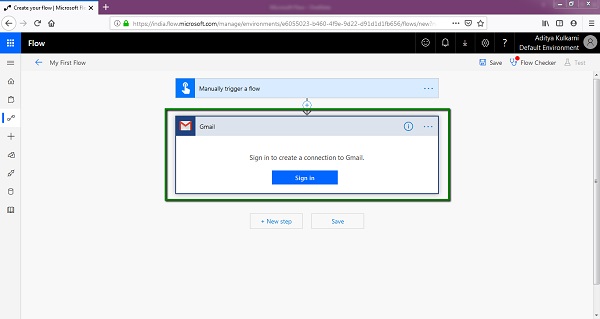
Let us add our Gmail address and get the connection established. After you have signed up with your Gmail account and provided necessary permissions, you should see below screen.
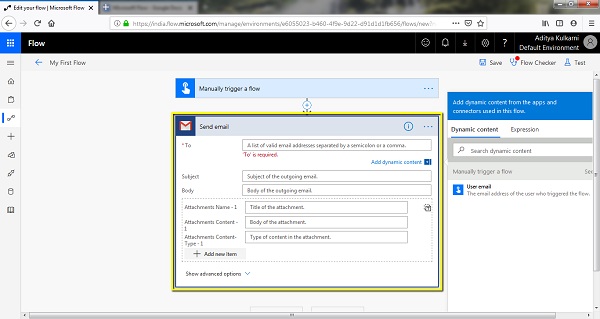
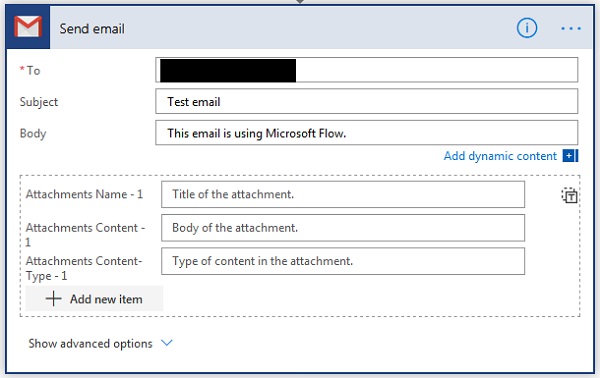
In the highlighted section above, we will add some details. I am going to send an email to myself with below subject and Email body.
Subject − Test Email
Body − This email is using Microsoft Flow.
Let us ignore the attachment part for now.
Click Save button to capture your progress till now.
Testing a Flow
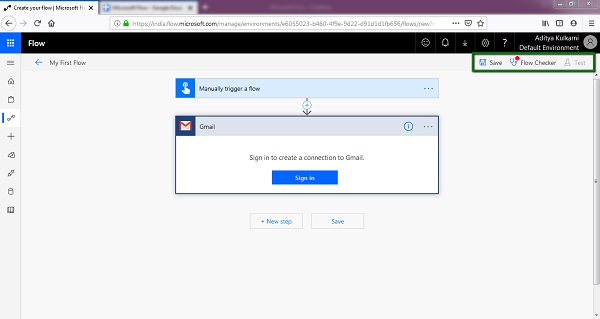
If you observe the interface after you have added the trigger (and not signed in to Gmail), you will be able to see three buttons at the top right section of screen.
The Flow Checker will get activated at the appropriate times. This is useful when checking whether your flow is accurate or not. If you click on the Flow Checker in above state, you will be able to see below screen −
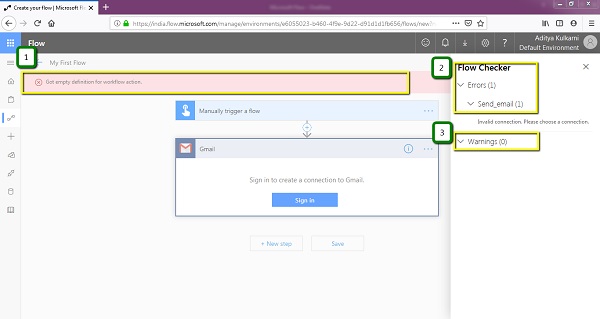
- If you look at the instruction indicated by point 1, it says Got empty definition for workflow action.
- While these statements are best comprehended by a Power User of Microsoft Flow, some of the messages can be understood by a normal/beginner user as well.
- Necessarily, Flow Checker communicates what is missing in your flow created.
- In our case, we didnt Sign In to Gmail account, so that is being raised as an Error.
- At the right side of the screen, you can see the Send_email error under the Errors section.
- In this way, we can check the errors in our flow and hence test our Flow even before running it.
Test button
- Click the test button to see how the Flow executes.
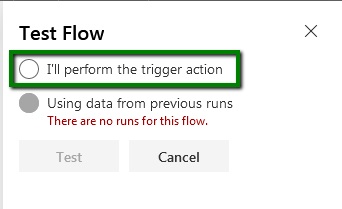
- When you click on the Test button, a hover will appear from the right side of screen.
- Select I will perform the trigger action button and Click Test.
- You will be presented with the above screen talking about the status of the apps in use. We are currently using Gmail, so it is showing its sign in status as green check mark.
- Click Continue.
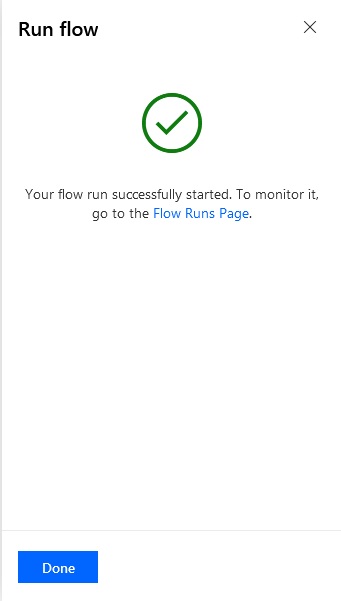
- On the next screen, click Run Flow. Success screen will show up as below.
- This is how one can create a simple flow from scratch. In Chapter 6, we will look at Flow Runs Page in detail.
This will provide you two options for performing a trigger action.