- MFC - Home
- MFC - Overview
- MFC - Environment Setup
- MFC - VC++ Projects
- MFC - Getting Started
- MFC - Windows Fundamentals
- MFC - Dialog Boxes
- MFC - Windows Resources
- MFC - Property Sheets
- MFC - Windows Layout
- MFC - Controls Management
- MFC - Windows Controls
- MFC - Messages & Events
- MFC - Activex Controls
- MFC - File System
- MFC - Standard I/O
- MFC - Document View
- MFC - Strings
- MFC - Carray
- MFC - Linked Lists
- MFC - Database Classes
- MFC - Serialization
- MFC - Multithreading
- MFC - Internet Programming
- MFC - GDI
- MFC - Libraries
MFC - Environment Setup
Microsoft Visual C++ is a programming environment used to create applications for the Microsoft Windows operating systems. To use MFC framework in your C++ application, you must have installed either Microsoft Visual C++ or Microsoft Visual Studio. Microsoft Visual Studio also contains the Microsoft Visual C++ environment.
Microsoft provides a free version of visual studio which also contains SQL Server and it can be downloaded from https://www.visualstudio.com/en-us/downloads/downloadvisual- studio-vs.aspx.
Following are the installation steps.
Step 1 − Once Visual Studio is downloaded, run the installer. The following dialog box will be displayed.
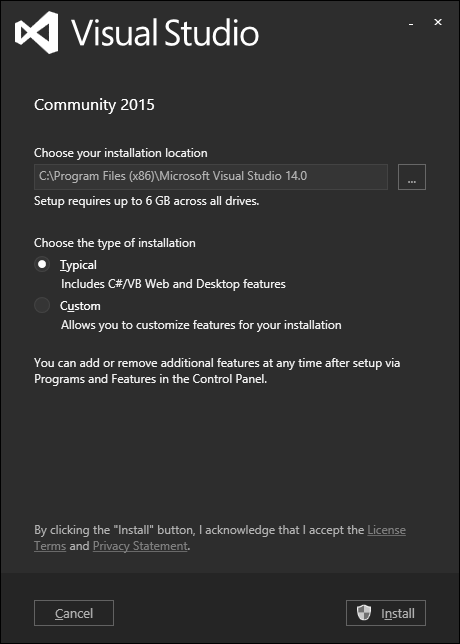
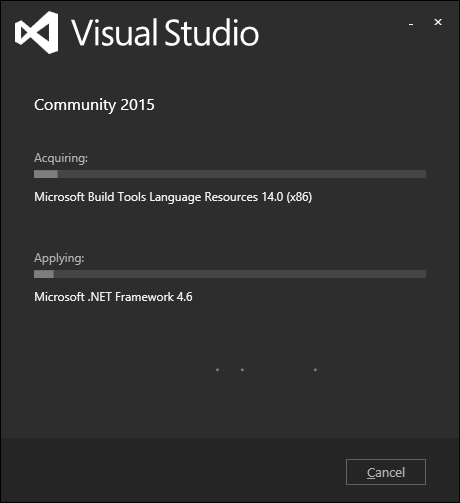
Step 2 − Click Install to start the installation process.
Step 3 − Once Visual Studio is installed successfully, you will see the following dialog box.
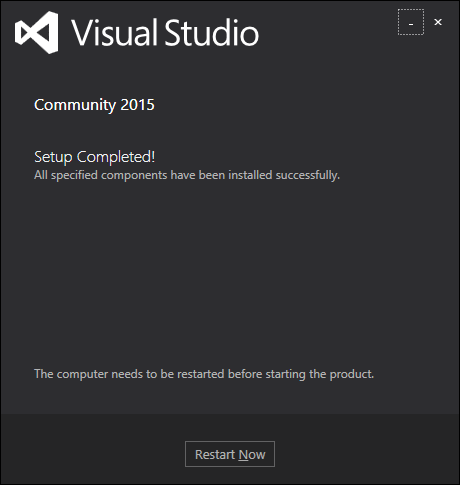
Step 4 − Close this dialog box and restart your computer if required.
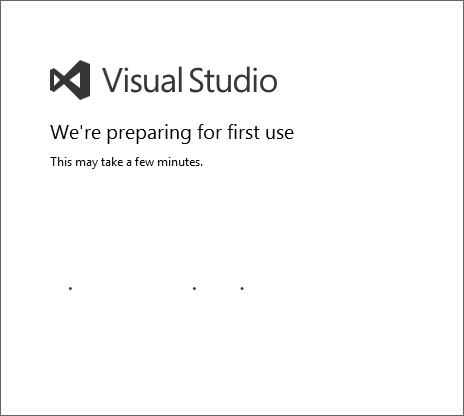
Step 5 − Open Visual studio from the Start menu, which will open the following dialog box. It will take some time for preparation, while starting for the first time.
Step 6 − Next, you will see the main window of Visual Studio.
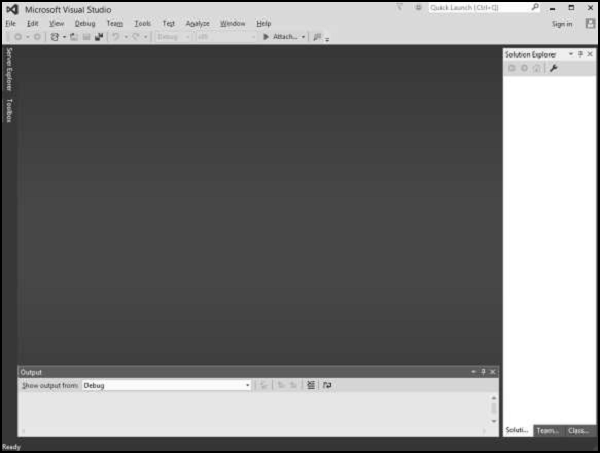
Step 7 − You are now ready to start your application.
