- jQuery - Home
- jQuery - Roadmap
- jQuery - Overview
- jQuery - Basics
- jQuery - Syntax
- jQuery - Selectors
- jQuery - Events
- jQuery - Attributes
- jQuery - AJAX
- jQuery CSS Manipulation
- jQuery - CSS Classes
- jQuery - Dimensions
- jQuery - CSS Properties
- jQuery Traversing
- jQuery - Traversing
- jQuery - Traversing Ancestors
- jQuery - Traversing Descendants
- jQuery References
- jQuery - Selectors
- jQuery - Events
- jQuery - Effects
- jQuery - HTML/CSS
- jQuery - Traversing
- jQuery - Miscellaneous
- jQuery - Properties
- jQuery - Utilities
- jQuery Plugins
- jQuery - Plugins
- jQuery - PagePiling.js
- jQuery - Flickerplate.js
- jQuery - Multiscroll.js
- jQuery - Slidebar.js
- jQuery - Rowgrid.js
- jQuery - Alertify.js
- jQuery - Progressbar.js
- jQuery - Slideshow.js
- jQuery - Drawsvg.js
- jQuery - Tagsort.js
- jQuery - LogosDistort.js
- jQuery - Filer.js
- jQuery - Whatsnearby.js
- jQuery - Checkout.js
- jQuery - Blockrain.js
- jQuery - Producttour.js
- jQuery - Megadropdown.js
- jQuery - Weather.js
- jQuery Useful Resources
- jQuery - Questions and Answers
- jQuery - Quick Guide
- jQuery - Cheatsheet
- jQuery - Useful Resources
- jQuery - Discussion
jQuery Event bind() Method
The jQuery bind() method attaches (or binds) one or more event handlers to the selected elements and specifies a function to run (or execute) when the event occurs.
Rather than using it alone, you can combine (or use) this method with other methods like ready().
Following are the lists of possible event values:
- click
- upload
- mouseenter
- mouseleave
- scroll
- blur, focus, etc.
Syntax
Following is the syntax of the jQuery event bind() method −
$(selector).bind( eventType [, eventData ], handler )
Parameters
This method accepts three parameters: 'eventType', 'eventData', and 'handler', which are described below −
- eventData − A string containing one or more DOM event types, such as "click" or "submit".
- eventData (optional) − This is an optional parameter containing data that will be passed to the event handler.
- handler − A function to execute each time when the event is triggered.
Return Value
This method does not return any value; instead, it attaches the handler (a function) to an event for the elements.
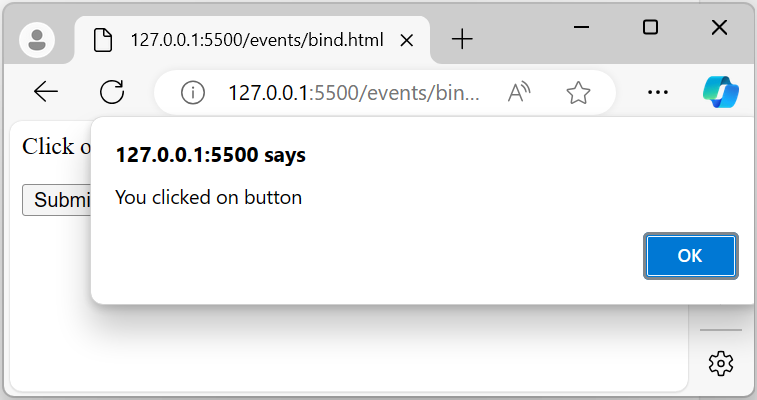
Example 1
The following is the basic example of the jQuery event bind() method. Here, it binds the handler to the "click" event for the button element −
<html>
    <head>
        <script type = "text/javascript" src = "https://www.tutorialspoint.com/jquery/jquery-3.6.0.js">
      </script>
    </head>
<body>
    <p>Click on the below button to pop up an alert message.</p>
    <button>Submit</button>
    <script>
        $(document).ready(function(){
            $('button').bind('click', function(event){
                alert("You clicked on button");
            });
        });
    </script>
</body>
</html>
Output
Once the above program is executed, it will display the following output. When the user clicks on the button, an alert message will pop up on the laptop/computer screen −
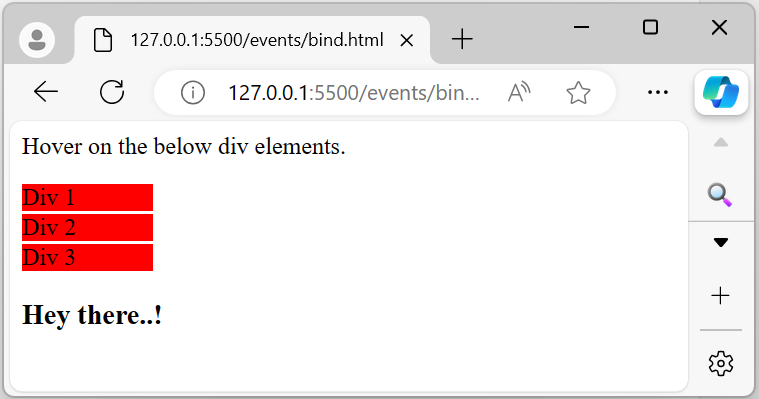
Example 2
The following is another example of the jQuery bind() method. We use this method to bind a handler to the "mouseenter" event for all div elements. Whenever users hover over a div element, a message is displayed below the div element −
<html>
    <head>
        <script type = "text/javascript" src = "https://www.tutorialspoint.com/jquery/jquery-3.6.0.js">
      </script>
      <style>
        div{
            background-color: red;
            width: 20%;
            margin: 2px 0px;
        }
      </style>
    </head>
<body>
    <p>Hover on the below div elements.</p>
    <div class="demo1">Div 1</div>
    <div class="demo2">Div 2</div>
    <div class="demo3">Div 3</div>
    <h3 id="demo"></h3>
    <script>
        $(document).ready(function(){
            $('div').bind('mouseenter', function(event){
                document.getElementById('demo').innerHTML = "Hey there..!";
            });
        });
    </script>
</body>
</html>
Output
After executing the above program, it will display three div elements. When users enter (or hover) the mouse over any div element, a message will be displayed −
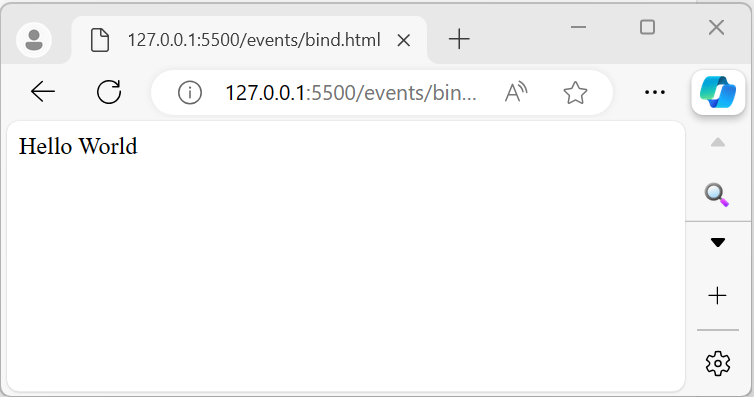
Example 3
Binding multiple events to the selected elements.
In this example, when the mouse enters or leaves the element with the id "demo", the class "highlight" will be toggled −
<html>
    <head>
        <script type = "text/javascript" src = "https://www.tutorialspoint.com/jquery/jquery-3.6.0.js">
      </script>
      <style>
        .highlight{
            color: white;
            background-color: black;
            width: 20%;
            padding: 20px;
        }
      </style>
    </head>
<body>
    <div id="demo">Hello World</div>
    <script>
       $('#demo').bind('mouseenter mouseleave', function() {
           $(this).toggleClass('highlight');
        });
    </script>
</body>
</html>
Output
When the mouse enters or exits the selected element, the 'highlight' class will be toggled, which applies a style with a black background and white text −
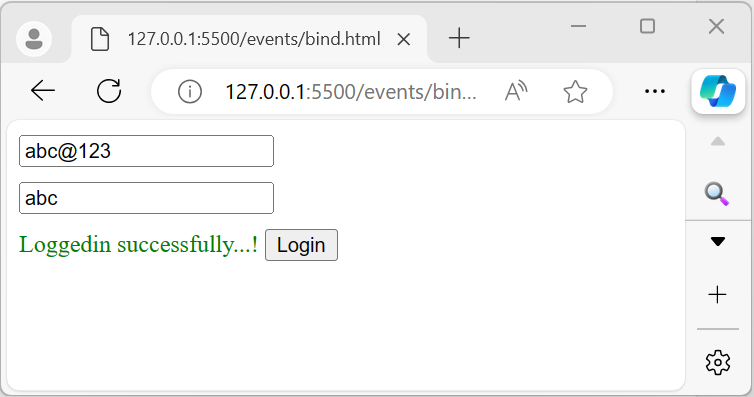
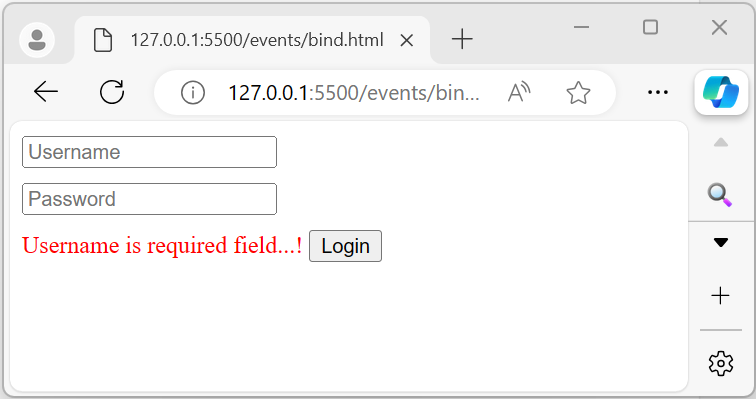
Example 4
Let's look at the real-time usage of the jQuery bind() method. This method attaches a 'click' event handler to the button element. Therefore, when the user clicks the button, different messages will be displayed depending on whether the input fields are empty or filled −
<html>
    <head>
        <script type = "text/javascript" src = "https://www.tutorialspoint.com/jquery/jquery-3.6.0.js">
      </script>
      <style>
        input{
            margin: 10px 0px;
            display: block;
        }
      </style>
    </head>
<body>
    <input type="text" placeholder="Username" id="uname">
    <input type="text" placeholder="Password" id="password">
    <span></span>
    <button>Login</button>
    <script>
        $(document).ready(function(){
            $('button').bind('click', function(event){
                let uname = document.querySelector('#uname');
                let password = document.querySelector("#password");
                if(uname.value.trim().length == 0){
                    document.querySelector('span').innerHTML= 'Username is required field...!';
                    document.querySelector('span').style.color= 'red';
                }
                else if(password.value.trim().length == 0){
                    document.querySelector('span').innerHTML= 'Password is required field...!';
                    document.querySelector('span').style.color= 'red';
                }
                else{
                    document.querySelector('span').innerHTML= 'Loggedin successfully...!';
                    document.querySelector('span').style.color= 'green';
                }
            });
        });
    </script>
</body>
</html>
Output
The program displays a form with two input fields and a button. Within the event handler (function), we’ve implemented validation: if the input fields are empty, a message in red color will be displayed; otherwise, a green-colored message will appear after the form submission (empty input field) −
When the input fields contain some data or information −