
Article Categories
- All Categories
-
 Data Structure
-
 Networking
-
 RDBMS
RDBMS
-
 Operating System
-
 Java
Java
-
 MS Excel
-
 iOS
iOS
-
 HTML
HTML
-
 CSS
CSS
-
 Android
-
 Python
-
 C Programming
-
 C++
C++
-
 C#
C#
-
 MongoDB
-
 MySQL
MySQL
-
 Javascript
-
 PHP
PHP
-
 Economics & Finance
How to Remove Duplicate Rows in Excel?
Excel is an effective tool for organising, manipulating, and conducting data analysis. The presence of duplicate rows, however, might cause errors and inconsistencies in your research when you work with huge datasets. To maintain data integrity and to derive correct insights from your data, duplicate rows must be removed. In this lesson, the operation will be finished using the Remove Duplicate method found in the data section.
We'll examine the Excel option that is the simplest. We'll walk you through several techniques to locate and eliminate duplicate rows from your Excel spreadsheets in this step-by-step manual. This course will provide you the knowledge and abilities to effectively clean up your data and improve your process, regardless of how experienced an Excel user you are.
Remove Duplicate Rows
Here we will use the remove duplicates function to complete the task. So let us see a simple process to learn how you can Remove Duplicate Rows in Excel.
Step 1
Consider an Excel sheet where you have duplicate rows, similar to the below image.
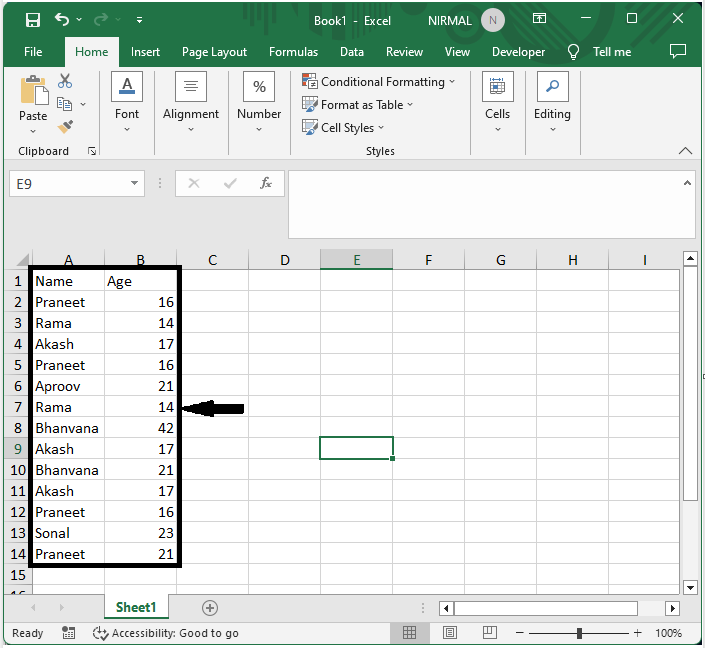
First select the range of cells, then select Remove Duplicates under Data.
Select Cells > Date > Remove Duplicate Rows.
Step 2
Then, in the pop-up, check all the boxes under the columns and click OK to complete the task.
Check Boxes > Ok.

Then you will see that all the duplicate rows will be removed from the selected data.
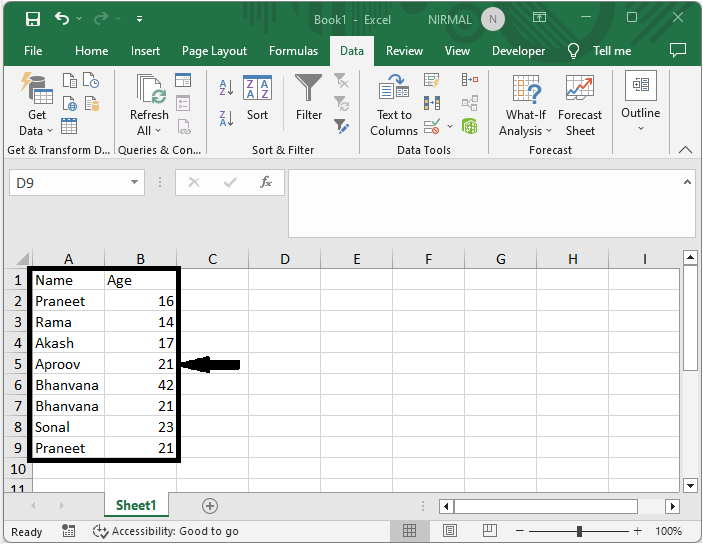
This is how you can remove duplicate rows in Excel.
Note
If you want to remove duplicates based on a single column, then check only one box under the column in the Remove Duplicates pop-up.
Conclusion
In this tutorial, we have used a simple example to demonstrate how you can Remove Duplicate Rows in Excel to highlight a particular set of data.

483 Views
