 Data Structure
 Networking
 RDBMS
RDBMS Operating System
 Java
Java MS Excel
 iOS
iOS HTML
HTML CSS
CSS Android
 Python
 C Programming
 C++
C++ C#
C# MongoDB
 MySQL
MySQL Javascript
 PHP
PHP
- Selected Reading
- UPSC IAS Exams Notes
- Developer's Best Practices
- Questions and Answers
- Effective Resume Writing
- HR Interview Questions
- Computer Glossary
- Who is Who
How to dynamically create \\\'@-Keyframe\\\' CSS animations?
In CSS, the @keyframes rule specifies a sequence of styles that an element should go through during the animation. Here in this article, we will learn how to create dynamic animations using these sequences in ?@-keyframe' rule. The ability to animate components on a web page in response to user interaction or changes is referred to as dynamic animation in CSS. Text, graphics, and buttons are examples of components that may be utilised to create visually attractive and engaging user experiences.
These styles are then applied to the element via the animation property, which sets the animation's duration, timing function, and other properties.
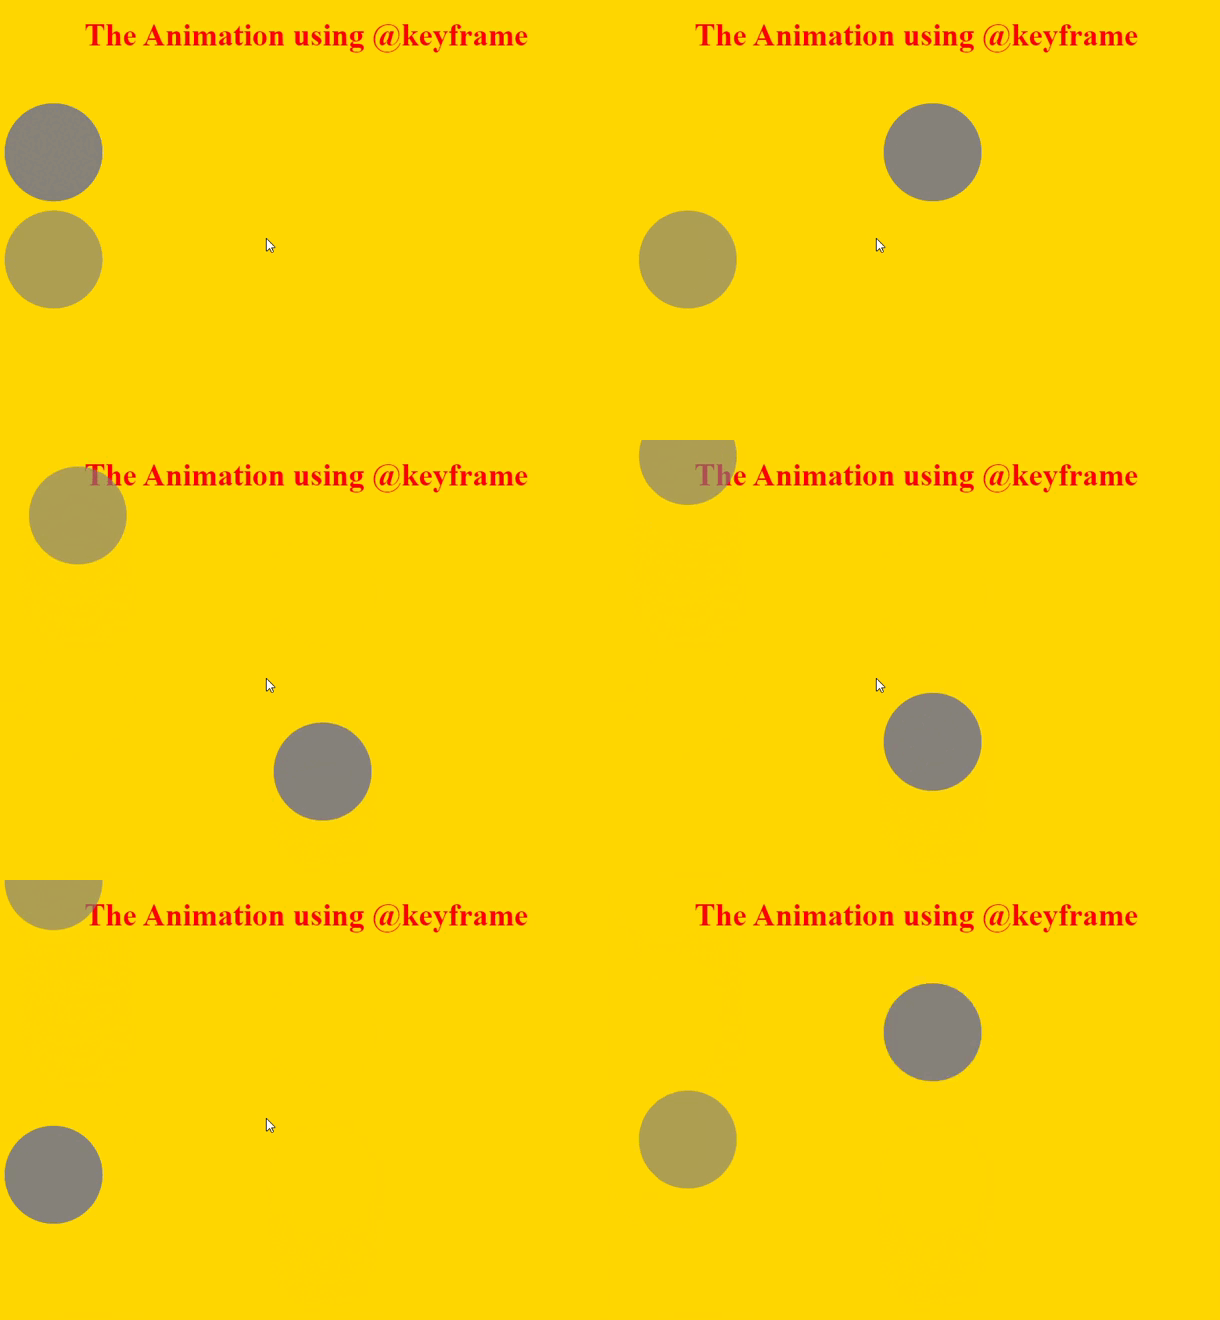
Visual Representation of @-keyframe Animation

Syntax
The following syntax is used in the examples ?
<div></div>
The tag defines an element or division in the document of HTML.
@keyframe mymove {
}
@keyframe class species the moving position of elements i.e. top, bottom, left, right. The keyframe is better technique to control the dynamic animation.
Properties
The following properties used in the examples are ?
text-align ? Define the h1 element to be the center.
color ? Define the color of the h1 element.
width ? Define the width of the div element.
height ? Define the height of the div element.
position ? Define the value of absolute that shows the fixed value.
animation ? Define the value by dynamic animation move.
border-radius ? Define the radius of the corner border.
background ? Define the background color of the div element.
opacity ? Define the opacity level of the div element.
Example 1
In this example, we will use the two-division element to create a circle by using the border-radius property. To make a move on a circle it will use the @keyframe animation to set the CSS properties. This represents the dynamic animation in the output of webpage.
<!DOCTYPE html>
<html>
<head>
   <style>
      h1{
         text-align: center;
         color: red;
      }
      div {
         width: 100px;
         height: 100px;
         position: absolute;
         animation: mymove 10s infinite;
         border-radius: 50px;
         background: grey;
         opacity: 0.8;
      }
      @keyframes mymove {
         10%   {top: 110px;}
         25%  {bottom: 200px;}
         75%  {right: 250px}
         100% {bottom: 300px;}
      }
   </style>
</head>
<body style="background: gold;">
   <h1>The Animation using @keyframe</h1>
   <div></div>
   <div><div>
</body>
</html>
Example 2
In this example, we will create the division element to set the single box and define its properties with the help of an element selector i.e. div. To make the dynamic moves to the division element it will use the property of animation and keyframe class( to set the move position).
<!DOCTYPE html>
<html>
<head>
   <style>
      h1{
         text-align: center;
         color: red;
      }
      div {
         width: 100px;
         height: 100px;
         position: absolute;
         animation: mymove 10s infinite;
         background: purple;
         opacity: 0.2;
      }
      @keyframes mymove {
         10%   {top: 110px;}
         50%  {bottom: 200px;}
         40%  {left: 50px;}
         30% { right:70px;}
      }
   </style>
</head>
<body style="background: powderblue;">
   <h1>The Animation using @keyframe</h1>
   <div></div>
</body>
</html>
Conclusion
The two above outputs show the representation of dynamic animation using CSS animation. The keyframe was represented using the @-keyframe class by setting some CSS properties in it. Div element was designed according to users like shapes can be square, circle, rectangle, etc.

