- Cordova - Home
- Cordova - Overview
- Cordova - Environment Setup
- Cordova - First Application
- Cordova - Config.xml File
- Cordova - Storage
- Cordova - Events
- Cordova - Back Button
- Cordova - Plugman
- Cordova - Battery Status
- Cordova - Camera
- Cordova - Contacts
- Cordova - Device
- Cordova - Accelerometer
- Cordova - Device Orientation
- Cordova - Dialogs
- Cordova - File System
- Cordova - File Transfer
- Cordova - Geolocation
- Cordova - Globalization
- Cordova - InAppBrowser
- Cordova - Media
- Cordova - Media Capture
- Cordova - Network Information
- Cordova - Splash Screen
- Cordova - Vibration
- Cordova - Whitelist
- Cordova - Best Practices
Cordova - Media Capture
This plugin is used for accessing device's capture options.
Step 1 - Installing Media Capture Plugin
To install this plugin, we will open command prompt and run the following code −
C:\Users\username\Desktop\CordovaProject>cordova plugin add cordova-plugin-media-capture
Step 2 - Add Buttons
Since we want to show you how to capture audio, image and video, we will create three buttons in index.html.
<button id = "audioCapture">AUDIO</button>
<button id = "imageCapture">IMAGE</button>
<button id = "videoCapture">VIDEO</button>
Step 3 - Add Event Listeners
The next step is adding event listeners inside onDeviceReady in index.js.
document.getElementById("audioCapture").addEventListener("click", audioCapture);
document.getElementById("imageCapture").addEventListener("click", imageCapture);
document.getElementById("videoCapture").addEventListener("click", videoCapture);
Step 4A - Capture Audio Function
The first callback function in index.js is audioCapture. To start sound recorder, we will use captureAudio method. We are using two options limit will allow recording only one audio clip per single capture operation and duration is number of seconds of a sound clip.
function audioCapture() {
   var options = {
      limit: 1,
      duration: 10
   };
   navigator.device.capture.captureAudio(onSuccess, onError, options);

   function onSuccess(mediaFiles) {
      var i, path, len;
      for (i = 0, len = mediaFiles.length; i < len; i += 1) {
         path = mediaFiles[i].fullPath;
         console.log(mediaFiles);
      }
   }

   function onError(error) {
      navigator.notification.alert('Error code: ' + error.code, null, 'Capture Error');
   }
}
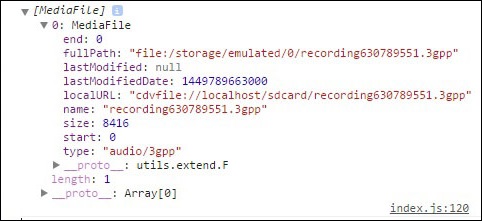
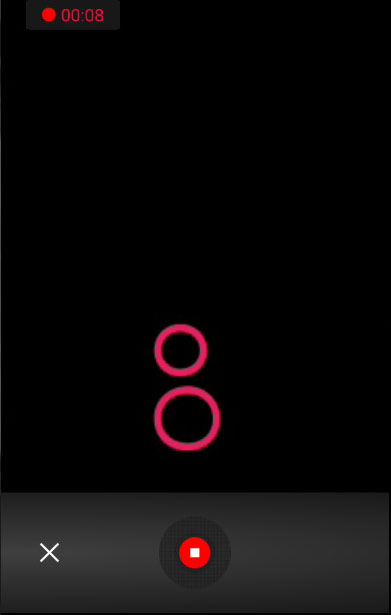
When we press AUDIO button, sound recorder will open.
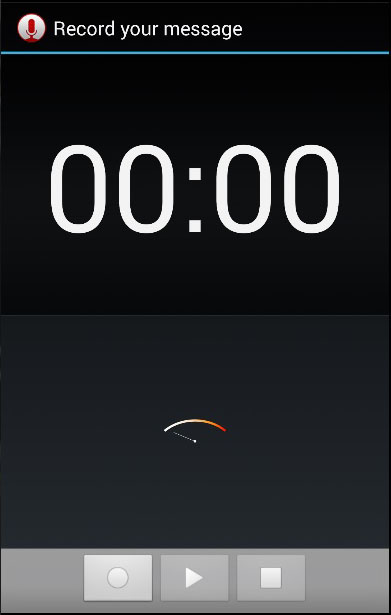
Console will show returned array of objects that users captured.
Step 4B - Capture Image Function
The function for capturing image will be the same as the last one. The only difference is that we are using captureImage method this time.
function imageCapture() {
   var options = {
      limit: 1
   };
   navigator.device.capture.captureImage(onSuccess, onError, options);

   function onSuccess(mediaFiles) {
      var i, path, len;
      for (i = 0, len = mediaFiles.length; i < len; i += 1) {
         path = mediaFiles[i].fullPath;
         console.log(mediaFiles);
      }
   }

   function onError(error) {
      navigator.notification.alert('Error code: ' + error.code, null, 'Capture Error');
   }
}
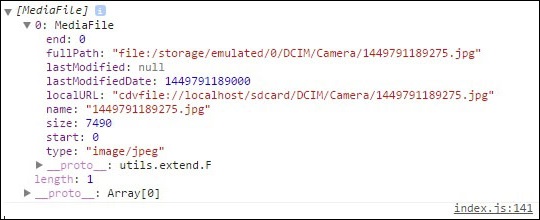
Now we can click IMAGE button to start the camera.

When we take picture, the console will log the array with image object.
Step 4C - Capture Video Function
Let's repeat the same concept for capturing video. We will use videoCapture method this time.
function videoCapture() {
   var options = {
      limit: 1,
      duration: 10
   };
   navigator.device.capture.captureVideo(onSuccess, onError, options);

   function onSuccess(mediaFiles) {
      var i, path, len;
      for (i = 0, len = mediaFiles.length; i < len; i += 1) {
         path = mediaFiles[i].fullPath;
         console.log(mediaFiles);
      }
   }

   function onError(error) {
      navigator.notification.alert('Error code: ' + error.code, null, 'Capture Error');
   }
}
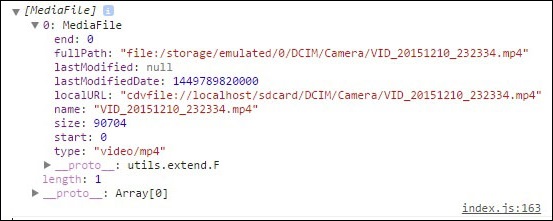
If we press VIDEO button, the camera will open and we can record the video.
Once the video is saved, the console will return array once more. This time with video object inside.