- Cordova - Home
- Cordova - Overview
- Cordova - Environment Setup
- Cordova - First Application
- Cordova - Config.xml File
- Cordova - Storage
- Cordova - Events
- Cordova - Back Button
- Cordova - Plugman
- Cordova - Battery Status
- Cordova - Camera
- Cordova - Contacts
- Cordova - Device
- Cordova - Accelerometer
- Cordova - Device Orientation
- Cordova - Dialogs
- Cordova - File System
- Cordova - File Transfer
- Cordova - Geolocation
- Cordova - Globalization
- Cordova - InAppBrowser
- Cordova - Media
- Cordova - Media Capture
- Cordova - Network Information
- Cordova - Splash Screen
- Cordova - Vibration
- Cordova - Whitelist
- Cordova - Best Practices
Cordova - Contacts
This plugin is used for accessing the contacts database of the device. In this tutorial we will show you how to create, query and delete contacts.
Step 1 - Install Contacts Plugin
C:\Users\username\Desktop\CordovaProject>cordova plugin add cordova-plugincontacts
Step 2 - Adding Buttons
The button will be used for calling the createContact function. We will place it in the div class = "app" in index.html file.
<button id = "createContact">ADD CONTACT</button>
<button id = "findContact">FIND CONTACT</button>
<button id = "deleteContact">DELETE CONTACT</button>
Step 2 - Add Event Listeners
Open index.js and copy the following code snippet into the onDeviceReady function.
document.getElementById("createContact").addEventListener("click", createContact);
document.getElementById("findContact").addEventListener("click", findContact);
document.getElementById("deleteContact").addEventListener("click", deleteContact);
Step 3A - Callback Function (navigator.contacts.create)
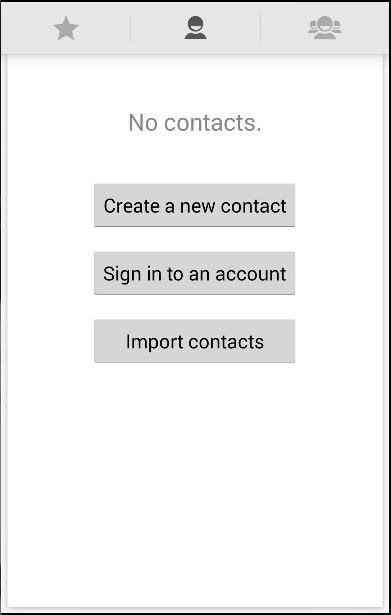
Now, we do not have any contacts stored on the device.
Our first callback function will call the navigator.contacts.create method where we can specify the new contact data. This will create a contact and assign it to the myContact variable but it will not be stored on the device. To store it, we need to call the save method and create success and error callback functions.
function createContact() {
   var myContact = navigator.contacts.create({"displayName": "Test User"});
   myContact.save(contactSuccess, contactError);

   function contactSuccess() {
      alert("Contact is saved!");
   }

   function contactError(message) {
      alert('Failed because: ' + message);
   }

}
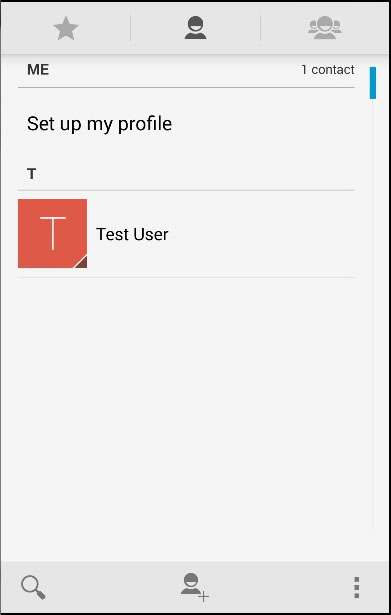
When we click the ADD CONTACT button, new contact will be stored to the device contact list.
Step 3B - Callback Function (navigator.contacts.find)
Our second callback function will query all contacts. We will use the navigator.contacts.find method. The options object has filter parameter which is used to specify the search filter. multiple = true is used since we want to return all contacts from device. The field key to search contacts by displayName since we used it when saving contact.
After the options are set, we are using find method to query contacts. The alert message will be triggered for every contact that is found.
function findContacts() {
   var options = new ContactFindOptions();
   options.filter = "";
   options.multiple = true;
   fields = ["displayName"];
   navigator.contacts.find(fields, contactfindSuccess, contactfindError, options);

   function contactfindSuccess(contacts) {
      for (var i = 0; i < contacts.length; i++) {
         alert("Display Name = " + contacts[i].displayName);
      }
   }

   function contactfindError(message) {
      alert('Failed because: ' + message);
   }

}
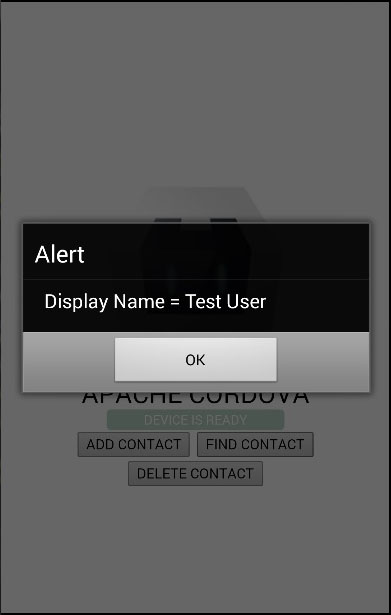
When we press the FIND CONTACT button, one alert popup will be triggered since we have saved only one contact.
Step 3C - Callback function (delete)
In this step, we will use the find method again but this time we will set different options. The options.filter is set to search that Test User which has to be deleted. After the contactfindSuccess callback function has returned the contact we want, we will delete it by using the remove method that requires its own success and error callbacks.
function deleteContact() {
   var options = new ContactFindOptions();
   options.filter = "Test User";
   options.multiple = false;
   fields = ["displayName"];
   navigator.contacts.find(fields, contactfindSuccess, contactfindError, options);

   function contactfindSuccess(contacts) {
      var contact = contacts[0];
      contact.remove(contactRemoveSuccess, contactRemoveError);

      function contactRemoveSuccess(contact) {
         alert("Contact Deleted");
      }

      function contactRemoveError(message) {
         alert('Failed because: ' + message);
      }
   }

   function contactfindError(message) {
      alert('Failed because: ' + message);
   }

}
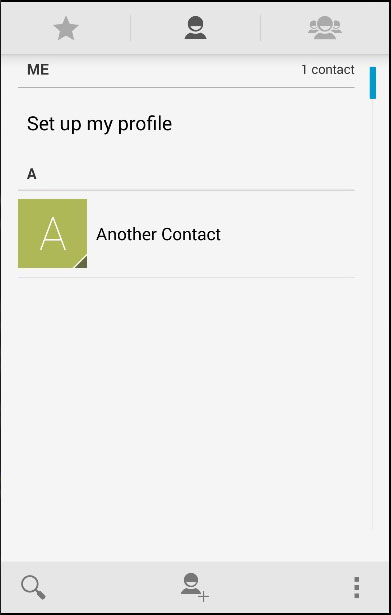
Now, we have only one contact stored on the device. We will manually add one more to show you the deleting process.
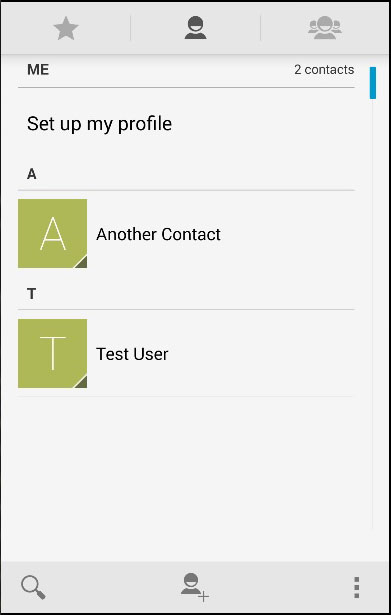
We will now click the DELETE CONTACT button to delete the Test User. If we check the contact list again, we will see that the Test User does not exist anymore.