- CI - Home
- CI - Overview
- CI - Software
- CI - Reducing Risks
- CI - Version Control
- CI - Features
- CI - Requirements
- CI - Building a Solution
- CI - Build Scripts
- CI - Building On the Server
- CI - Checking in Source Code
- CI - Creating a Project in TeamCity
- CI - Defining Tasks
- CI - Build Failure Notifications
- CI - Documentation and Feedback
- CI - Testing
- CI - Inspection
- CI - Database
- CI - Deployment
- CI - Best Practices
Continuous Integration - Testing
One of the key features of Continuous Integration is to ensure that the on-going testing holds all the code which gets built by the CI server. After a build is carried out by the CI Server, it has to be ensured that the test cases are in place to get the required code tested. Every CI server has the ability to run unit test cases as part of the CI suite. In .Net, the unit testing is a feature which is inbuilt into the .Net framework and the same thing can be incorporated into the CI Server as well.
This chapter will see how we can define a test case in .Net and then let our TeamCity server run this test case after the build is completed. For this, we first need to ensure that we have a unit test defined for our sample project.
To do this, we must follow the ensuing steps with utmost carefulness.
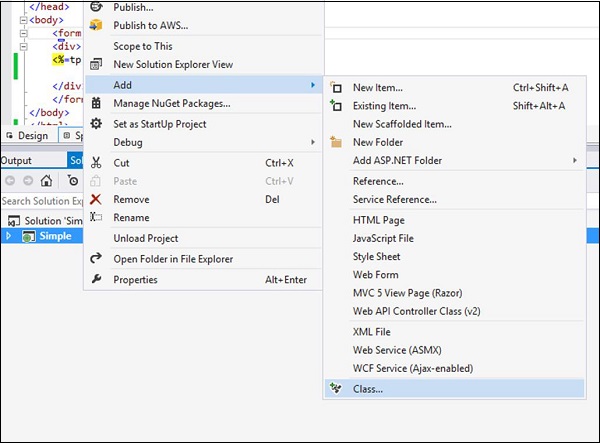
Step 1 − Lets add a new class to our solution, which will be used in our Unit Test. This class will have a name variable, which will hold the string Continuous Integration. This string will be displayed on the web page. Right-click on the Simple Project and choose the menu option Add → Class.
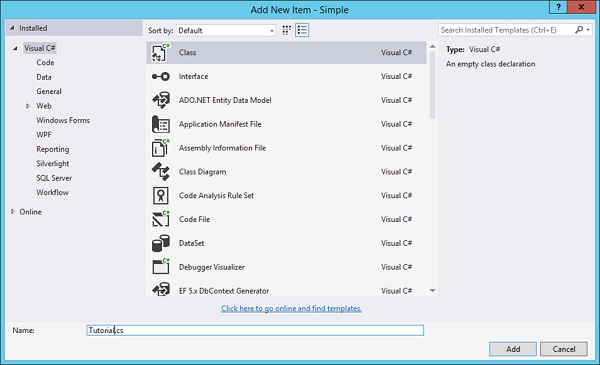
Step 2 − Give a name for the class as Tutorial.cs and click the Add button at the bottom of the screen.
Step 3 − Open the Tutorial.cs file and add the following code in it. This code just creates a string called Name, and in the Constructor assign the name to a string value as Continuous Integration.
using System;
using System.Collections.Generic;
using System.Linq;
using System.Web;

namespace Simple {
   public class Tutorial {
      public String Name;
      public Tutorial() {
         Name = "Continuous Integration";
      }
   }
}
Step 4 − Let us make the change to our Demo.aspx.cs file to use this new class. Update the code in this file with the following code. So this code will now create a new instance of the class created above.
using System;
using System.Collections.Generic;
using System.Linq;
using System.Web;
using System.Web.UI;
using System.Web.UI.WebControls;

namespace Simple {
   public partial class Demo : System.Web.UI.Page {
      Tutorial tp = new Tutorial();
      protected void Page_Load(object sender, EventArgs e) {
         tp.Name = "Continuous Integration";
      }
   }
}
Step 5 − In our demo.aspx file, let us now reference the tp.Name variable, which was created in the aspx.cs file.
<%@ Page Language = "C#" AutoEventWireup = "true"
   CodeBehind = "Demo.aspx.cs" Inherits = "Simple.Demo" %>
<!DOCTYPE html>
<html xmlns = "http://www.w3.org/1999/xhtml">

   <head runat = "server">
      <title>TutorialsPoint1</title>
   </head>

   <body>
      <form id = "form1" runat = "server">
         <div>
            <% = tp.Name%>)
         </div>
      </form>
   </body>

</html>
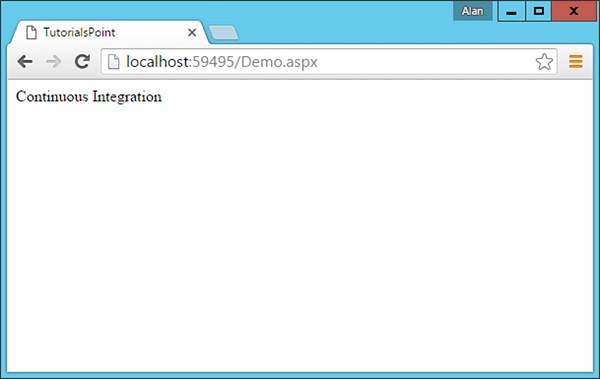
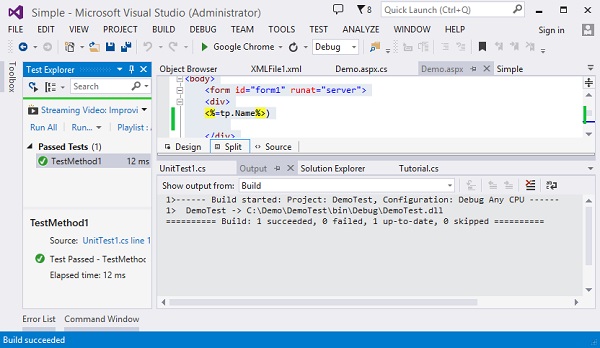
Just to ensure our code works fine with these changes, you can run the code in Visual Studio. You should get the following output once the compilation is complete.
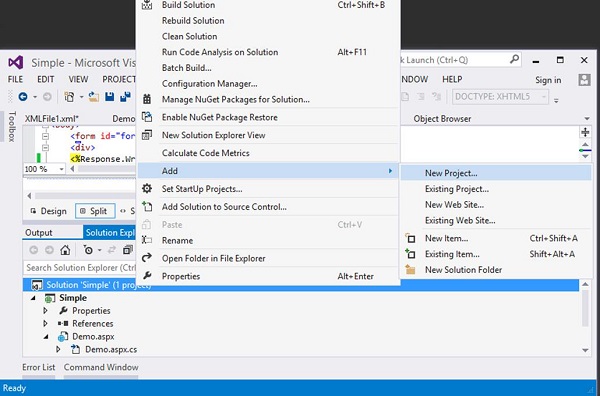
Step 6 − Now it is time to add our Unit tests to the project. Right-click on Solution and choose the menu option Add → New Project.
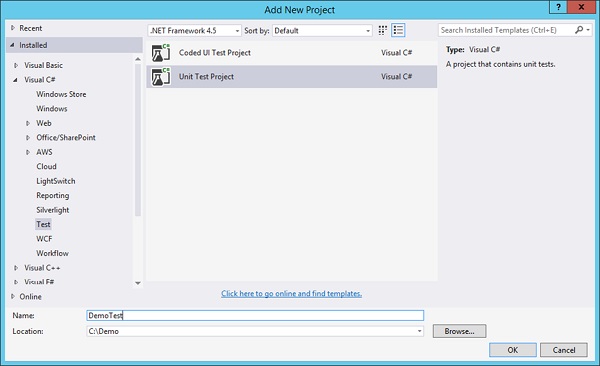
Step 7 − Navigate to Test and on the right hand side, choose Unit Test Project. Give a name as DemoTest and then click OK.
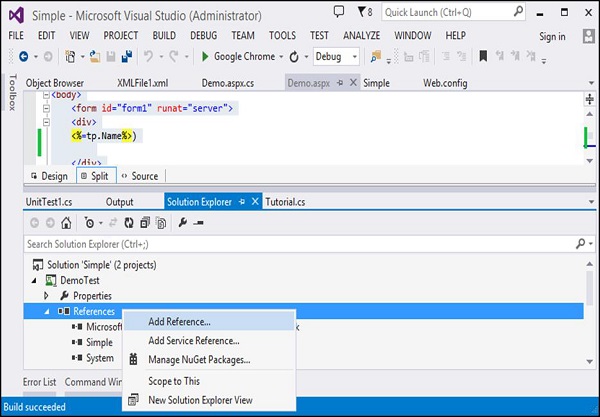
Step 8 − In your Demo Test project, you need to add a reference to the Simple project and to the necessary testing assemblies. Right-click on the project and choose the menu option Add Reference.
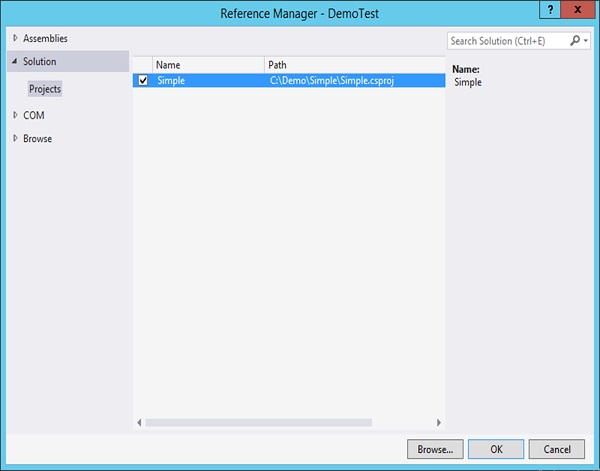
Step 9 − In the next screen that comes up, go to Projects, choose Simple Reference and click OK.
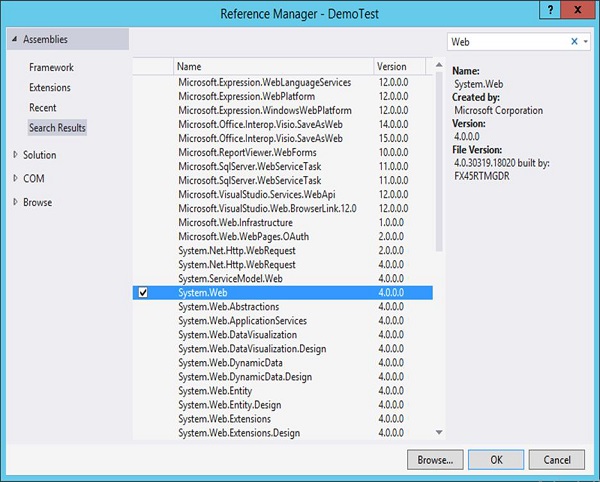
Step 10 − Click Add Reference again, go to Assemblies and type Web in the Search box. Then add a reference of System.Web.
Step 11 − In the Unit Test file, add the following code. This code will ensure that the Tutorial class has a string name variable. It will also assert the fact that the Name should equal a value of Continuous Integration. This will be our simple Test case.
using System;
using Microsoft.VisualStudio.TestTools.UnitTesting;
using Microsoft.VisualStudio.TestTools.UnitTesting.Web;
using System.Web.UI;
using System.Web.UI.WebControls;
using Simple;

namespace DemoTest {
   [TestClass]
   public class UnitTest1 {
      [TestMethod]
      public void TestMethod1() {
         Tutorial tp = new Tutorial();
         Assert.AreEqual(tp.Name, "Continuous Integration");
      }
   }
}
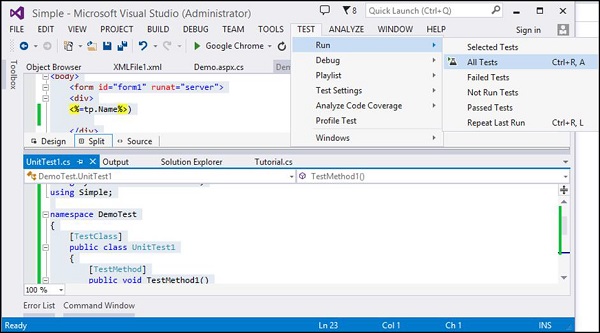
Step 12 − Now lets run our test in Visual Studio to make sure it works. In Visual Studio, choose the menu option Test → Run → All Tests.
After running the test, you will see the Test successfully run on the left hand side of Visual Studio.
Enabling Continuous Testing within TeamCity Now that all the test cases are in place, it is time to integrate these into our Team City server.
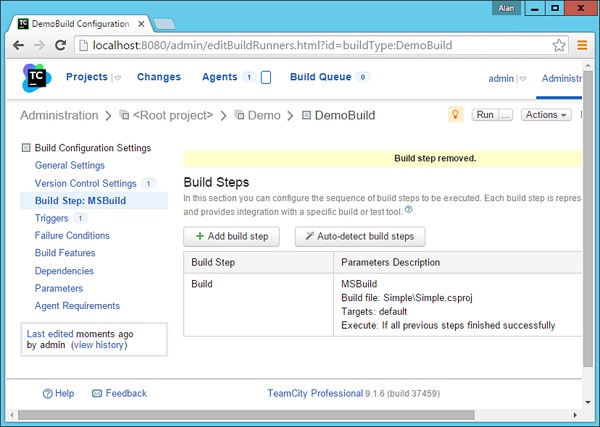
Step 13 − For this, we need to create a build step in our Project configuration. Go to your project home and click Edit Configuration Settings.

step 14 − Then go to Build Step → MS Build and click Add build step as depicted in the following screenshot.
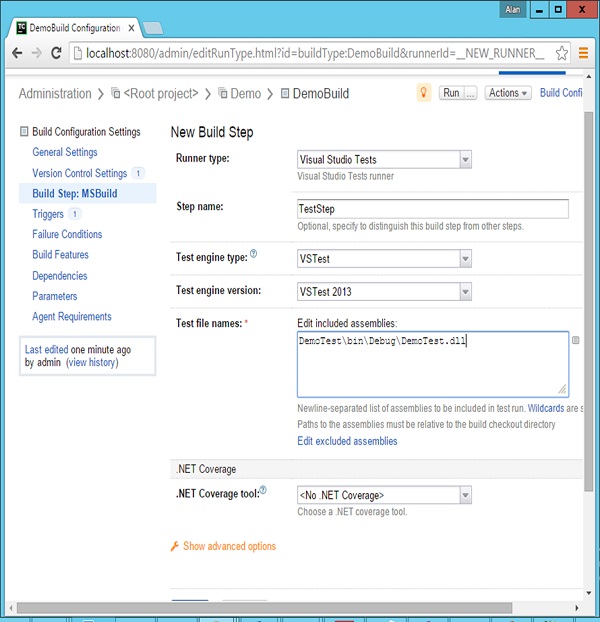
In the next screen that comes up, add the following values −
Choose the runner type as Visual Studio Tests.
Enter an optional Test step name.
Choose the Test Engine type as VSTest.
Choose the Test Engine version as VSTest2013.
In the Test files name, provide the location as DemoTest\bin\Debug\DemoTest.dll Remember that DemoTest is the name of our project which contains our Unit Tests. The DemoTest.dll will be generated by our first build step.
Click Save which will be available at the end of the screen.
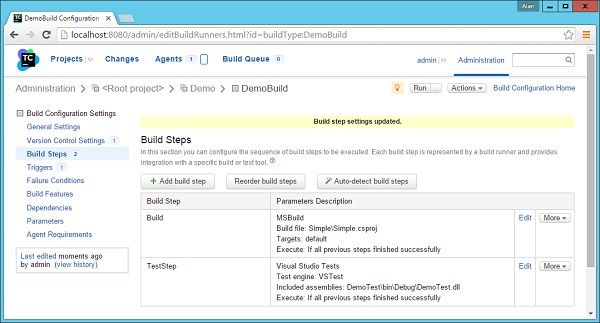
Now you will have 2 build steps for your project. The first is the Build step which will build your application code and your test project. And the next will be used to run your test cases.
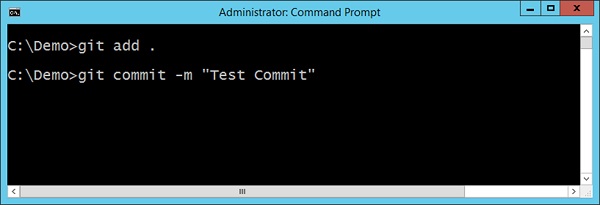
Step 15 − Now it is time to check-in all your code in Git, so that the entire build process can be triggered. The only difference is this time, you need to run the git add and git commit command from the Demo parent folder as shown in the following screenshot.
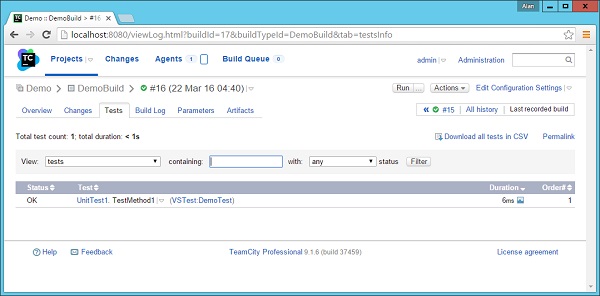
Now when the build is triggered, you will see an initial output which will say that the test passed.
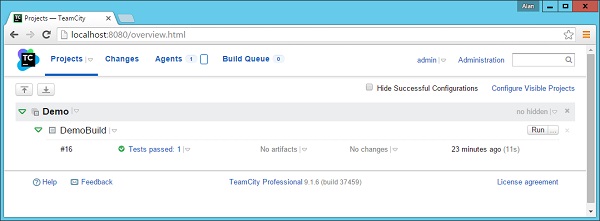
Step 16 − If you click on the Test passed result and go to the Test tab, you will now see that the UnitTest1 was executed and that it is passed.