- CI - Home
- CI - Overview
- CI - Software
- CI - Reducing Risks
- CI - Version Control
- CI - Features
- CI - Requirements
- CI - Building a Solution
- CI - Build Scripts
- CI - Building On the Server
- CI - Checking in Source Code
- CI - Creating a Project in TeamCity
- CI - Defining Tasks
- CI - Build Failure Notifications
- CI - Documentation and Feedback
- CI - Testing
- CI - Inspection
- CI - Database
- CI - Deployment
- CI - Best Practices
CI - Build Failure Notifications
A Build Failure Notification is an event which is triggered whenever a build fails. The notification is sent to all key people whenever a build fails. The first important thing to do in such a case is to ensure time is spent on the failed build to ensure the build passed. The following steps are used to ensure that the build notifications are put in place in TeamCity.
Following are the steps to set up email notifications in TeamCity.
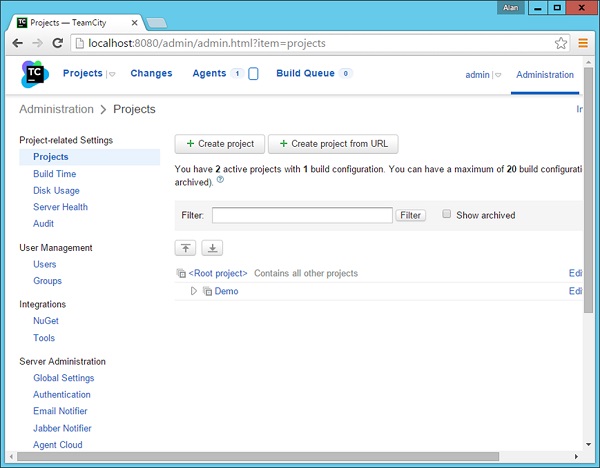
Step 1 − In TeamCity, go to your Project dashboard, click on Administration in the top right hand corner. You will then see the Email Notifier link in the left hand side. Click on this link to bring up the general settings for Email.
Step 2 − Next step is to enter the details of a valid SMTP Server. Gmail provides a free SMTP facility, which can be used by anyone. So we can enter those details in the next screen that comes up as shown in the following screenshot.
- SMTP Host smtp.gmail.com
- SMTP port no 465
- Send email messages from and SMTP login This should be a valid Gmail id
- SMTP password Valid password for that Gmail id
- Secure connection Put this as SSL
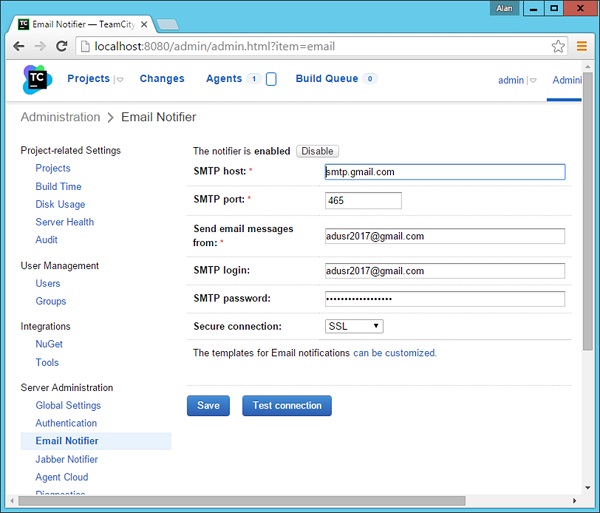
Step 3 − Click Test Connection just to ensure that the settings are working properly. Then click Save to save the settings.
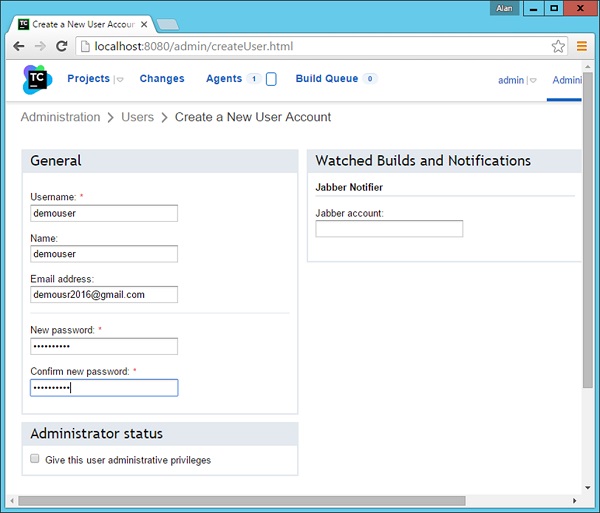
Step 4 − The next step is to enable build notifications for a user. The first task is to create a user which will receive these build notifications. Go to your project dashboard and choose the Users Option.

Step 5 − Create a new user. Enter the required username and password. Then Click the Create User button, which will be located at the bottom of the screen.
Step 6 − Now login to the TeamCity system with this new user id and password.
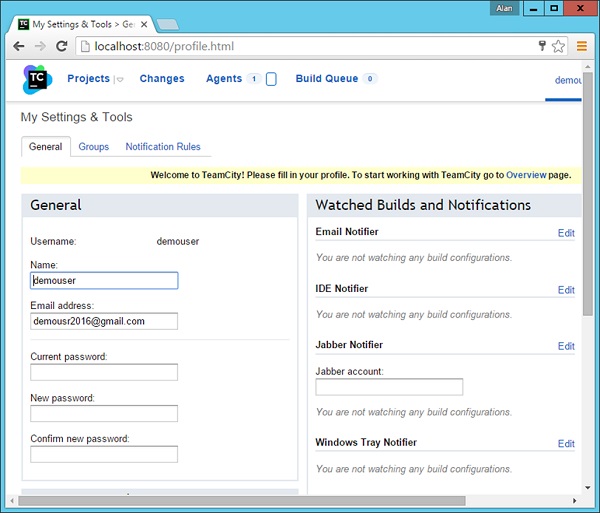
Step 7 − After you log in, you will be presented with the General settings of the user. In the Email Notifier section, click Edit.
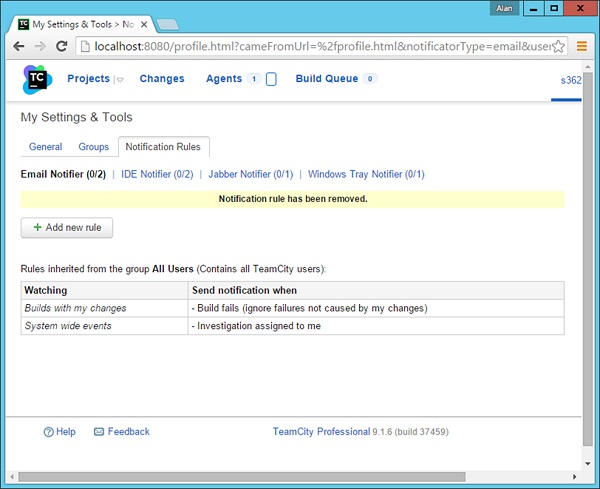
Step 8 − In the next screen that comes up, click Add new rule.
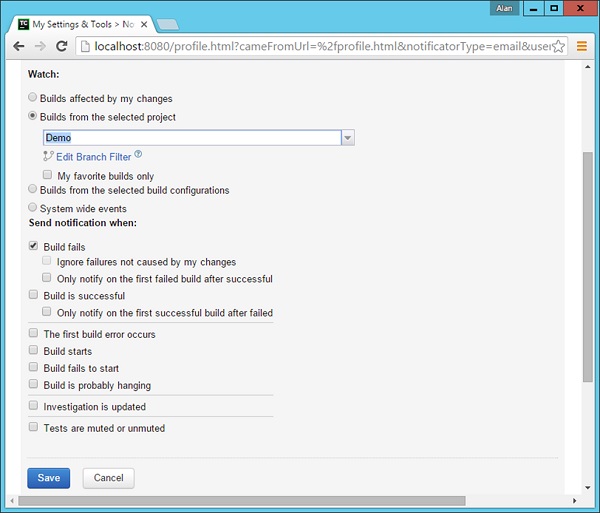
Step 9 − In Add new rule, choose the following two options and then click Save.
Builds from select projects Choose the Demo project.
Enable the checkbox for Build fails.
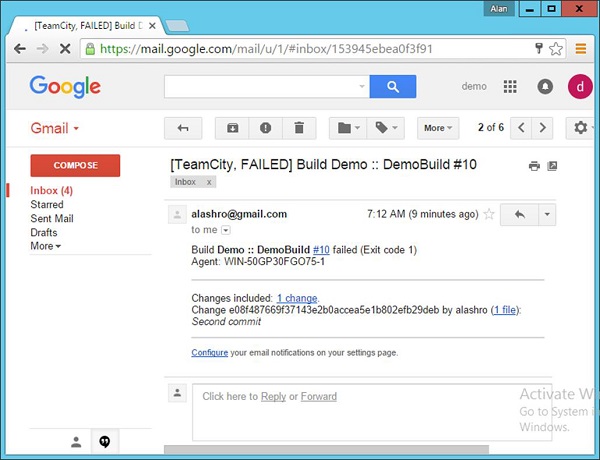
By enabling these two options, now whenever a build fails for the Demo project, an email notification will be sent to the user demouser.
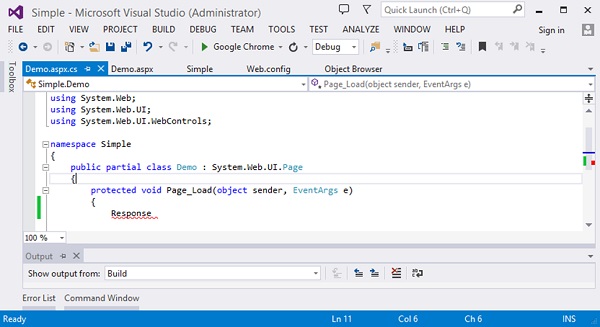
Step 10 − Now lets trigger a wrong build to see this in action. In Visual Studio, go to the demo.aspx.cs file and add a wrong line of code.
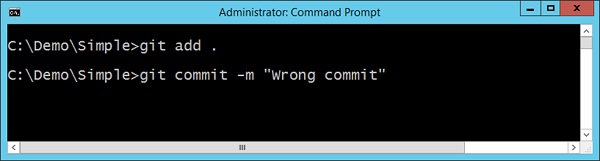
Step 11 − Now check-in the code from Git by doing a git add and git commit.
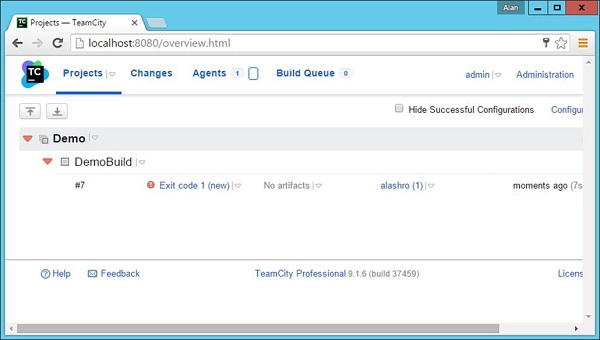
Now in the Project Dashboard, the build will automatically be triggered and you will see that the build would have failed as shown in the following screenshot.
If you login into the Gmail id of the demouser, you will actually see a build failure notification in it as shown in the following screenshot.