- CI - Home
- CI - Overview
- CI - Software
- CI - Reducing Risks
- CI - Version Control
- CI - Features
- CI - Requirements
- CI - Building a Solution
- CI - Build Scripts
- CI - Building On the Server
- CI - Checking in Source Code
- CI - Creating a Project in TeamCity
- CI - Defining Tasks
- CI - Build Failure Notifications
- CI - Documentation and Feedback
- CI - Testing
- CI - Inspection
- CI - Database
- CI - Deployment
- CI - Best Practices
CI - Creating a Project in TeamCity
Now that we have our source code in the Git repository and all of our initial code works on the build server, it is time to create a project in our Continuous Integration server. This can be done via the following steps −
Step 1 − Login to the TeamCity software. Go to the url on your Continuous Integration server − http://localhost:8080/login.html.
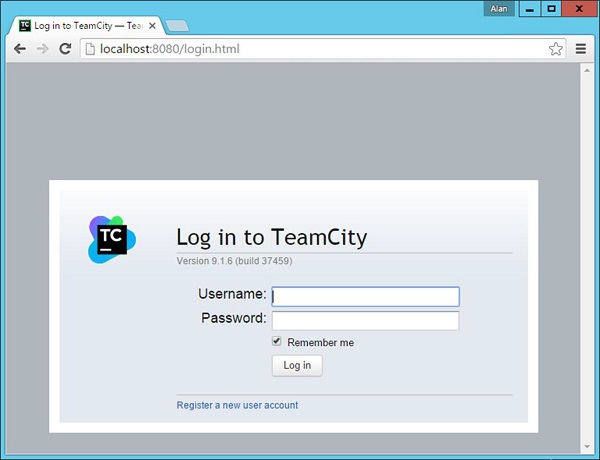
Enter the admin credentials and login to the server.
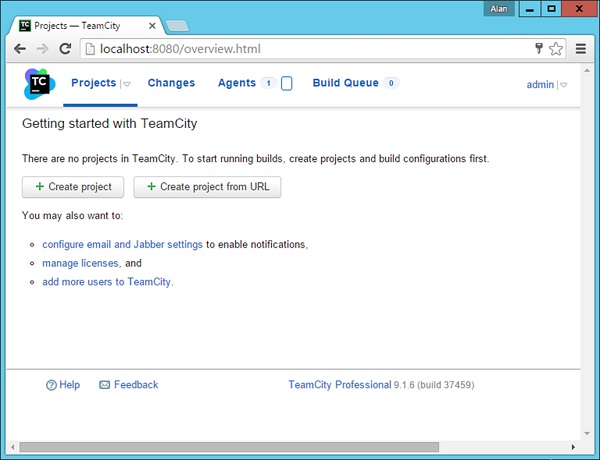
Step 2 − Once logged in, you will be presented with the home screen. Click Create Project to start a new project.
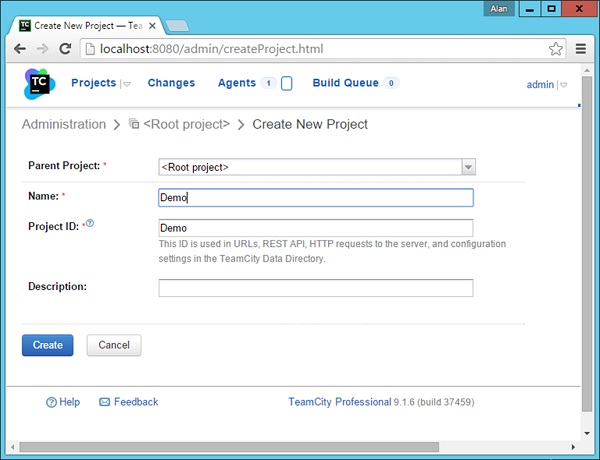
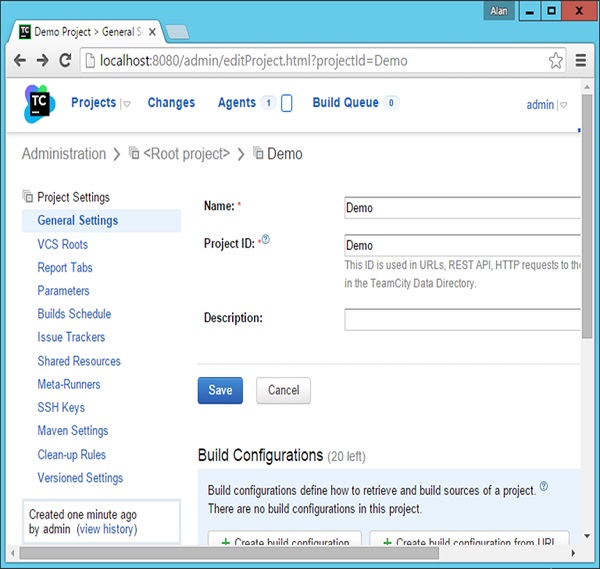
Step 3 − Give a name for the project and click Create to start the project. In our case, we are giving the name as Demo to our project as shown in the following screenshot.
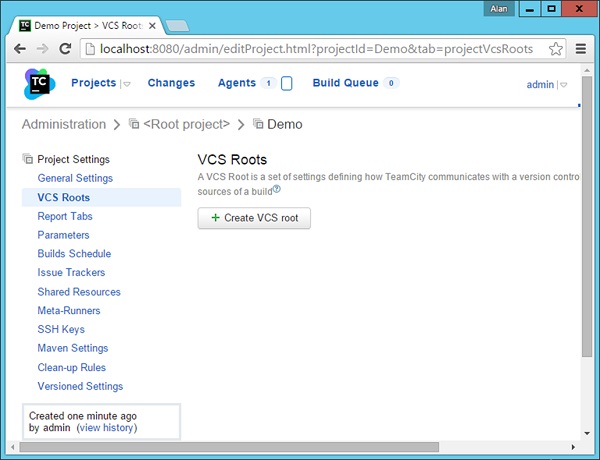
Step 4 − The next step is to mention the Git repository which will be used in our project. Remember that in a Continuous Integration environment, the CI server needs to pick up the code from the Git enabled repository. We have already enabled our project folder to be a Git enabled repository in the earlier step. In TeamCity, you need to create a VCS root. For this, click VCS Roots in the projects main screen.
Step 5 − In the screen that comes up next, click Create VCS root as shown in the following screenshot.
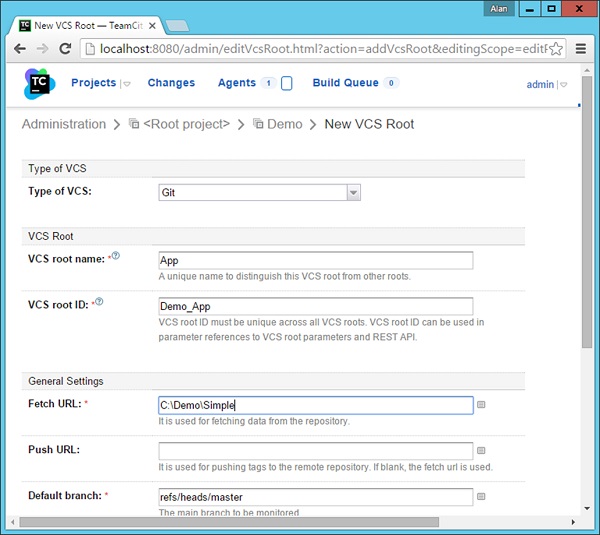
Step 6 − In the next screen that comes up, perform the following steps −
Mention the type of VCS as Git.
Give a name for the VCS root, this can be any friendly name. We have given the name as App.
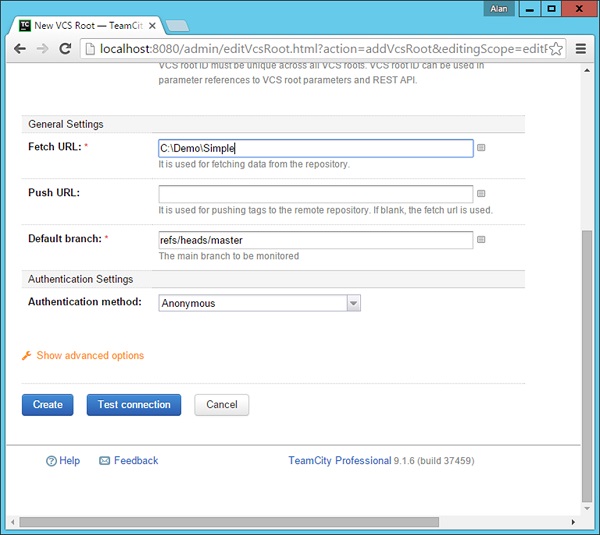
Give the Fetch url as C:\Demo\Simple This is out git enabled repository.
If you scroll down the screen, you will get a Test connection button. Click it to ensure that you can successfully connect to the Git enabled repository.
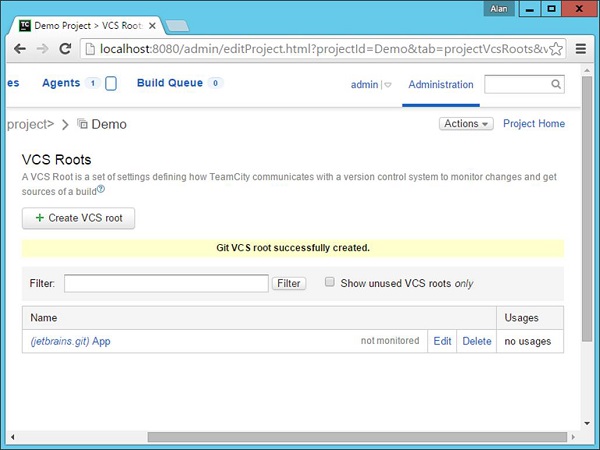
Step 7 − Click Create and you will now see your repository registered as shown in the following image.
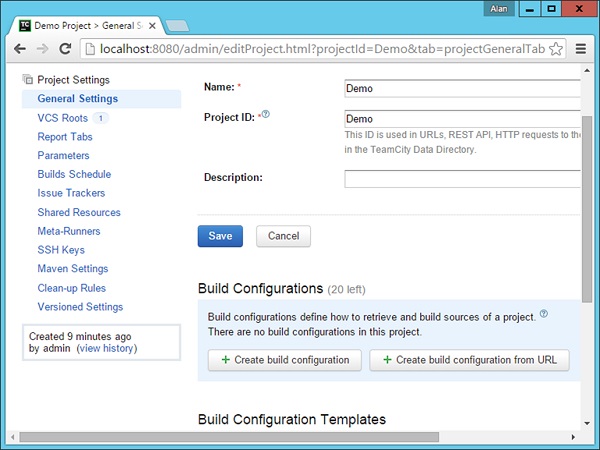
Step 8 − The next step is to create a build configuration which will be used to build the project. Go to your project screen in TeamCity → General Settings. Click Create Build Configuration.
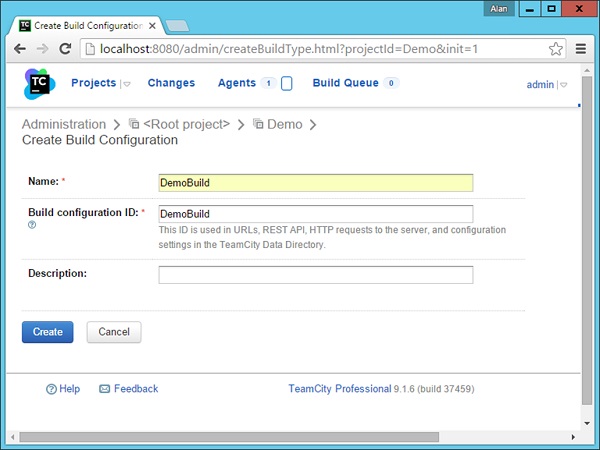
Step 9 − In the following screen, give a name for the Build Configuration. In our case we have named it as DemoBuild and then click Create.
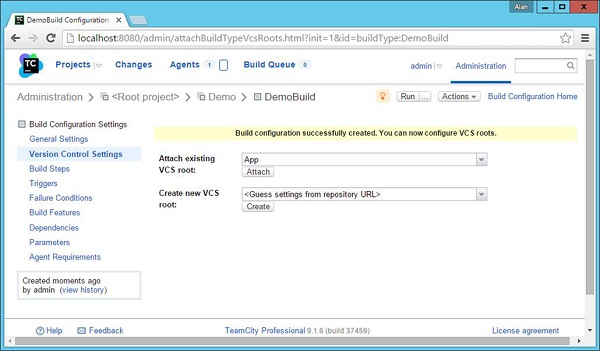
Step 10 − In the next screen that comes up, you will be asked to choose the VCS repository which was created in the earlier steps. So choose the name App and click Attach.
Step 11 − Now in the next screen that pops up, we need to configure the build steps. So click the configure build steps manually hyperlink.
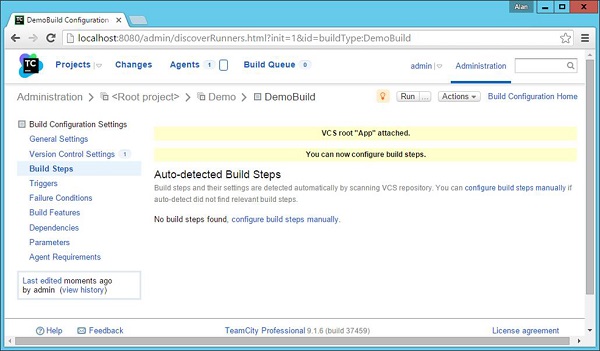
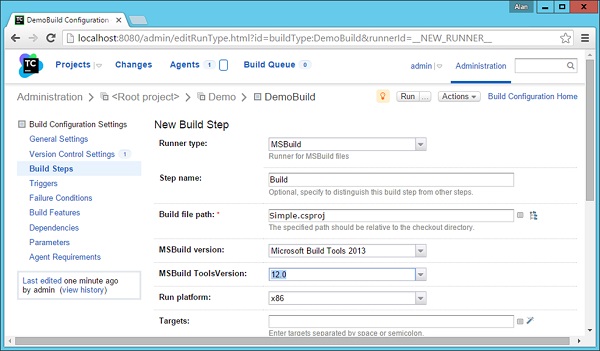
Step 12 − In the next build screen, we need to enter the following details −
Choose the Runner type as MSBuild.
Give an optional name for the step name.
Give the name of the file which needs to be built. When we specify MSbuild in the earlier sections, we normally see that we give the option of Simple.csproj. The same thing is needed to be specified here.
Choose the MSBuild version as Microsoft Build Tools 2013.
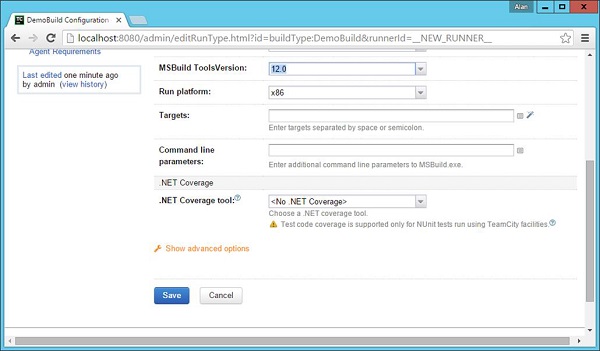
Choose the MSBuild ToolsVersion as 12.0.
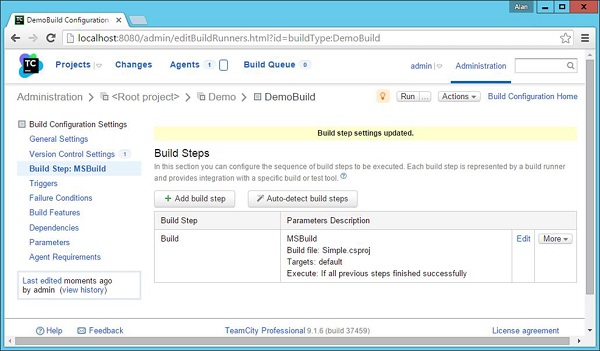
Scroll down the page to Save the settings.
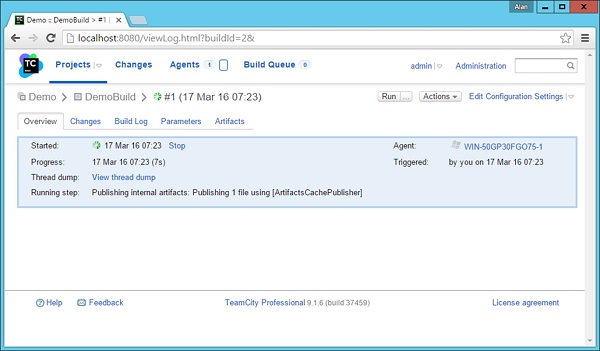
Step 13 − In the next screen, click Run.
You will see the build of your application now in progress.
You should get a successful screen, which is a good sign that your solution is building properly.
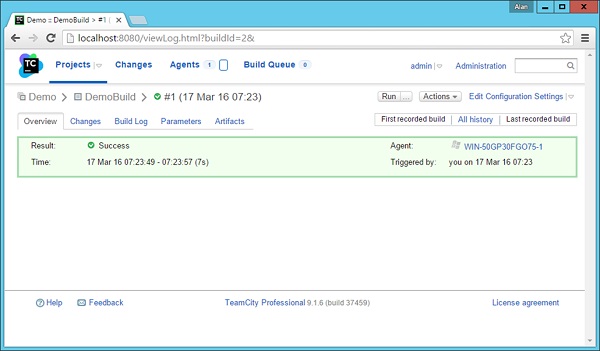
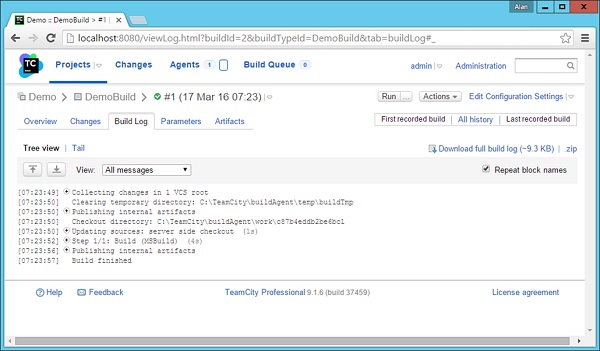
You can also go to your build log to see all the steps that were covered by the Continuous Integration server as shown in the following screenshot.