- CI - Home
- CI - Overview
- CI - Software
- CI - Reducing Risks
- CI - Version Control
- CI - Features
- CI - Requirements
- CI - Building a Solution
- CI - Build Scripts
- CI - Building On the Server
- CI - Checking in Source Code
- CI - Creating a Project in TeamCity
- CI - Defining Tasks
- CI - Build Failure Notifications
- CI - Documentation and Feedback
- CI - Testing
- CI - Inspection
- CI - Database
- CI - Deployment
- CI - Best Practices
Continuous Integration - Inspection
Continuous Inspection is the process of an automated code review of inspection conducted for your code before the actual tests are run. There are subtle differences between inspecting and testing software. Testing is dynamic and executes the software in order to test the functionality. Inspection analyzes the code based on a set of predefined rules.
Inspectors (or static and dynamic analysis tools) are directed by identified standards that teams should adhere to (usually coding or design metrics). Examples of inspection targets include coding grammar standards, architectural layering adherence, code duplication, and many others.
Continuous Inspection reduces the time between a discovery and a fix. There are a number of Continuous Inspection tools available. For this example, we are going to be using NCover 3.x which has an integration with TeamCity. Lets see how we can carry out Continuous Inspection and what it can do for us.
Download and Install NCover
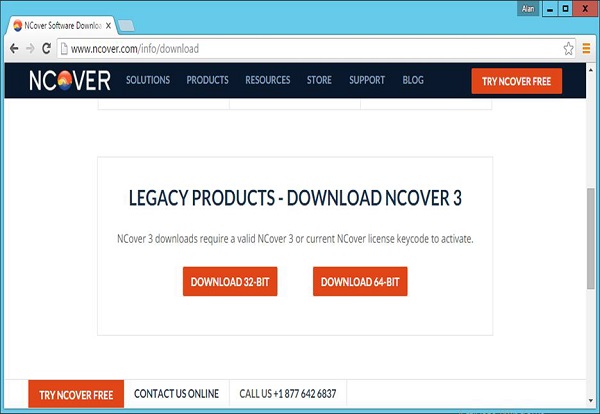
NCover is a separate product which needs to be downloaded and installed. To Download NCover, please click on the following link and download the 32-bit installer − http://www.ncover.com/info/download.
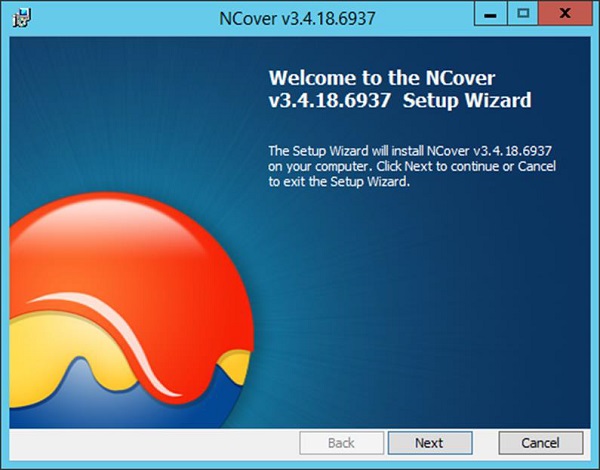
Run the downloaded installer and then click Next after the installer is started.
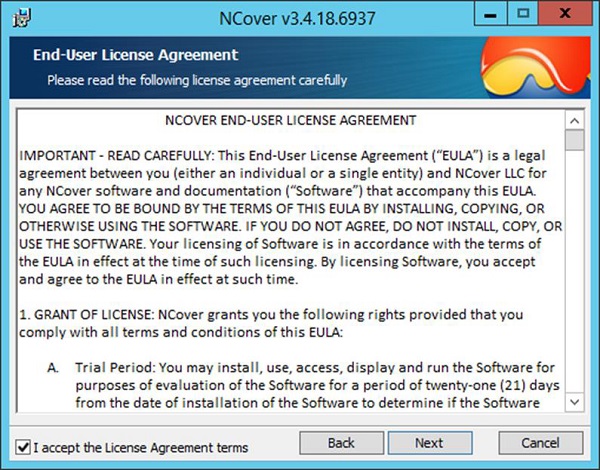
Accept the License agreement and then click Next.
Accept the default components and click Next.

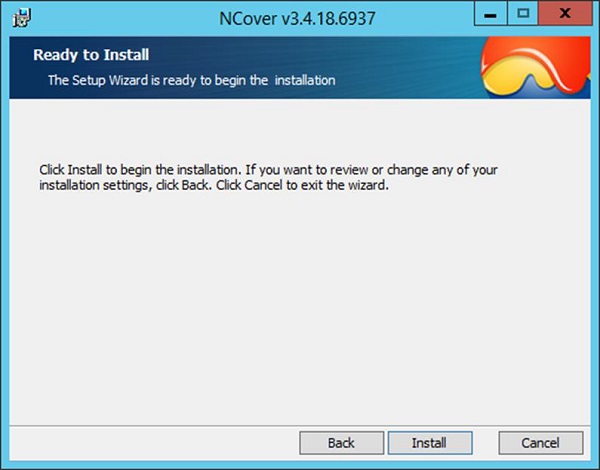
Click on the Install button to begin the installation.
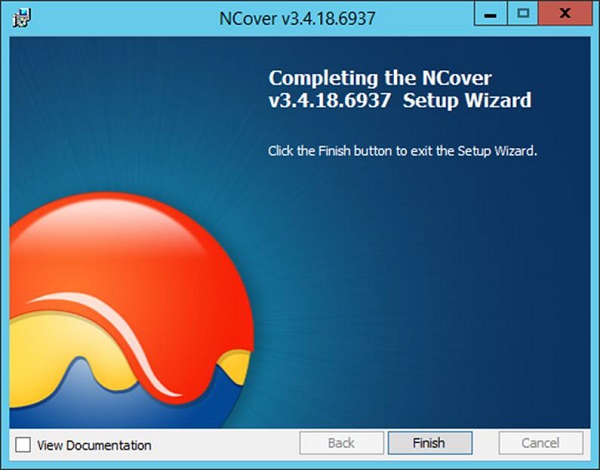
Click the Finish button to complete the installation.
Launch the NCover installation for the first time by going to C:\Program Files (x86)\NCover\ NCover.Explorer.exe. You will just need to install a trial key for the first time, which is a straightforward process.
Configure the Project in TeamCity to Use NCover
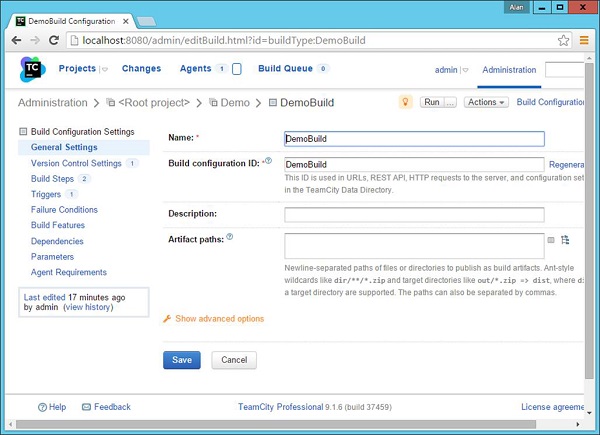
Step 1 − Go to your project home screen and click Edit Configuration Settings.
Step 2 − Go to Build Steps and click Edit for the TestStep. Continuous Inspection needs to run along with the Unit tests which are defined.
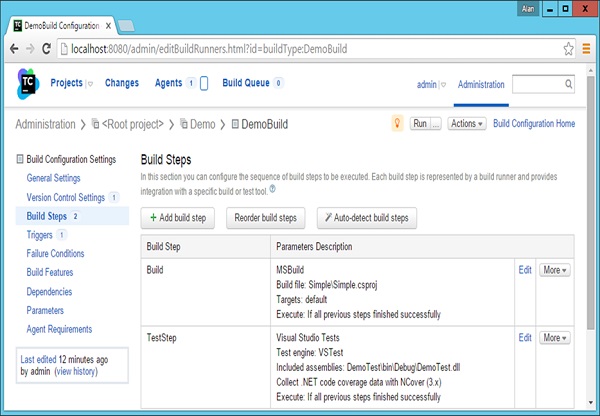
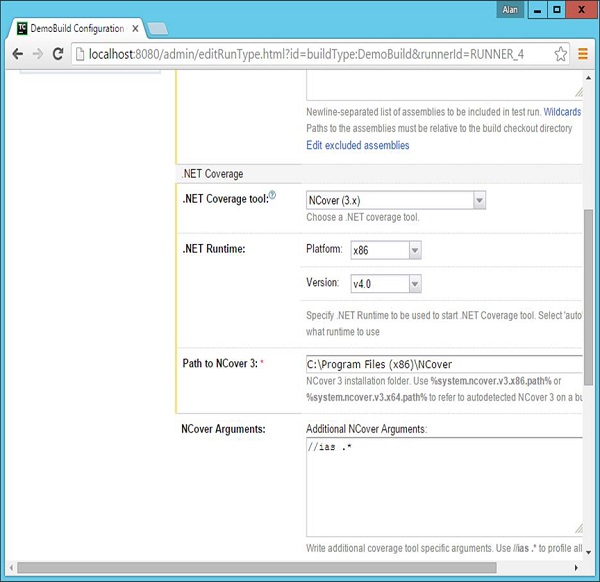
Step 3 − In the .Net Coverage section, click on .Net Coverage Tool. And then choose the following settings.
- Choose the .Net Coverage tool as NCover(3.x)
- Platform as x86
- Version as v4.0
- Path to NCover as C:\Program Files (x86)\NCover
- Leave the other settings as they are
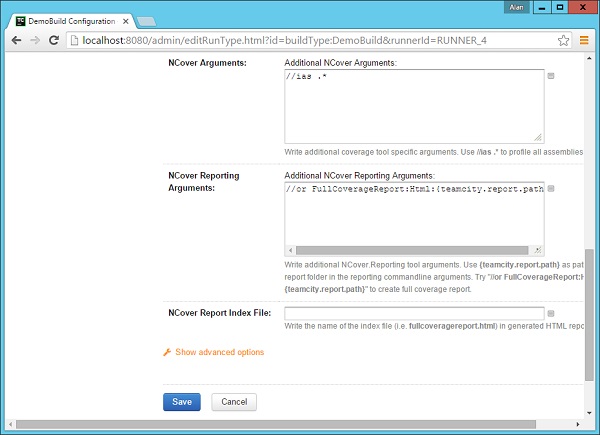
Step 4 − Click Save.
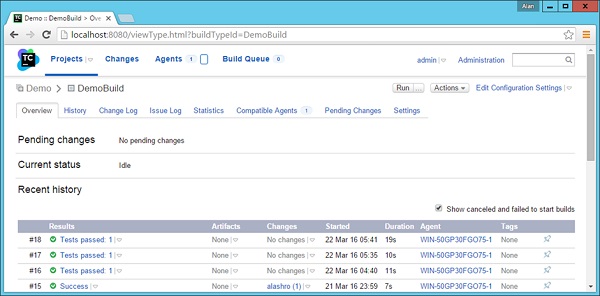
Step 5 − Now go to the main screen of your project and click Run.
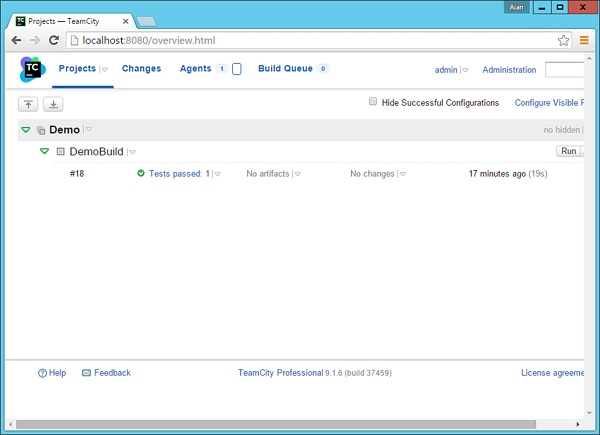
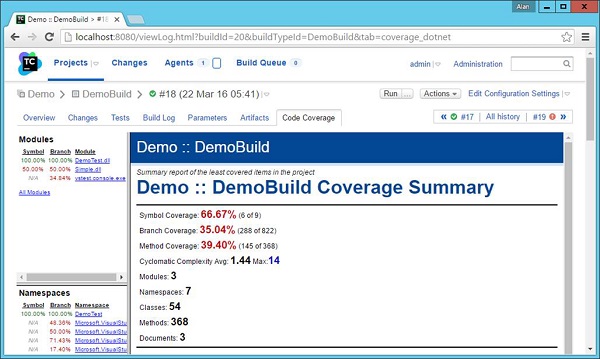
Step 6 − Once the build is run, click on the Test passed. You will now see a Code Coverage screen and you will see many metric indicators.
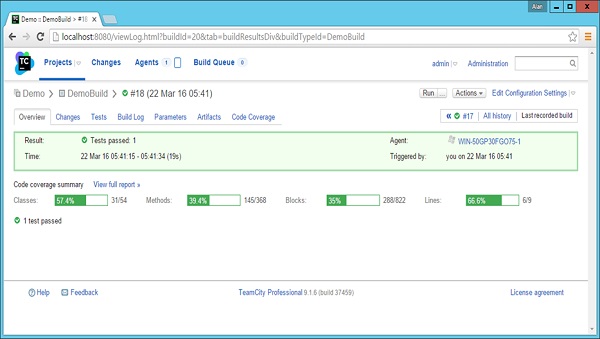
Step 7 − You can now click the Code Coverage tab to get more information on the Code Analysis.
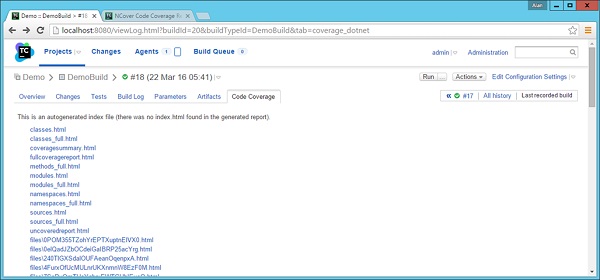
Step 8 − Click the fullcoveragereport.html. You will now get a full comprehensive report on the inspection carried out for the .Net code.