- Kali Linux - Home
- Installation & Configuration
- Information Gathering Tools
- Vulnerability Analyses Tools
- Kali Linux - Wireless Attacks
- Website Penetration Testing
- Kali Linux - Exploitation Tools
- Kali Linux - Forensics Tools
- Kali Linux - Social Engineering
- Kali Linux - Stressing Tools
- Kali Linux - Sniffing & Spoofing
- Kali Linux - Password Cracking Tools
- Kali Linux - Maintaining Access
- Kali Linux - Reverse Engineering
- Kali Linux - Reporting Tools
Kali Linux - Wireless Attacks
In this chapter, we will learn how to use Wi-Fi cracking tools that Kali Linux has incorporated. However, it is important that the wireless card that you has a support monitoring mode.
Fern Wifi Cracker
Fern Wifi cracker is one of the tools that Kali has to crack wireless.
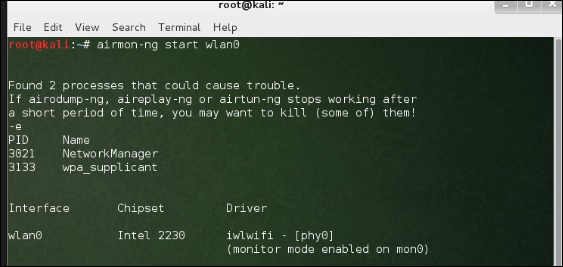
Before opening Fern, we should turn the wireless card into monitoring mode. To do this, Type airmon-ng start wlan-0 in the terminal.

Now, open Fern Wireless Cracker.
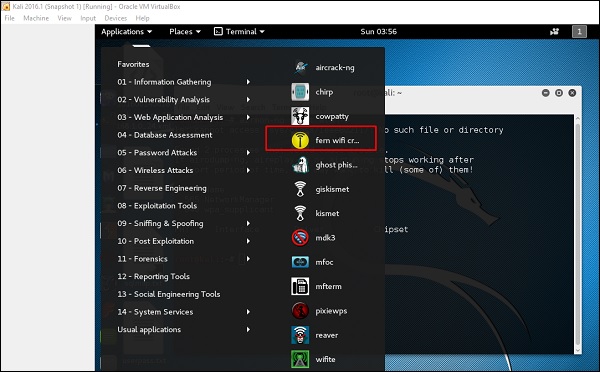
Step 1 − Applications → Click Wireless Attacks → Fern Wireless Cracker.
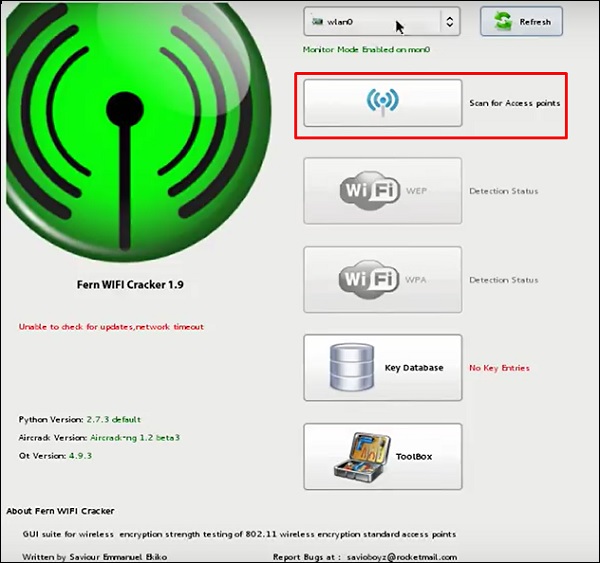
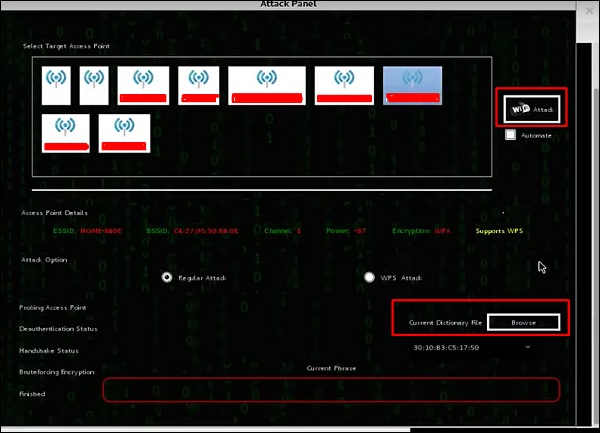
Step 2 − Select the Wireless card as shown in the following screenshot.

Step 3 − Click Scan for Access Points.
Step 4 − After finishing the scan, it will show all the wireless networks found. In this case, only WPA networks was found.
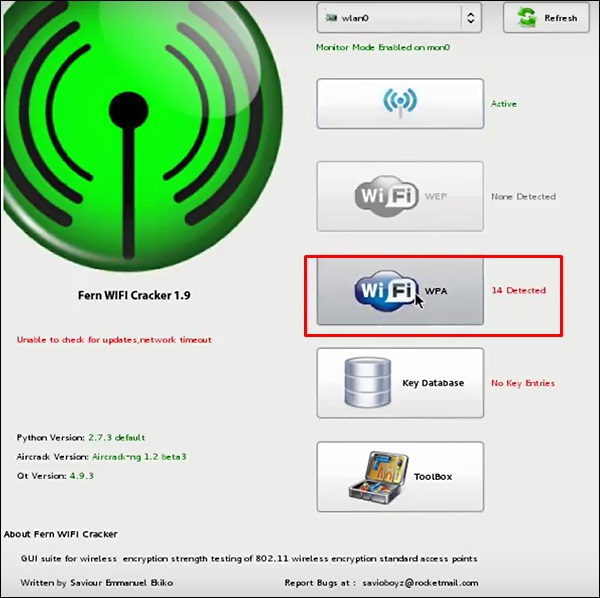
Step 5 − Click WPA networks as shown in the above screenshot. It shows all the wireless found. Generally, in WPA networks, it performs Dictionary attacks as such.
Step 6 − Click Browse and find the wordlist to use for attack.
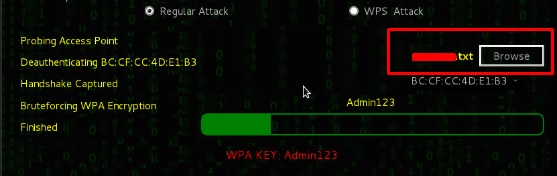
Step 7 − Click Wifi Attack.
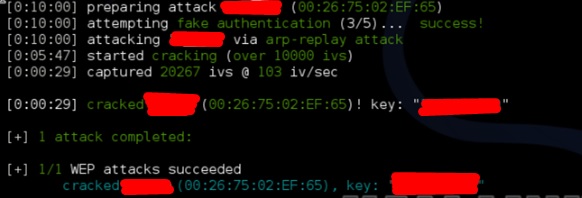
Step 8 − After finishing the dictionary attack, it found the password and it will show as depicted in the following screenshot picture.

Kismet
Kismet is a WIFI network analyzing tool. It is a 802.11 layer-2 wireless network detector, sniffer, and intrusion detection system. It will work with any wireless card that supports raw monitoring (rfmon) mode, and can sniff 802.11a/b/g/n traffic. It identifies the networks by collecting packets and also hidden networks.
To use it, turn the wireless card into monitoring mode and to do this, type airmon-ng start wlan-0 in the terminal.
Lets learn how to use this tool.
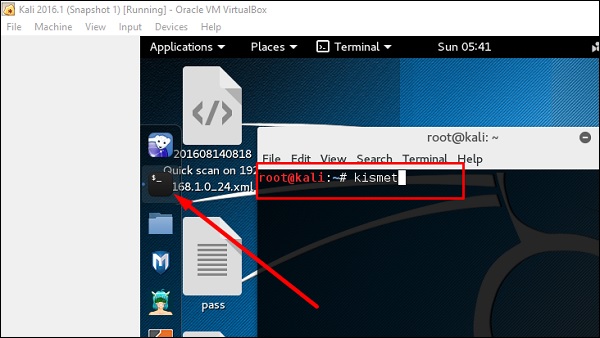
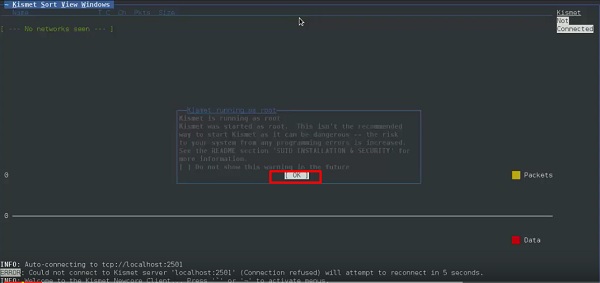
Step 1 − To launch it, open terminal and type kismet.
Step 2 − Click OK.
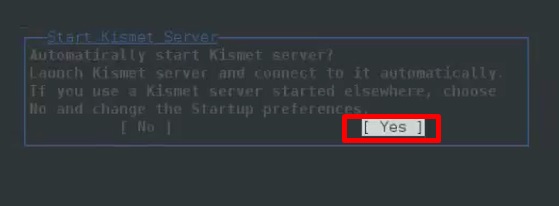
Step 3 − Click Yes when it asks to start Kismet Server. Otherwise it will stop functioning.
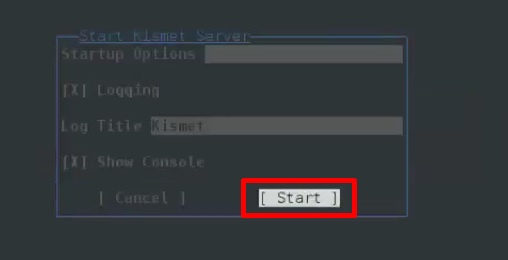
Step 4 − Startup Options, leave as default. Click Start.
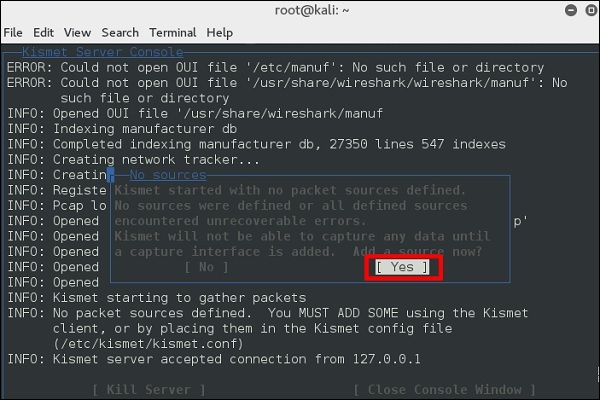
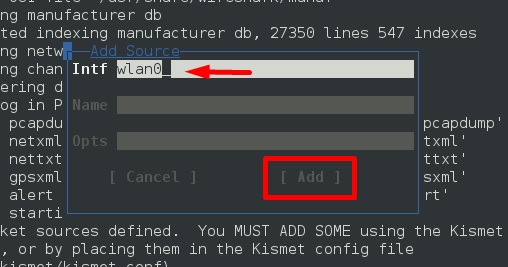
Step 5 − Now it will show a table asking you to define the wireless card. In such case, click Yes.
Step 6 − In this case, the wireless source is wlan0. It will have to be written in the section Intf → click Add.
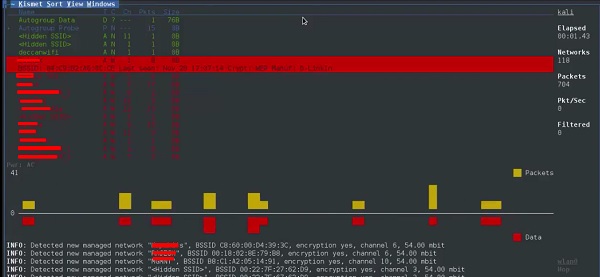
Step 7 − It will start sniffing the wifi networks as shown in the following screenshot.
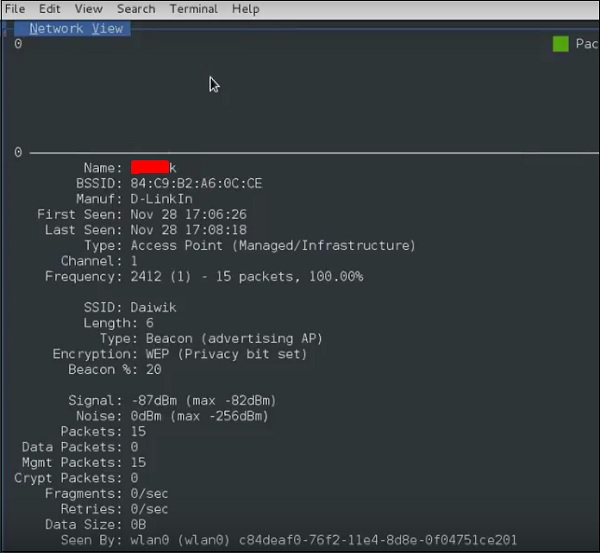
Step 8 − Click on any network, it produces the wireless details as shown in the following screenshot.
GISKismet
GISKismet is a wireless visualization tool to represent data gathered using Kismet in a practical way. GISKismet stores the information in a database so we can query data and generate graphs using SQL. GISKismet currently uses SQLite for the database and GoogleEarth / KML files for graphing.
Lets learn how to use this tool.
Step 1 − To open GISKismet, go to: Applications → Click Wireless Attacks → giskismet.

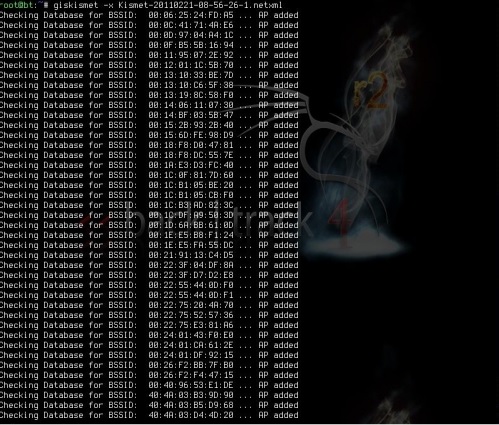
As you remember in the previous section, we used Kismet tool to explore data about wireless networks and all this data Kismet packs in netXML files.
Step 2 − To import this file into Giskismet, type root@kali:~# giskismet -x Kismetfilename.netxml and it will start importing the files.
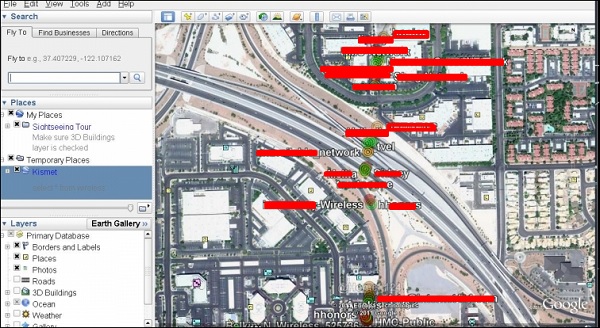
Once imported, we can import them to Google Earth the Hotspots that we found before.
Step 3 − Assuming that we have already installed Google Earth, we click File → Open File that Giskismet created → Click Open.
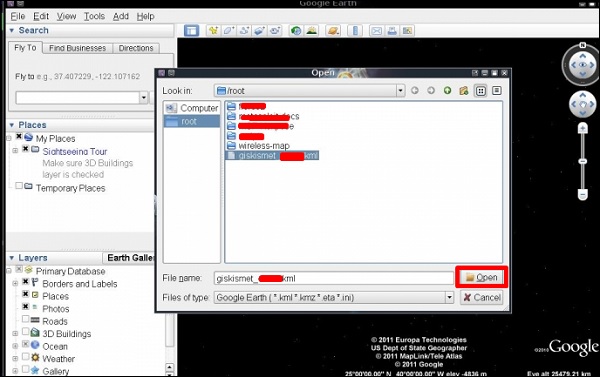
The following map will be displayed.
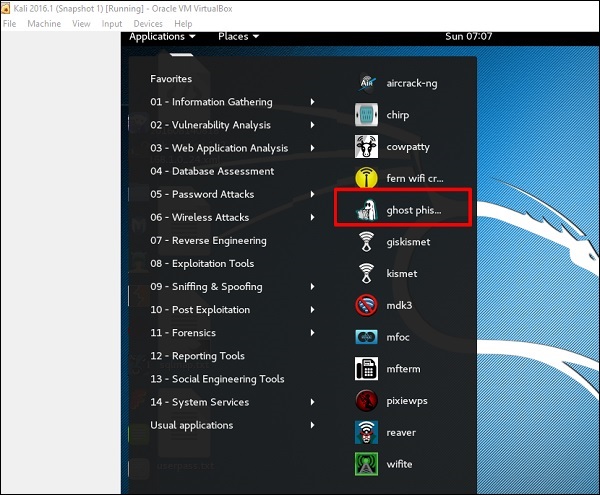
Ghost Phisher
Ghost Phisher is a popular tool that helps to create fake wireless access points and then later to create Man-in-The-Middle-Attack.
Step 1 − To open it, click Applications → Wireless Attacks → ghost phishing.
Step 2 − After opening it, we will set up the fake AP using the following details.
- Wireless Interface Input: wlan0
- SSID: wireless AP name
- IP address: IP that the AP will have
- WAP: Password that will have this SSID to connect
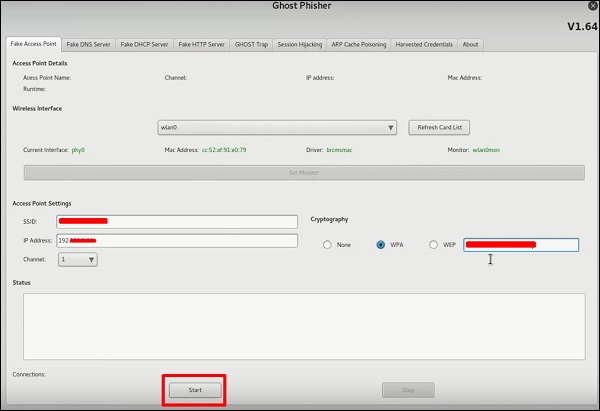
Step 3 − Click the Start button.
Wifite
It is another wireless clacking tool, which attacks multiple WEP, WPA, and WPS encrypted networks in a row.
Firstly, the wireless card has to be in the monitoring mode.
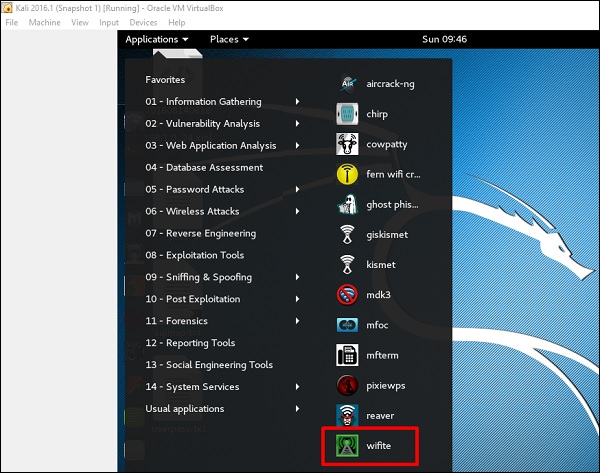
Step 1 − To open it, go to Applications → Wireless Attack → Wifite.
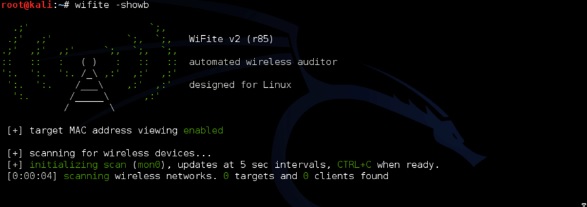
Step 2 − Type "wifite showb"to scan for the networks.
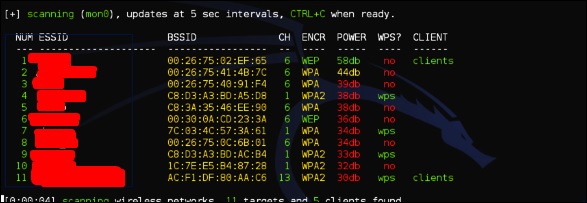
Step 3 − To start attacking the wireless networks, click Ctrl + C.

Step 4 − Type 1 to crack the first wireless.
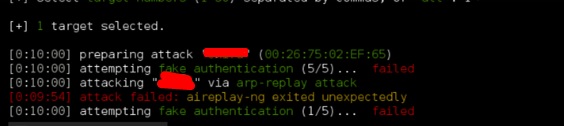
Step 5 − After attacking is complete, the key will be found.