- Kali Linux - Home
- Installation & Configuration
- Information Gathering Tools
- Vulnerability Analyses Tools
- Kali Linux - Wireless Attacks
- Website Penetration Testing
- Kali Linux - Exploitation Tools
- Kali Linux - Forensics Tools
- Kali Linux - Social Engineering
- Kali Linux - Stressing Tools
- Kali Linux - Sniffing & Spoofing
- Kali Linux - Password Cracking Tools
- Kali Linux - Maintaining Access
- Kali Linux - Reverse Engineering
- Kali Linux - Reporting Tools
Kali Linux - Forensics Tools
In this chapter, we will learn about the forensics tools available in Kali Linux.
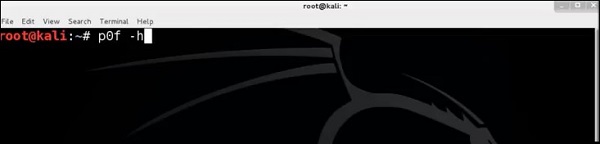
p0f
p0f is a tool that can identify the operating system of a target host simply by examining captured packets even when the device in question is behind a packet firewall. P0f does not generate any additional network traffic, direct or indirect; no name lookups; no mysterious probes; no ARIN queries; nothing. In the hands of advanced users, P0f can detect firewall presence, NAT use, and existence of load balancers.
Type p0f h in the terminal to see how to use it and you will get the following results.
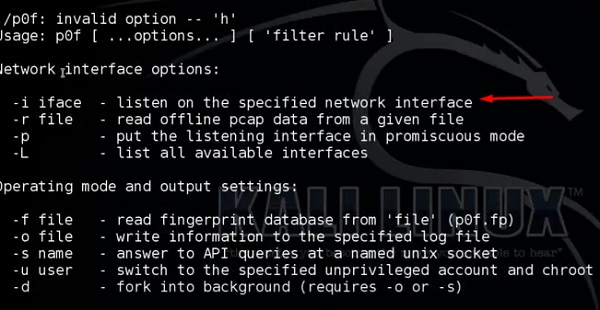
It will list even the available interfaces.
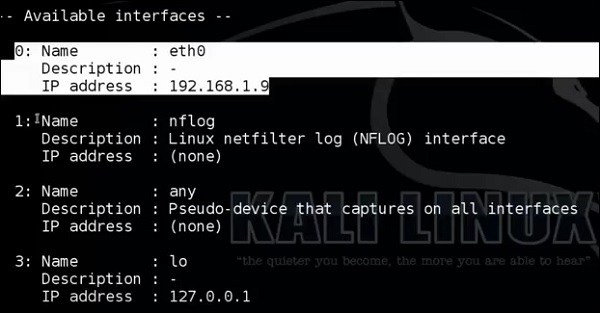
Then, type the following command: p0f i eth0 p -o filename.
Where the parameter "-i" is the interface name as shown above. "-p" means it is in promiscuous mode. "-o" means the output will be saved in a file.

Open a webpage with the address 192.168.1.2
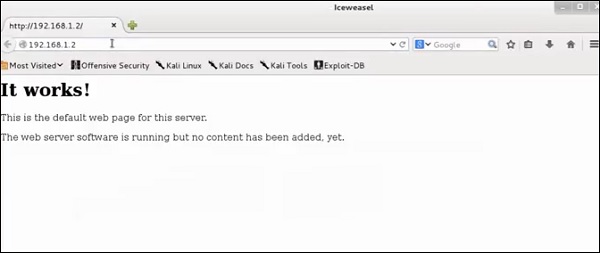
From the results, you can observe that the Webserver is using apache 2.x and the OS is Debian.
pdf-parser
pdf-parser is a tool that parses a PDF document to identify the fundamental elements used in the analyzed pdf file. It will not render a PDF document. It is not recommended for text book case for PDF parsers, however it gets the job done. Generally, this is used for pdf files that you suspect has a script embedded in it.
The command is −
pdf-parser -o 10 filepath
where "-o" is the number of objects.

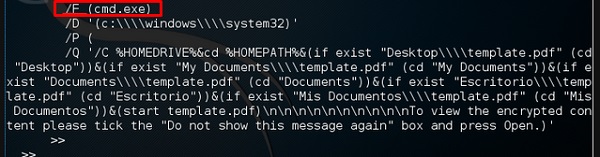
As you can see in the following screenshot, the pdf file opens a CMD command.
Dumpzilla
Dumpzilla application is developed in Python 3.x and has as a purpose to extract all forensic interesting information of Firefox, Iceweasel, and Seamonkey browsers to be analyzed.
ddrescue
It copies data from one file or block device (hard disc, cdrom, etc.) to another, trying to rescue the good parts first in case of read errors.
The basic operation of ddrescue is fully automatic. That is, you don't have to wait for an error, stop the program, restart it from a new position, etc.
If you use the mapfile feature of ddrescue, the data is rescued very efficiently (only the needed blocks are read). Also, you can interrupt the rescue at any time and resume it later at the same point. The mapfile is an essential part of ddrescue's effectiveness. Use it unless you know what you are doing.
The command line is −
dd_rescue infilepath outfilepath
Parameter "v" means verbose. "/dev/sdb" is the folder to be rescued. The img file is the recovered image.

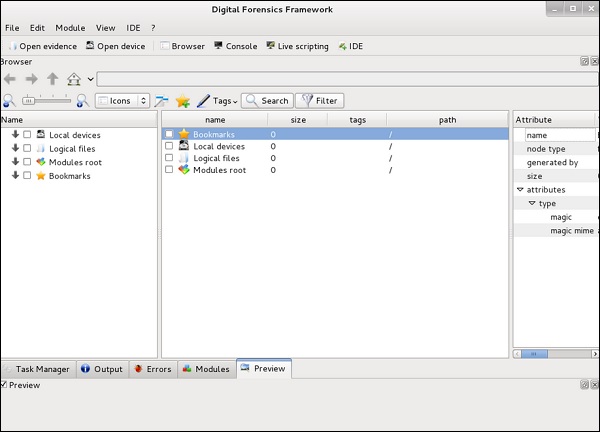
DFF
It is another forensic tool used to recover the files. It has a GUI too. To open it, type dff-gui in the terminal and the following web GUI will open.
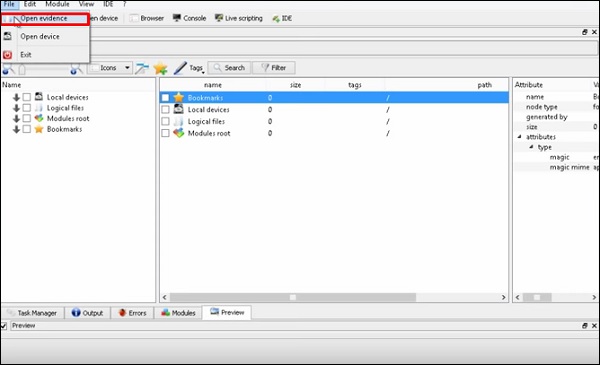
Click File → Open Evidence.
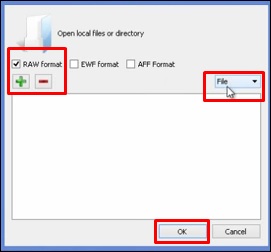
The following table will open. Check Raw format and click + to select the folder that you want to recover.
Then, you can browse the files on the left of the pane to see what has been recovered.

