 Data Structure
 Networking
 RDBMS
RDBMS Operating System
 Java
Java MS Excel
 iOS
iOS HTML
HTML CSS
CSS Android
 Python
 C Programming
 C++
C++ C#
C# MongoDB
 MySQL
MySQL Javascript
 PHP
PHP
- Selected Reading
- UPSC IAS Exams Notes
- Developer's Best Practices
- Questions and Answers
- Effective Resume Writing
- HR Interview Questions
- Computer Glossary
- Who is Who
Image processing/OpenCV image dilation Java Example.
Erosion and dilation are the two basic morphological operations. As the name implies, morphological operations are the set of operations that process images according to their shapes.
During dilation operation additional pixels are added to an image boundary, a total number of pixels added during the dilation process depends on the dimensions of the structuring element used.
You can dilate an image using the dilate() method of the Imgproc class, this method three mat objects representing source, destination, and kernel.
Example
import java.awt.Image;
import java.awt.image.BufferedImage;
import java.io.IOException;
import javafx.application.Application;
import javafx.embed.swing.SwingFXUtils;
import javafx.scene.Group;
import javafx.scene.Scene;
import javafx.scene.image.ImageView;
import javafx.scene.image.WritableImage;
import javafx.stage.Stage;
import org.opencv.core.Core;
import org.opencv.core.Mat;
import org.opencv.core.Size;
import org.opencv.highgui.HighGui;
import org.opencv.imgcodecs.Imgcodecs;
import org.opencv.imgproc.Imgproc;
public class ImageDilation extends Application {
   public void start(Stage stage) throws IOException {
      //Loading the OpenCV core library
      System.loadLibrary( Core.NATIVE_LIBRARY_NAME );
      //Reading image data
      String file ="D:\Images\lamma2.jpg";
      Mat src = Imgcodecs.imread(file);
      //Creating destination matrix
      Mat dst = new Mat(src.rows(), src.cols(), src.type());
      //Preparing the kernel matrix object
      Mat kernel = Imgproc.getStructuringElement(Imgproc.MORPH_RECT, new Size((2*2) + 1, (2*2)+1));
      //Applying dilate on the Image
      Imgproc.dilate(src, dst, kernel);
      //Converting matrix to JavaFX writable image
      Image img = HighGui.toBufferedImage(dst);
      WritableImage writableImage= SwingFXUtils.toFXImage((BufferedImage) img, null);
      //Setting the image view
      ImageView imageView = new ImageView(writableImage);
      imageView.setX(10);
      imageView.setY(10);
      imageView.setFitWidth(575);
      imageView.setPreserveRatio(true);
      //Setting the Scene object
      Group root = new Group(imageView);
      Scene scene = new Scene(root, 595, 400);
      stage.setTitle("Dilation Example");
      stage.setScene(scene);
      stage.show();
   }
   public static void main(String args[]) {
      launch(args);
   }
}
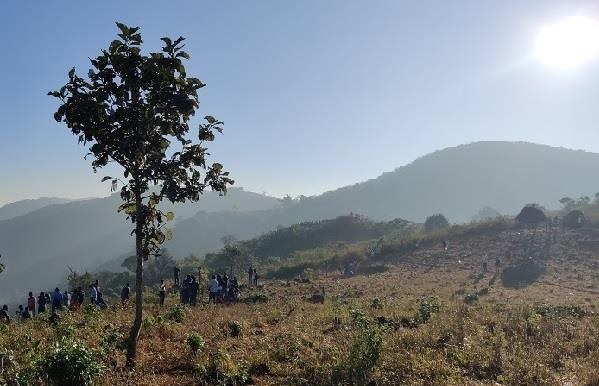
Input Image

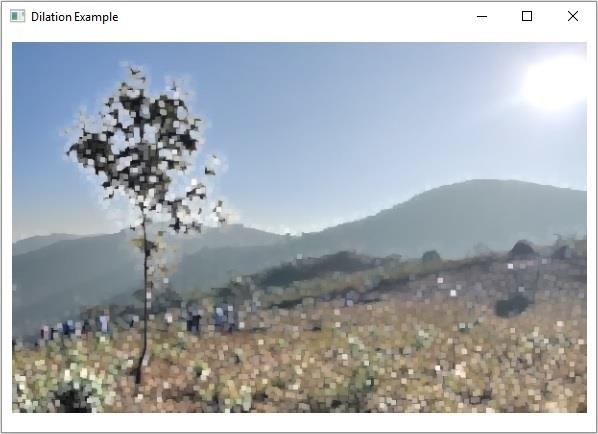
Output
On executing, above example generates the following output −


Advertisements
