
 Data Structure
 Networking
 RDBMS
RDBMS Operating System
 Java
Java MS Excel
 iOS
iOS HTML
HTML CSS
CSS Android
 Python
 C Programming
 C++
C++ C#
C# MongoDB
 MySQL
MySQL Javascript
 PHP
PHP
- Selected Reading
- UPSC IAS Exams Notes
- Developer's Best Practices
- Questions and Answers
- Effective Resume Writing
- HR Interview Questions
- Computer Glossary
- Who is Who
How to use handler in android?
This example demonstrate about How to use handler in android
Step 1 − Create a new project in Android Studio, go to File ⇒ New Project and fill all required details to create a new project.
Step 2 − Add the following code to res/layout/activity_main.xml.
<?xml version = "1.0" encoding = "utf-8"?>
<LinearLayout xmlns:android = "http://schemas.android.com/apk/res/android"
   android:orientation = "vertical"
   android:layout_width = "match_parent"
   android:layout_height = "match_parent">
   <Button
      android:id = "@+id/my_button"
      android:layout_width = "100dp"
      android:layout_height = "wrap_content"
      android:layout_x = "0dp"
      android:layout_y = "0dp"
      android:text = "Yes" />
</LinearLayout>
In the above code, we have taken button.
Step 3 − Add the following code to src/MainActivity.java
<?xml version = "1.0" encoding = "utf-8"?>
import android.os.Bundle;
import android.os.Handler;
import android.support.v4.app.FragmentActivity;
import android.util.DisplayMetrics;
import android.widget.Button;
import java.util.Random;
import java.util.Timer;
import java.util.TimerTask;

public class MainActivity extends FragmentActivity {
   Handler handler;
   @Override
   public void onCreate(Bundle savedInstanceState) {
      super.onCreate(savedInstanceState);
      setContentView(R.layout.activity_main);
      handler = new Handler();
      final Button button = (Button) findViewById(R.id.my_button);
      final DisplayMetrics displaymetrics = new DisplayMetrics();
      getWindowManager().getDefaultDisplay().getMetrics(displaymetrics);
      final Timer timer = new Timer();
      timer.schedule(new TimerTask() {
         @Override
         public void run() {
            handler.post(new Runnable() {
               @Override
               public void run() {
                  Random R = new Random();
                  final float dx = R.nextFloat() * displaymetrics.widthPixels;
                  final float dy = R.nextFloat() * displaymetrics.heightPixels;
                  final Timer timer = new Timer();
                  button.animate()
                  .x(dx)
                  .y(dy)
                  .setDuration(0)
                  .start();
               }
            });
         }
      }, 0, 1000);
   }
}
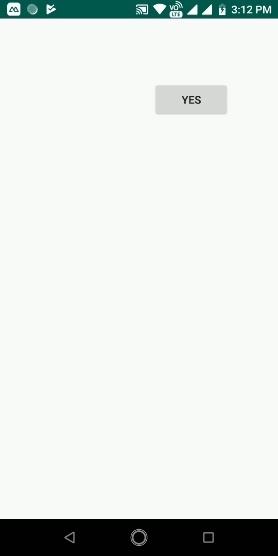
Let's try to run your application. I assume you have connected your actual Android Mobile device with your computer. To run the app from android studio, open one of your project's activity files and click Run ![]() icon from the toolbar. Select your mobile device as an option and then check your mobile device which will display your default screen –
icon from the toolbar. Select your mobile device as an option and then check your mobile device which will display your default screen –
Click here to download the project code

Updated on: 2019-07-30T22:30:25+05:30
977 Views

Advertisements