
Article Categories
- All Categories
-
 Data Structure
-
 Networking
-
 RDBMS
RDBMS
-
 Operating System
-
 Java
Java
-
 MS Excel
-
 iOS
iOS
-
 HTML
HTML
-
 CSS
CSS
-
 Android
-
 Python
-
 C Programming
-
 C++
C++
-
 C#
C#
-
 MongoDB
-
 MySQL
MySQL
-
 Javascript
-
 PHP
PHP
-
 Economics & Finance
How to lock/unlock cells in a protected worksheet?
In the context of protected worksheets in spreadsheet software like Microsoft Excel, locking and unlocking cells refers to the ability to restrict or allow editing of specific cells within a protected worksheet. When a cell is locked, it means that it is protected from any changes or modifications when the worksheet is locked. This is useful for preserving the integrity of certain cells that contain important formulas, data, or formatting. On the other hand, when a cell is unlocked, it means that it can be edited even when the worksheet is locked.
This article contains a brief example that demonstrates the process of locking and protecting the sheet. And secondly guide the process of unlocking the cells, by unprotecting the sheet.
Example 1: To Lock and unlock the cells in the protected worksheet
Step 1
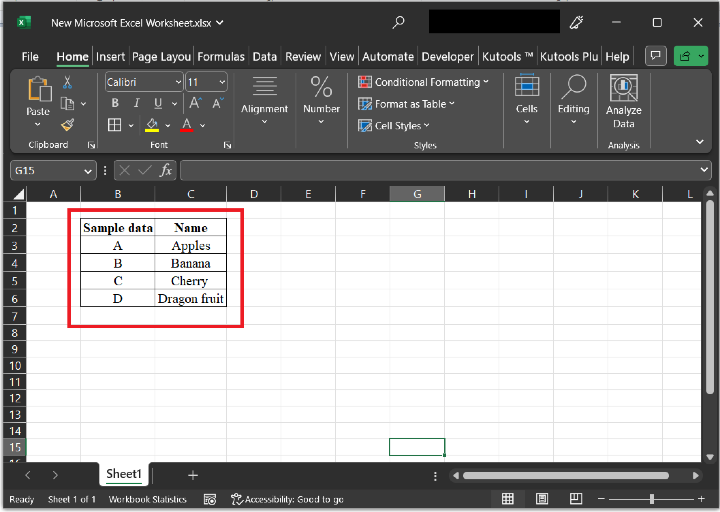
First, let?s understand the process of setting the lock and protecting the sheet, then will understand the process of removing the lock by unprotecting the sheet. Consider the below-given table. This table contains two columns, the first column is based on the sample data, and the second column is based on the name column.
Step 2
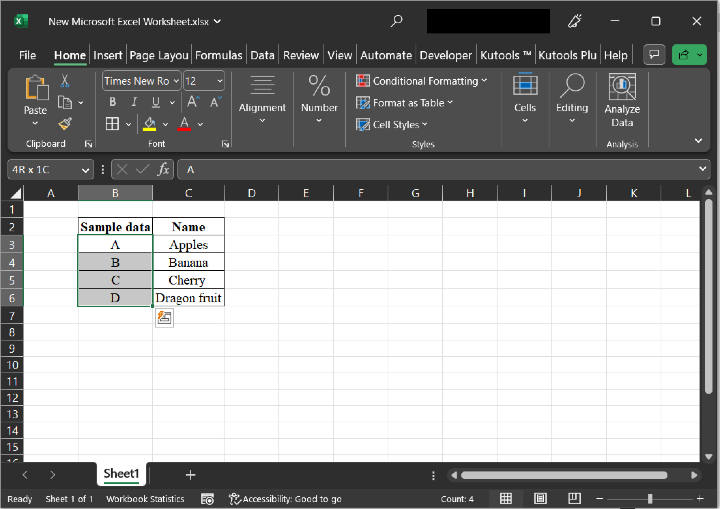
To lock the required cells, select cells B4, B5, and B6. To select the cell, click on the B4 cell and press the "Ctrl" key, then use the navigation key to select the values till the B6 cell.
Step 3
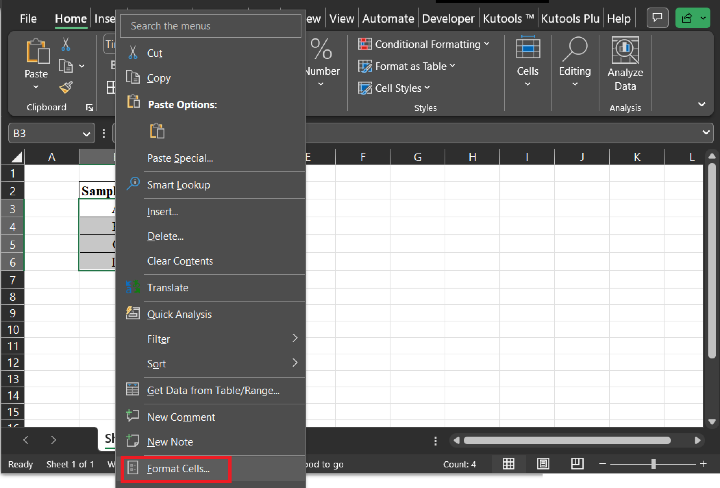
Use right-click to obtain the required cell. Right-click will display a list of options such as cut, copy, paste, quick analysis, and many others. Among the provided list of options, choose the option "Format Cells".
Step 4
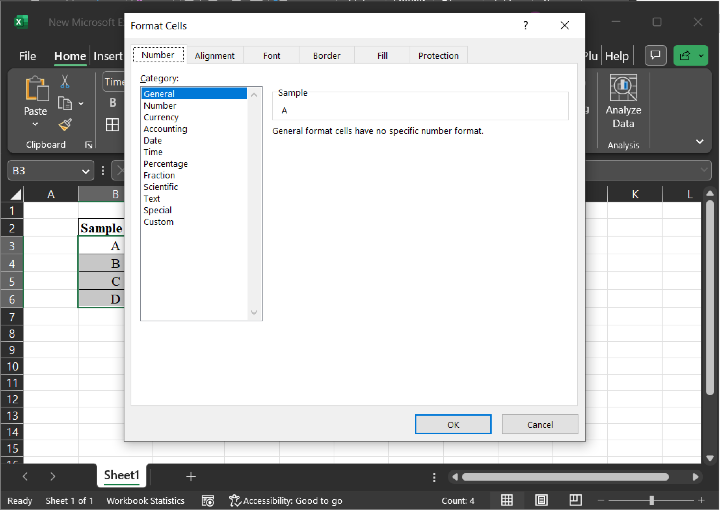
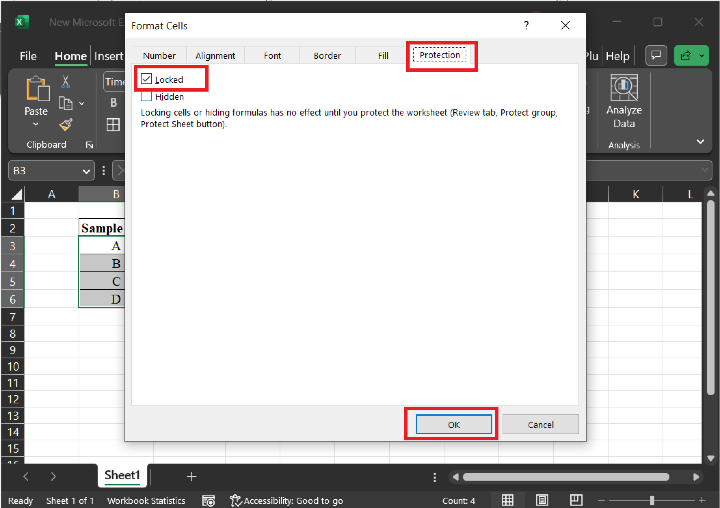
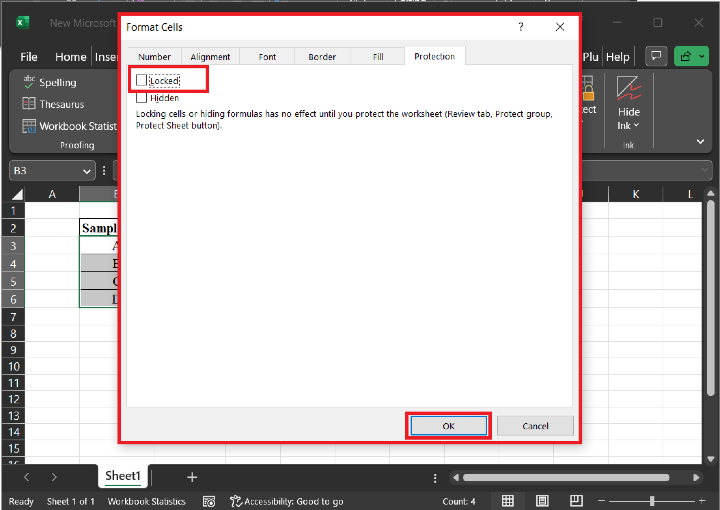
The above step will open a "Format Cells" dialog box, consider the below-depicted image for proper reference ?
Step 5
Click on the "Protection" tab, and then click on the "Locked" cell. Finally, click on the "OK" button.
Step 6
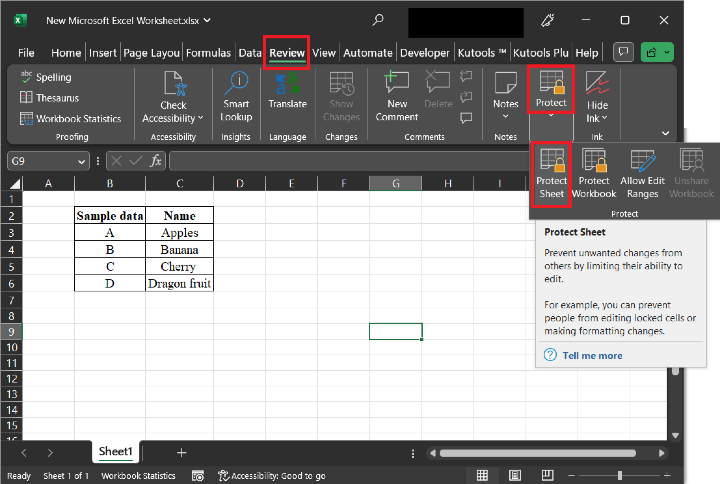
To apply the lock effectively user, need to implement protection to the Excel sheet. To do so, go to the "Review" tab, and click on the option "Protect". Under the "Protect" option, click on the "Protect sheet" option. Consider the below-depicted image for reference ?
Step 7
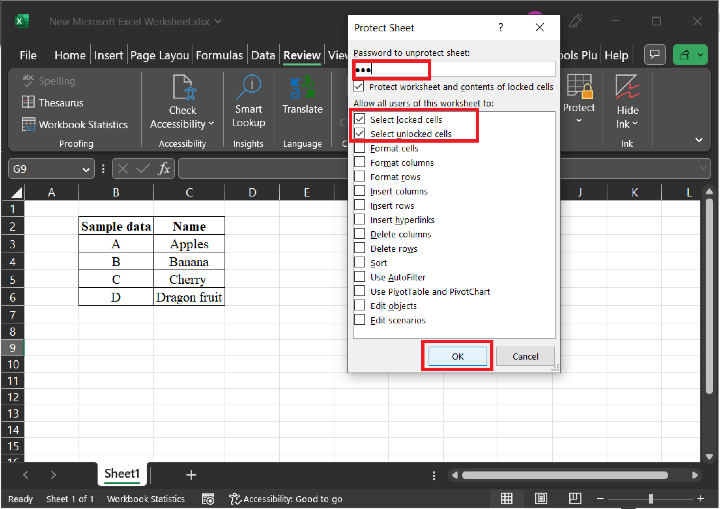
The above step will open the "Protect Sheet" dialog box, and then click on the "password" field, to set the password. Here, will assume that the user chooses the password "abc". After that select the first two options, that is "Select locked cells", and "Select unlocked cells" as given below. Finally, click on the "OK" button.
Step 8
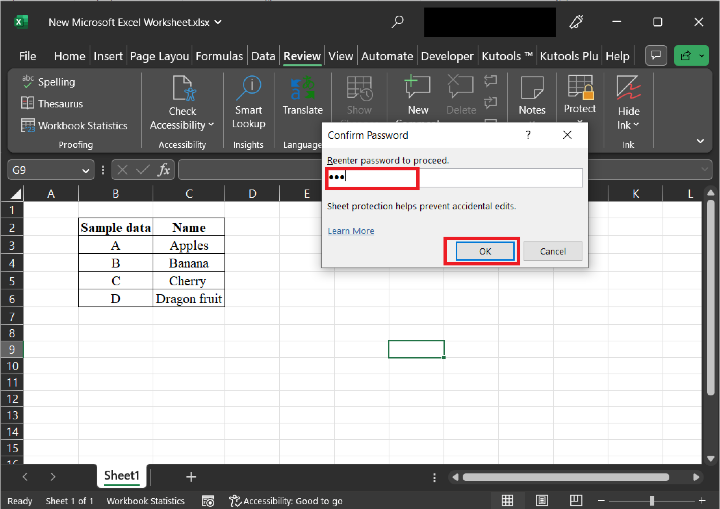
The above step will open a "Confirm Password" dialog box. It displays a field to "Re-enter the password". Here, the user needs to again write the same password. For our case, will write "abc", and click on the "OK" button.
Step 9
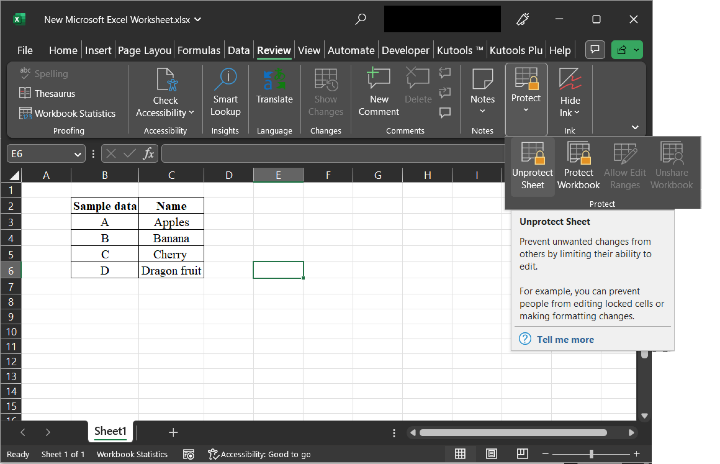
Now, the cells are locked and protected. Hence, the background to make the sheet unprotected, and unlocking the cells become clear. Now, the first user needs to make the sheet unprotected. For this click on the "Review" tab, select the "Protect" option, then further select the option "Unprotected Sheet", as specified below?
Step 10
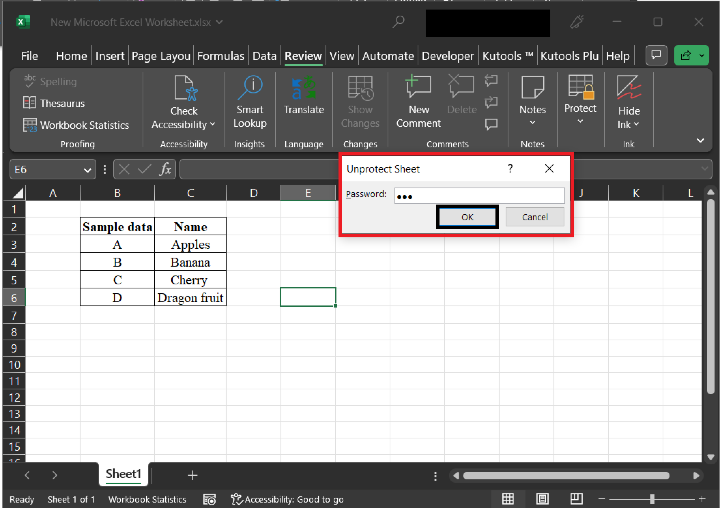
The above step will display the "Unprotected Sheet" dialog box. Here, the user needs to type the password, used to protect a sheet. So, click on the password input fields, and type the password, "abc". Finally, click on the "OK" button.
Step 11
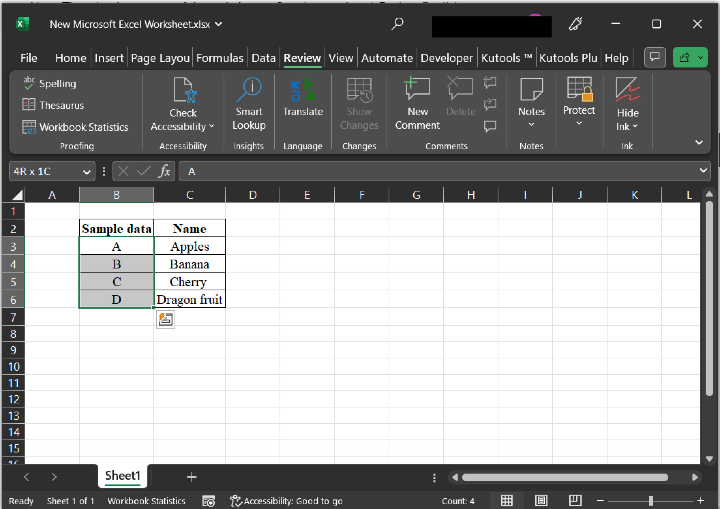
Now, let?s understand the step to unlock the cells. Select the cells, B4: B6.
Step 12
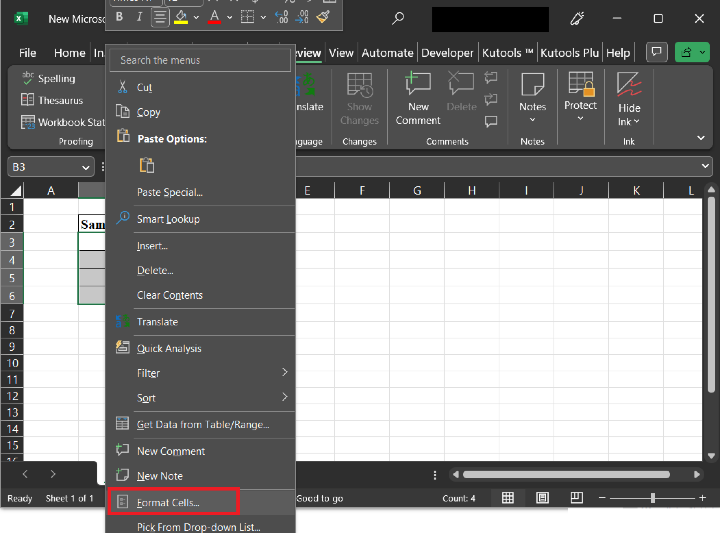
Use right-click and select the option "Format Cells". Consider the below-given snapshot for proper reference ?
Step 13
The above "Format Cells" options, will display the below given "Format Cells" dialog box. This dialog box contains multiple tabs to provide support for different functions. Click on the "Protection" tab, and then untick the option "Locked" to make the cell unlocked. Finally, click on the "OK" button.
Conclusion
In this article, users will learn the process of locking/unlocking and protecting the cells of the Excel sheet. To avoid unnecessary updation, the locking cells are essential for project managers to secure precise data. By selectively locking and unlocking cells, the user can control the level of access and editing permissions for different parts of a protected worksheet.

501 Views
