
Article Categories
- All Categories
-
 Data Structure
-
 Networking
-
 RDBMS
RDBMS
-
 Operating System
-
 Java
Java
-
 MS Excel
-
 iOS
iOS
-
 HTML
HTML
-
 CSS
CSS
-
 Android
-
 Python
-
 C Programming
-
 C++
C++
-
 C#
C#
-
 MongoDB
-
 MySQL
MySQL
-
 Javascript
-
 PHP
PHP
-
 Economics & Finance
How to lock cell width and height from resizing in excel?
In this article, users get information on how to lock cell the width and height from resizing in Excel. The purpose of this article is to ensure that the layout and formatting of the cells remain consistent and fixed, even if the spreadsheet is manipulated by others. Some other benefits of locking and protecting cells included maintaining data integrity, preserving formulas, making collaboration easy, enhancing data security, and providing template protection. After the successful completion of this task, the user will not be able to resize the height and width of the cell.
Example 1: To Lock cell width and height from resizing in Excel
Step 1
The user first needs to consider a sample table, as shown below. In the below given table, will be using two columns. The first column contains a number, while the second column contains the animal?s name.

Step 2
In this example will select all cells. To do so click on the cell, and press "ctrl" key with navigation keys or mouse to select the required area. Consider the below given snapshot for proper reference ?

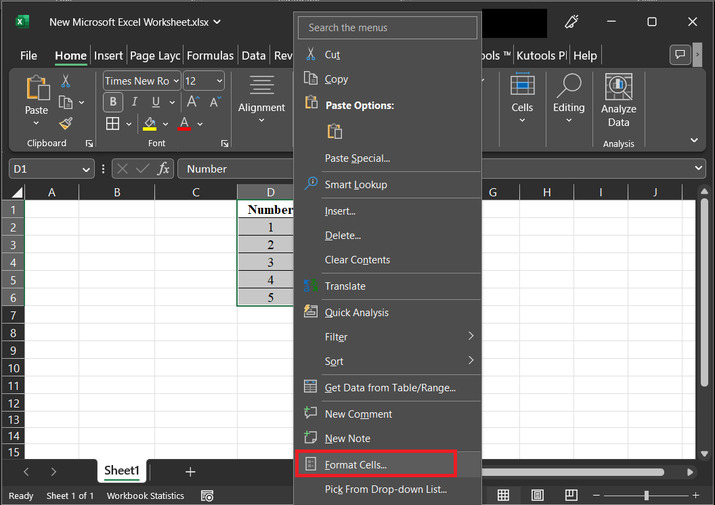
Step 3
The above step will select all the available cell, as shown below. After that right click on any of the selected cell. This will display a list of available options. Among the displayed list of options, select the option with "format cells".
Step 4
The above step will display a dialog box for "Format Cells". This option will display multiple tabs, here each tab has multiple options. Consider below given image snapshot for proper reference?

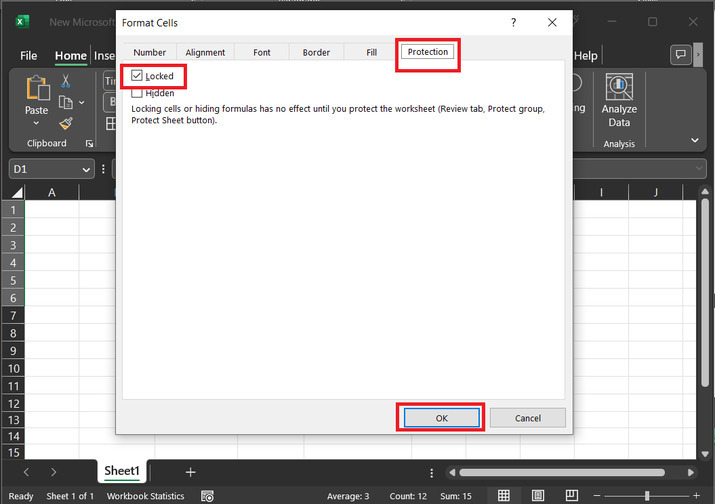
Step 5
Among all the available tabs, choose the "Protection" tab, and untick the "Locked" option. Finally, click on the "OK" button.
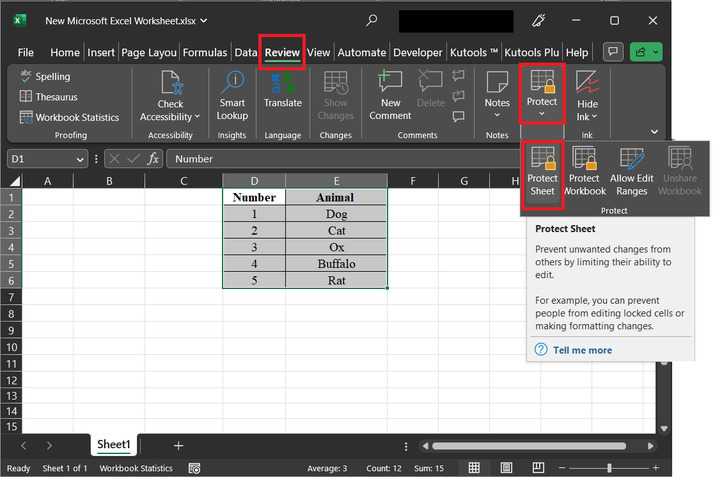
Step 6
In the review tab, click on the "Protect" tab, and select the option for "Protect Sheet". Consider the below depicted image for reference ?
Step 7
The above step will open a new dialog box, with the header "Protect Sheet". In this dialog box, first, enter the password to make the sheet unprotected. In this example will assume that the password is "abc". Please note that users can use any desirable password. But, make sure to remind the user password, as to make any change or to unprotect the sheet, the user needs this password only. After that select both first two options "Select locked cells" and "Select unlocked cells". Finally, click on the "OK" button.

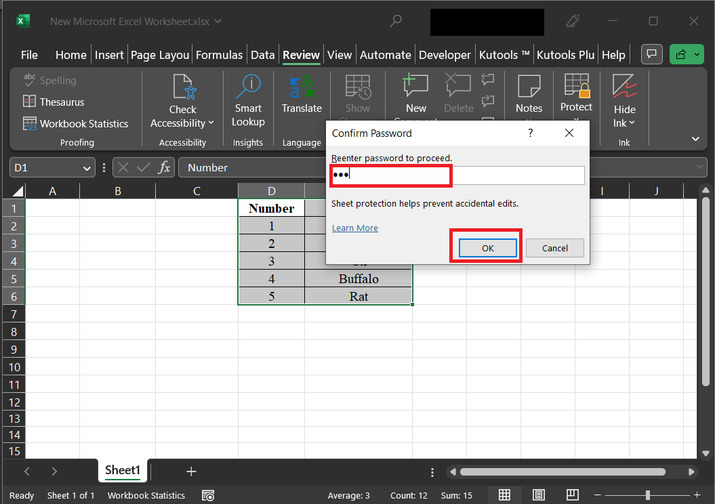
Step 8
This will open a "Confirm Password" dialog box. This dialog box will allow the user to enter the password again and click on the "OK" button.
Step 9
After that, try to click and edit any cell. But this will display a dialog box, with the message, as depicted below. To remove the error message, click on the "OK" button.
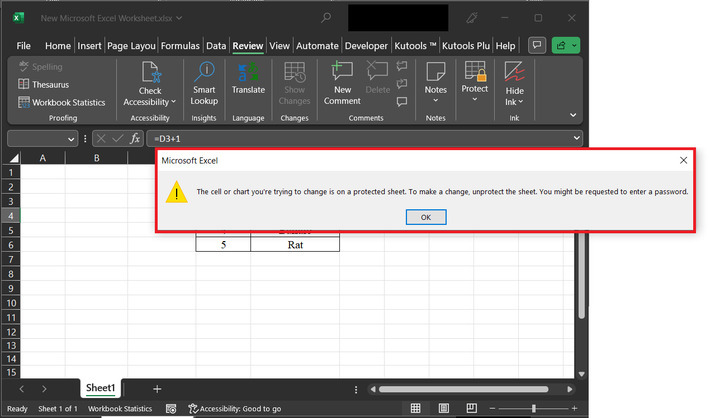
Now, if the user tries to stretch any row and column. Then, it is possible, that the mark that appears normally will no longer remain visible.
Conclusion
In this article, the user will learn the process of locking the height and width of the cell by selecting some specific cells from the Excel sheet. This article briefs the task with a detailed stepwise solution. All the provided steps are clear, precise, thorough, and fully relevant to the provided content.

1K+ Views
