
Article Categories
- All Categories
-
 Data Structure
-
 Networking
-
 RDBMS
RDBMS
-
 Operating System
-
 Java
Java
-
 MS Excel
-
 iOS
iOS
-
 HTML
HTML
-
 CSS
CSS
-
 Android
-
 Python
-
 C Programming
-
 C++
C++
-
 C#
C#
-
 MongoDB
-
 MySQL
MySQL
-
 Javascript
-
 PHP
PHP
-
 Economics & Finance
How to display an image/screenshot in a Python Tkinter window without saving it?
Tkinter is a standard Python library used to create GUI-based applications. To display images without saving them to disk, we use the PIL (Pillow) library along with Tkinter's PhotoImage class.
Let us create an application that takes a screenshot and displays it in a new window without saving the image file. We can achieve this by following these steps −
Import the required libraries
Create a button to trigger the screenshot
Define a function to capture the screenshot
Specify the coordinates and region for the screenshot
Create a Toplevel window and display the image using a Label widget
Keep a reference to prevent garbage collection
Example
Here's how to capture and display a screenshot in Tkinter without saving it ?
# Import the required libraries
from tkinter import *
import pyautogui
from PIL import ImageTk, Image

# Create an instance of tkinter frame or window
win = Tk()

# Set the size of the window
win.geometry("700x350")
win.title("Screenshot Demo")

# Define a function to take the screenshot
def take_screenshot():
    x = 500
    y = 500
    # Take the screenshot in the given coords
    im1 = pyautogui.screenshot(region=(x, y, 700, 300))

    # Create a toplevel window
    top = Toplevel(win)
    top.title("Screenshot Preview")

    # Convert PIL image to PhotoImage
    im1 = ImageTk.PhotoImage(im1)

    # Add the image in the label widget
    image1 = Label(top, image=im1)
    image1.image = im1  # Keep a reference to prevent garbage collection
    image1.pack()

# Create button to take screenshot
Button(win, text='Take ScreenShot', command=take_screenshot, font=('Arial', 12)).pack(padx=10, pady=10)

win.mainloop()
How It Works
The pyautogui.screenshot() function captures a specific region of the screen and returns a PIL Image object. The ImageTk.PhotoImage() converts this PIL image into a format that Tkinter can display. The crucial step is keeping a reference (image1.image = im1) to prevent Python's garbage collector from removing the image from memory.
Key Points
No file saving: The image exists only in memory
Region parameter:
(x, y, width, height)defines the capture areaReference keeping: Essential to prevent image disappearing
Toplevel window: Creates a separate window for image display
Alternative: Display Any Image from Memory
You can also display images loaded from URLs or created programmatically ?
from tkinter import *
from PIL import ImageTk, Image
import requests
from io import BytesIO

def display_web_image():
    # Load image from URL (example - replace with actual URL)
    response = requests.get("https://example.com/image.jpg")
    img = Image.open(BytesIO(response.content))

    # Display in Tkinter
    top = Toplevel(root)
    photo = ImageTk.PhotoImage(img)
    label = Label(top, image=photo)
    label.image = photo
    label.pack()
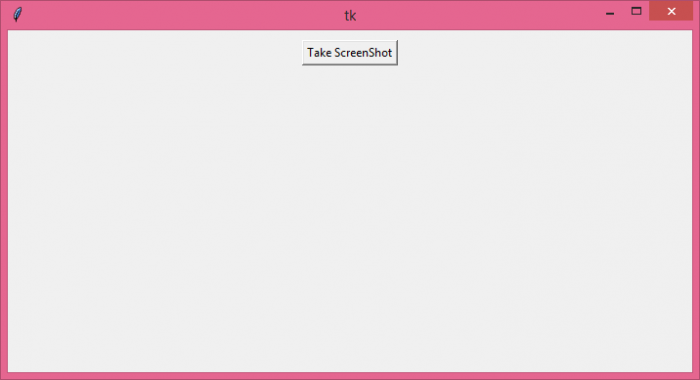
Output
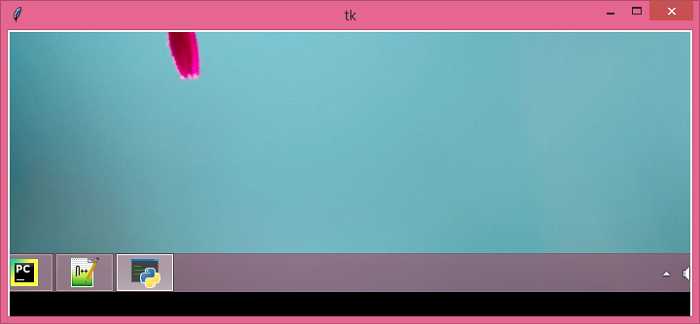
When you run the code, it displays a window with a button. Clicking "Take ScreenShot" captures a 700×300 pixel region starting from coordinates (500, 500) and displays it in a new window without saving any files to disk.
The captured screenshot appears in a separate window immediately ?
Conclusion
Use ImageTk.PhotoImage() to display PIL images in Tkinter without saving to disk. Always keep a reference to the image object to prevent garbage collection and ensure the image remains visible.

2K+ Views
