
Article Categories
- All Categories
-
 Data Structure
-
 Networking
-
 RDBMS
RDBMS
-
 Operating System
-
 Java
Java
-
 MS Excel
-
 iOS
iOS
-
 HTML
HTML
-
 CSS
CSS
-
 Android
-
 Python
-
 C Programming
-
 C++
C++
-
 C#
C#
-
 MongoDB
-
 MySQL
MySQL
-
 Javascript
-
 PHP
PHP
-
 Economics & Finance
How to deploy windows deployment services on server 2012 r2
What is WDS?
Windows Deployment Services allows you to deploy windows operating systems on your client machines.
Suppose you have 200 machines on your network and you would like to install Windows 10 on them. You can configure WDS and network boot those machines without installing windows separately using CD or DVD.
Deployment Scenario
There are many WDS deployment scenarios. But for this tutorial, we are assuming WDS and DHCP which are installed on the same server (DHCP can also be running separately on some other Windows or Linux server machine).
Prerequisite
Make sure that, your DHCP is already running with an active scope. Following are some other requirements for your server machine:
– Static or manual IP is configured
– Firewall is turned off
– Latest windows updates from Microsoft are installed
Installing WDS
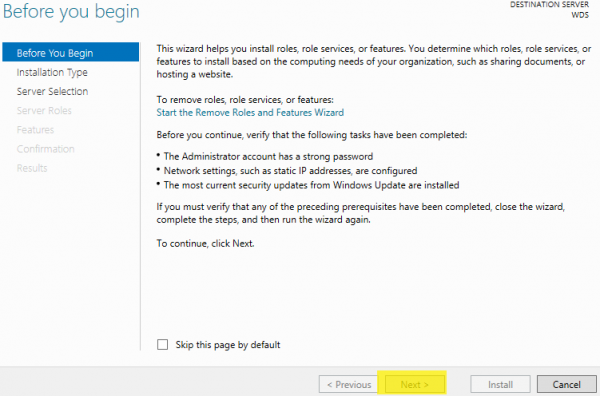
Open server manager. click “Add Roles and Features” in server manager dashboard
Click Next
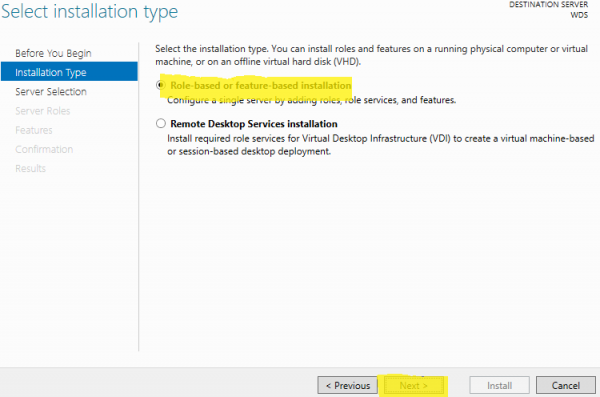
Choose “Role-based or feature-based installation” and click Next
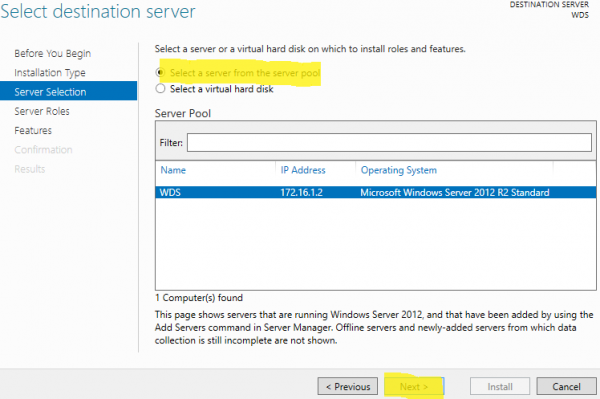
Select the destination server from server pools on which you want to install WDS role and click Next
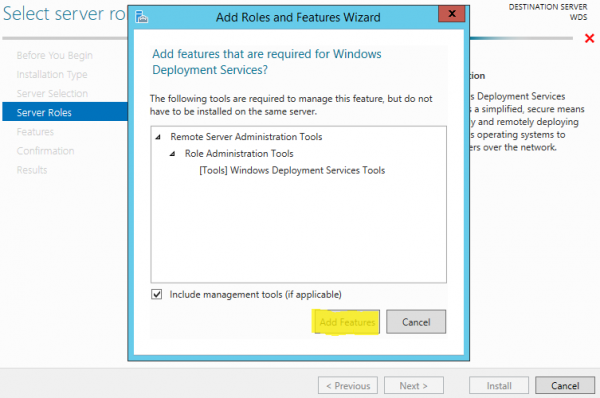
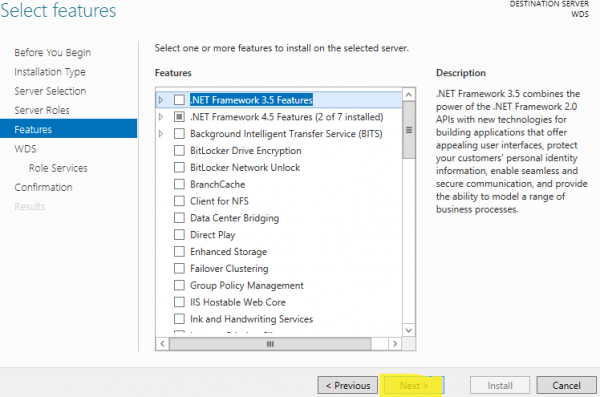
Check “Windows Deployment Services” from a list of server roles. As soon as you check the box a new window will pop up alerting you to install other required features
Click “Add Features”
Click Next

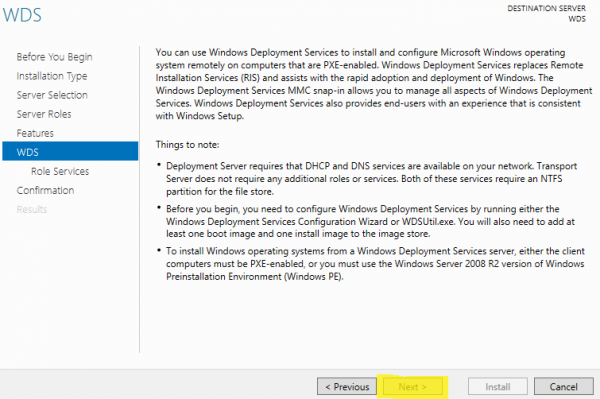
Click Next
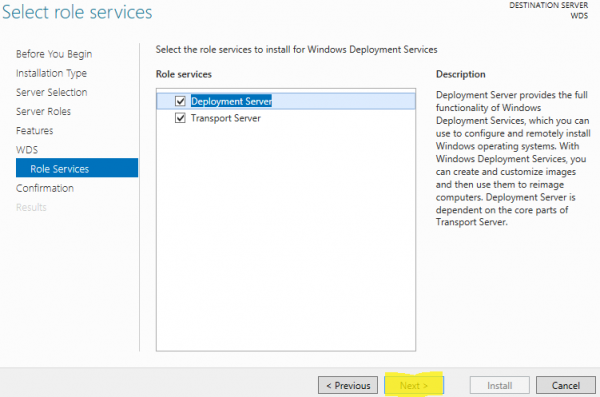
Click Next
Leave default selections and click Next
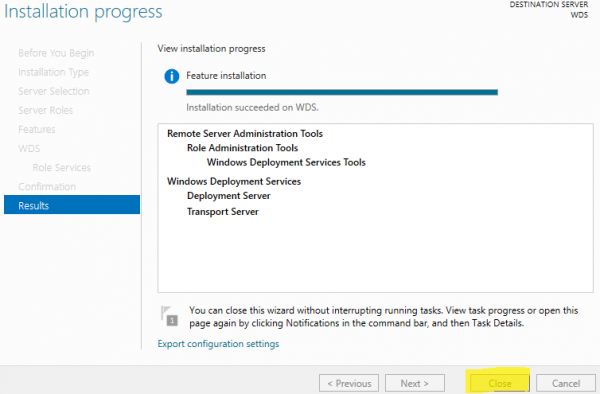
Click Install. Installation can take 10-15 minutes
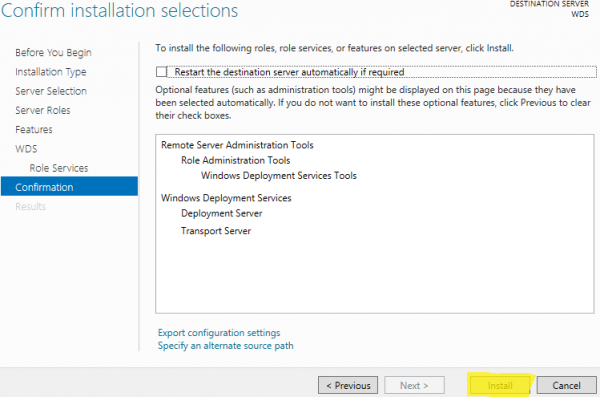
Click Close when an installation is successful
Configuring WDS
Again go to server manager dashboard. Click Tools → Windows Deployment Services
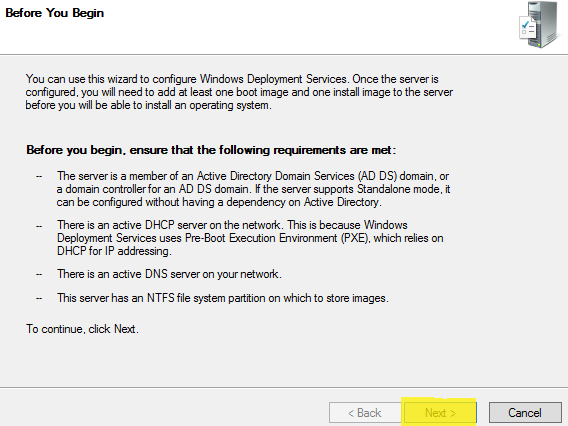
In Windows Deployment Console, expand Servers and right-click on your machine name. Click Configure Server
Click Next
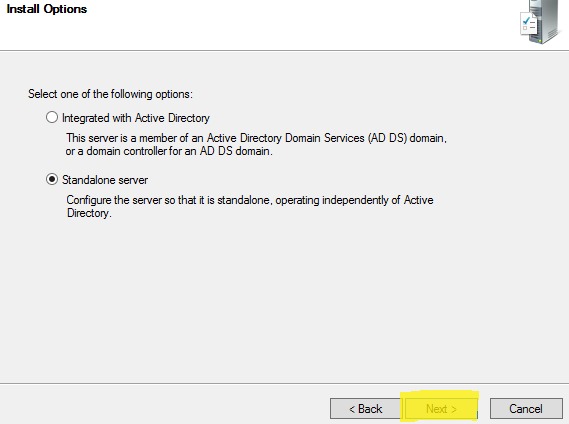
Choose “Standalone server” and click Next (if you have AD on your network and this server machine is member of domain, choose “Integrated with an Active Directory”)
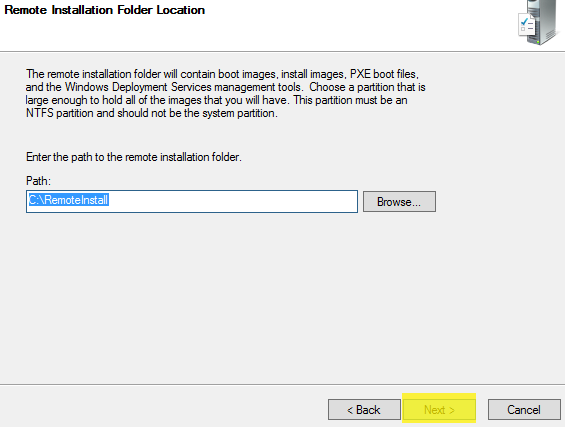
Click Browse and choose the path of the folder on your local NTFS drive (It is important to choose NTFS partition and the partition should not be system partition) where you would like to place images, files, and WDS tools. When you are done click Next
You can define which client computers WDS should respond. If you choose “Respond only to known client computers”, you have to prestaged the clients using MAC address or GUID. For this tutorial, I chose “Respond to all client computers (known and unknown)” and Click Next

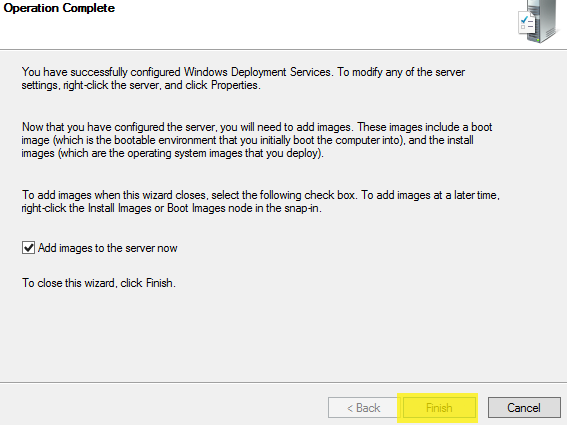
Check “Add images to the server now” and click Finish
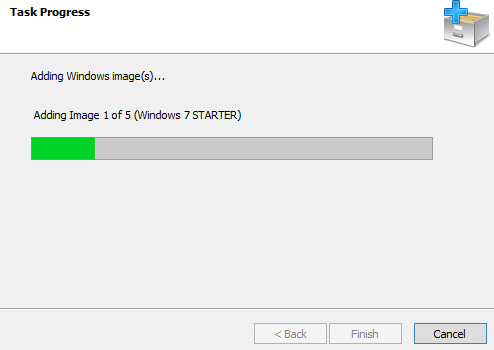
Provide the path where your windows installation image is located. It can be your CD or DVD as well. The windows installation image has required boot.wim and install.wim files.
Click Next
When a task is completed and files are copied (It can take 5-10 minutes), click Finish
Open windows deployment services console. Expand Servers, right-click your machine and then click Properties. Open DHCP tab. Check both fields as shown in figure.
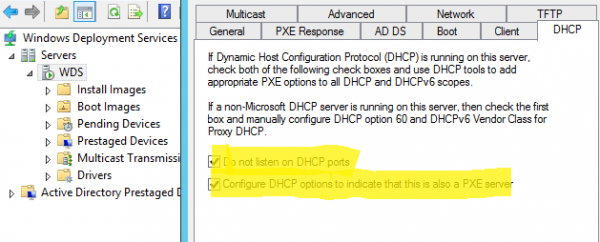
You are done with WDS configuration. Restart WDS service, right-click your machine in windows deployment services console and scroll to All Tasks → click Restart.

2K+ Views
