 Data Structure
 Networking
 RDBMS
RDBMS Operating System
 Java
Java MS Excel
 iOS
iOS HTML
HTML CSS
CSS Android
 Python
 C Programming
 C++
C++ C#
C# MongoDB
 MySQL
MySQL Javascript
 PHP
PHP
- Selected Reading
- UPSC IAS Exams Notes
- Developer's Best Practices
- Questions and Answers
- Effective Resume Writing
- HR Interview Questions
- Computer Glossary
- Who is Who
How to create a slider to map a range of values in JavaScript ?
In JavaScript, mapping a range of values to another range of values can be achieved through various approaches. One common method is by using a slider. A slider allows users to interactively select a value within a specified range and display the mapped value in real-time. In this article, we will explore how to create a slider in JavaScript and map a range of values from (0-100) to (100-10,000,000).
Steps to create a Slider to map a range of Values in Javascript
Step 1: HTML Structure
First, we need to set up the HTML structure for our slider. Open your HTML file and create a container for the slider and a span element to display the mapped value. Give them appropriate IDs for easy identification.
Example
<!DOCTYPE html>
<html>
<head>
  <title>Slider Range Mapping</title>
  <link rel="stylesheet" type="text/css" href="slider_style.css">
</head>
<body>
  <div id="sliderContainer">
    <input type="range" id="slider" min="0" max="100" value="0">
    <!-- <button id="displayButton">Display Mapped Value</button> -->
    <span id="mappedValue"></span>
  </div>

  <script src="slider_script.js"></script>
</body>
</html>
Step 2: CSS Styling
Next, let's add some CSS styling to make the slider visually appealing. You can customize the styling to match your preferences or the overall design of your web page.
Example
#sliderContainer {
  width: 300px;
  margin: 20px;
}

#slider {
  width: 100%;
}

#mappedValue {
  display: inline-block;
  margin-top: 10px;
  font-weight: bold;
}
Step 3: JavaScript Logic
Now, let's implement the JavaScript logic to map the range of values and update the displayed mapped value in real-time. Create a separate file for javascript as slider_script.js and add the following code to it.
// Get the necessary elements
const slider = document.getElementById('slider');
const mappedValueSpan = document.getElementById('mappedValue');

// Map function to convert the range
function mapRange(value, inMin, inMax, outMin, outMax) {
   return ((value - inMin) * (outMax - outMin)) / (inMax - inMin) + outMin;
}

// Function to update the mapped value
function updateMappedValue() {
   const value = parseInt(slider.value);
   const mappedValue = mapRange(value, 0, 100, 100, 10000000);
   mappedValueSpan.textContent = `Mapped value of ${value} is ${mappedValue}`;
}

// Event listener for slider change
slider.addEventListener('input', updateMappedValue);
Step 4: Test and Interaction
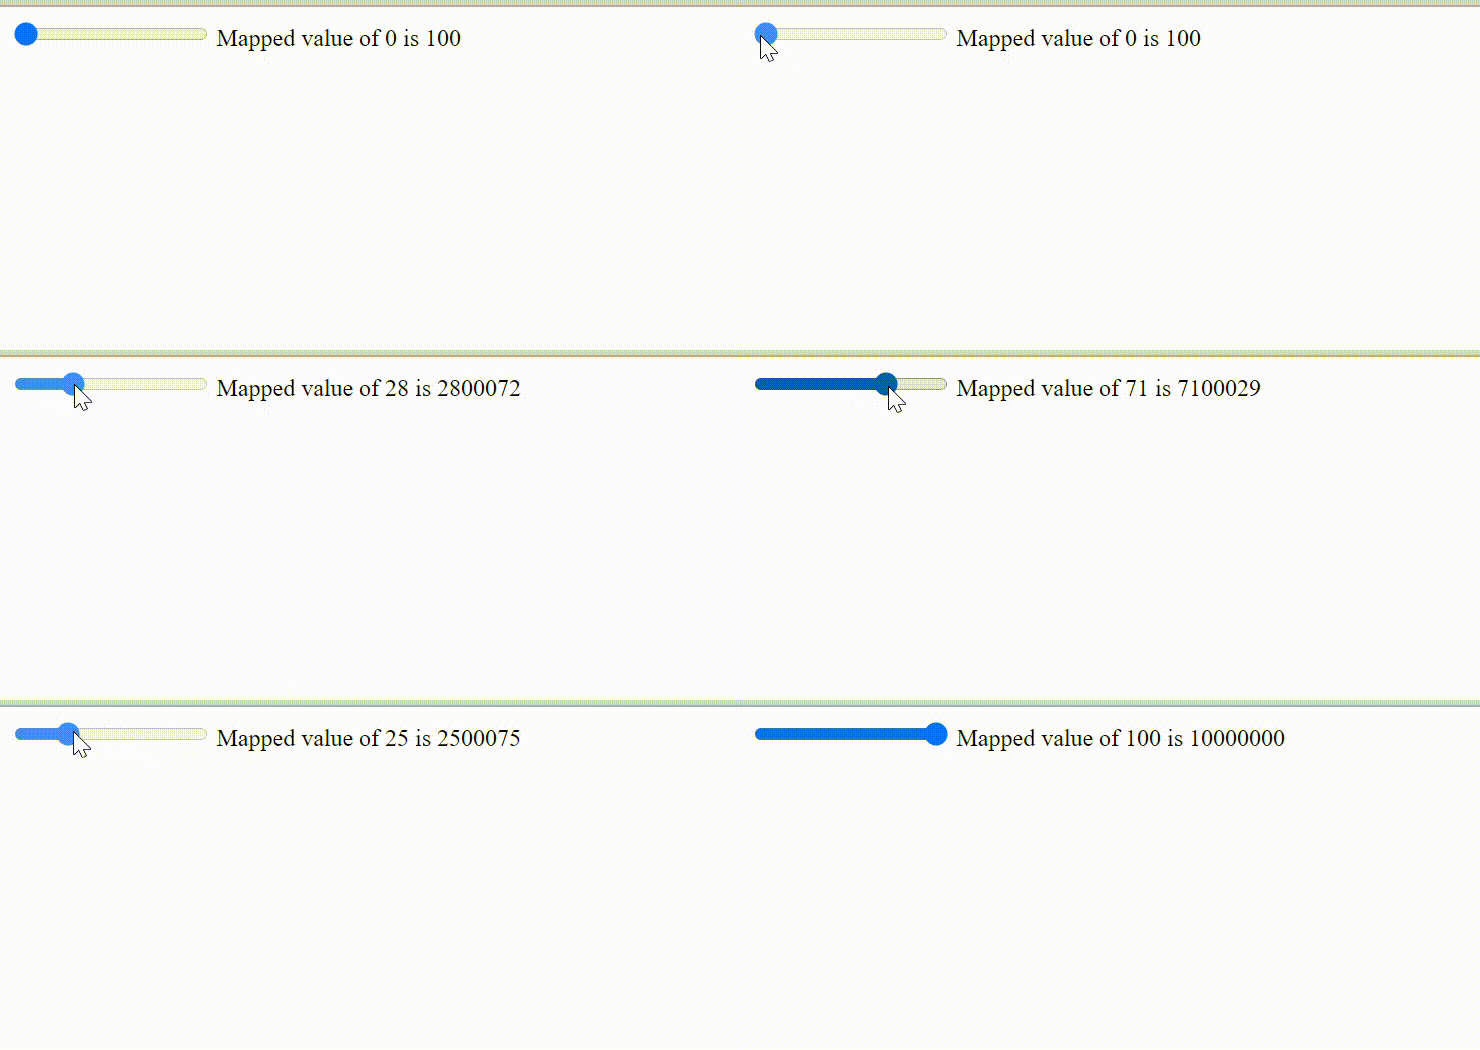
Now, you can save your HTML file and open it in a web browser to see the slider in action. As you move the slider, the mapped value will be updated dynamically.For example, if you move the slider to 50, the displayed mapped value will be "Mapped value of 50 is 5,050,000". The mapped value is calculated using the mapRange function, which takes the slider value (between 0 and 100) and converts it to a value between 100 and 10,000,000.
Output
Conclusion
In this article, we discussed how we can create a slider to map a range of values in Javascript. We can further customize the styling, range, and mapped values according to your requirements. This approach can be expanded upon and adapted to various scenarios where mapping ranges of values is needed in JavaScript applications.


