
- ExpressJS - Home
- ExpressJS - Overview
- ExpressJS - Environment
- ExpressJS - Installation
- ExpressJS - Hello World
- ExpressJS - Routing
- ExpressJS - HTTP Methods
- ExpressJS - URL Building
- ExpressJS - Middleware
- ExpressJS - Templating
- ExpressJS - Static Files
- ExpressJS - Form Data
- ExpressJS - Database
- ExpressJS - Cookies
- ExpressJS - Sessions
- ExpressJS - Authentication
- ExpressJS - RESTful APIs
- ExpressJS - Scaffolding
- ExpressJS - Serving Dynamic Content
- ExpressJS - Handling File Uploads
- ExpressJS - Internationalization(i18n)
- ExpressJS - Security Practices
- ExpressJS - Rate Limiting
- ExpressJS - Slowing Down Responses
- ExpressJS - Error handling
- ExpressJS - Debugging
- ExpressJS - Best Practices
- ExpressJS - Resources
ExpressJS - Templating
Pug is a templating engine for Express. Templating engines are used to remove the cluttering of our server code with HTML, concatenating strings wildly to existing HTML templates. Pug is a very powerful templating engine which has a variety of features including filters, includes, inheritance, interpolation, etc. There is a lot of ground to cover on this.
To use Pug with Express, we need to install it,
E:\Dev\hello-world>npm install --save pug
added 38 packages, and audited 110 packages in 6s

19 packages are looking for funding
  run `npm fund` for details

found 0 vulnerabilities
Now that Pug is installed, set it as the templating engine for your app. You don't need to 'require' it. Add the following code to your index.js file.
app.set('view engine', 'pug');
app.set('views','./views');
Now index.js should look like this.
index.js
var express = require('express');
var app = express();

app.set('view engine', 'pug');
app.set('views','./views');

app.listen(3000);
Now create a new directory called views. Inside that create a file called first_view.pug, and enter the following data in it.
doctype html
html
   head
      title = "Hello Pug"
   body
      p.greetings#people Hello World!
To run this page, add the following route to your app −
app.get('/first_template', function(req, res){
   res.render('first_view');
});
Now index.js should look like this.
index.js
var express = require('express');
var app = express();

app.set('view engine', 'pug');
app.set('views','./views');

app.get('/first_template', function(req, res){
   res.render('first_view');
});

app.listen(3000);
Save the file, go to your terminal and type the following.
E:\Dev\hello-world>nodemon index.js
[nodemon] 3.1.9
[nodemon] to restart at any time, enter `rs`
[nodemon] watching path(s): *.*
[nodemon] watching extensions: js,mjs,cjs,json
[nodemon] starting `node index.js`
This will start the server. To test this app, open your browser and go to http://localhost:3000/first_template.
You will get the output as −
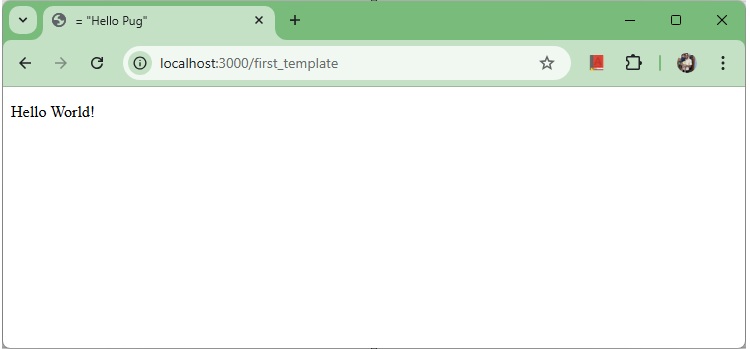
Pug converts this very simple looking markup to html. We dont need to keep track of closing our tags, no need to use class and id keywords, rather use '.' and '#' to define them. The above code first gets converted to −
<!DOCTYPE html>
<html>
   <head>
      <title>Hello Pug</title>
   </head>

   <body>
      <p class = "greetings" id = "people">Hello World!</p>
   </body>
</html>
Pug is capable of doing much more than simplifying HTML markup.
Important Features of Pug
Let us now explore a few important features of Pug.
Simple Tags
Tags are nested according to their indentation. Like in the above example, <title> was indented within the <head> tag, so it was inside it. But the <body> tag was on the same indentation, so it was a sibling of the <head> tag.
We dont need to close tags, as soon as Pug encounters the next tag on same or outer indentation level, it closes the tag for us.
To put text inside of a tag, we have 3 methods −
Space seperated
h1 Welcome to Pug
Piped text
div
   | To insert multiline text,
   | You can use the pipe operator.
Block of text
div.
   But that gets tedious if you have a lot of text.
   You can use "." at the end of tag to denote block of text.
   To put tags inside this block, simply enter tag in a new line and
   indent it accordingly.
Comments
Pug uses the same syntax as JavaScript(//) for creating comments. These comments are converted to the html comments(<!--comment-->). For example,
//This is a Pug comment
This comment gets converted to the following.
<!--This is a Pug comment-->
Attributes
To define attributes, we use a comma separated list of attributes, in parenthesis. Class and ID attributes have special representations. The following line of code covers defining attributes, classes and id for a given html tag.
div.container.column.main#division(width = "100", height = "100")
This line of code, gets converted to the following. −
<div class = "container column main" id = "division" width = "100" height = "100"></div>
Passing Values to Templates
When we render a Pug template, we can actually pass it a value from our route handler, which we can then use in our template. Create a new route handler with the following.
var express = require('express');
var app = express();

app.set('view engine', 'pug');
app.set('views','./views');

app.get('/dynamic_view', function(req, res){
   res.render('dynamic', {
      name: "TutorialsPoint",
      url:"http://www.tutorialspoint.com"
   });
});

app.listen(3000);
And create a new view file in views directory, called dynamic.pug, with the following code −
html
   head
      title=name
   body
      h1=name
      a(href = url) URL
Open localhost:3000/dynamic_view in your browser; You should get the following output −
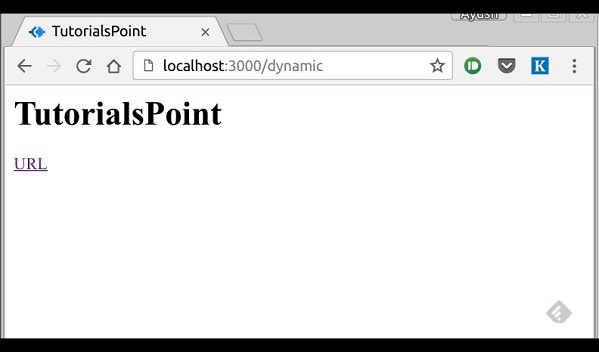
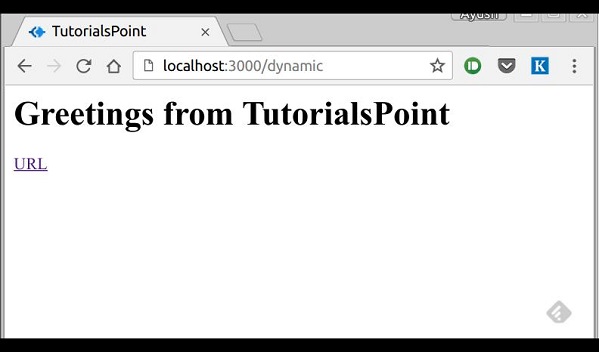
We can also use these passed variables within text. To insert passed variables in between text of a tag, we use #{variableName} syntax. For example, in the above example, if we wanted to put Greetings from TutorialsPoint, then we could have done the following.
dyanamic.pug
html
   head
      title = name
   body
      h1 Greetings from #{name}
      a(href = url) URL
This method of using values is called interpolation. The above code will display the following output. −
Conditionals
We can use conditional statements and looping constructs as well.
Consider the following −
If a User is logged in, the page should display "Hi, User" and if not, then the "Login/Sign Up" link. To achieve this, we can define a simple template like −
dyanamic.pug
html
   head
      title Simple template
   body
      if(user)
         h1 Hi, #{user.name}
      else
         a(href = "/sign_up") Sign Up
When we render this using our routes, we can pass an object as in the following program −
res.render('/dynamic',{
   user: {name: "Ayush", age: "20"}
});
index.js
var express = require('express');
var app = express();

app.set('view engine', 'pug');
app.set('views','./views');

app.get('/dynamic_view', function(req, res){
   res.render('dynamic', {
      user: {name: "Ayush", age: "20"}
   });
});

app.listen(3000);
You will receive a message − Hi, Ayush. But if we dont pass any object or pass one with no user key, then we will get a signup link.
Include and Components
Pug provides a very intuitive way to create components for a web page. For example, if you see a news website, the header with logo and categories is always fixed. Instead of copying that to every view we create, we can use the include feature. Following example shows how we can use this feature −
Create 3 views with the following code −
header.pug
div.header.
   I'm the header for this website.
content.pug
html
head
title Simple template
body
include ./header.pug
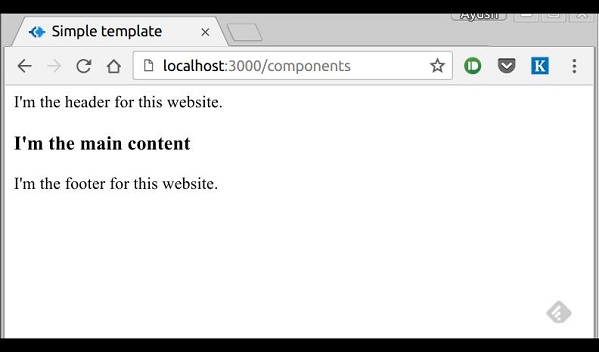
h3 I'm the main content
include ./footer.pug
footer.pug
div.footer.
   I'm the footer for this website.
Create a route for this as follows −
index.js
var express = require('express');
var app = express();

app.set('view engine', 'pug');
app.set('views','./views');

app.get('/components', function(req, res){
    res.render('content');
});

app.listen(3000);
Go to localhost:3000/components, you will receive the following output −
include can also be used to include plaintext, css and JavaScript.
There are many more features of Pug. But those are out of the scope for this tutorial. You can further explore Pug.
