- Electron - Home
- Electron - Overview
- Electron - Installation
- How Electron Works?
- Electron - Hello World
- Electron - Building UIs
- Electron - File Handling
- Electron - Native Node Libraries
- Inter Process Communication(IPC)
- Electron - System Dialogs
- Electron - Menus
- Electron - System Tray
- Electron - Notifications
- Electron - Webview
- Electron - Audio & Video Capturing
- Electron - Defining Shortcuts
- Electron - Environment Variables
- Electron - Debugging
- Electron - Packaging Apps
- Electron - Resources
Electron - Audio and Video Capturing
Audio and video capturing are important characteristics if you are building apps for screen sharing, voice memos, etc. They are also useful if you require an application to capture the profile picture.
We will be using the getUserMedia HTML5 API for capturing audio and video streams with Electron. Let us first set up our main process in the main.js file as follows −
const {app, BrowserWindow} = require('electron')
const url = require('url')
const path = require('path')

let win

// Set the path where recordings will be saved
app.setPath("userData", __dirname + "/saved_recordings")

function createWindow() {
   win = new BrowserWindow({width: 800, height: 600})
   win.loadURL(url.format({
      pathname: path.join(__dirname, 'index.html'),
      protocol: 'file:',
      slashes: true
   }))
}

app.on('ready', createWindow)
Now that we have set up our main process, let us create the HTML file that will be capturing this content. Create a file called index.html with the following content −
<!DOCTYPE html>
<html>
   <head>
      <meta charset = "UTF-8">
      <title>Audio and Video</title>
   </head>

   <body>
      <video autoplay></video>
      <script type = "text/javascript">
         function errorCallback(e) {
            console.log('Error', e)
         }

         navigator.getUserMedia({video: true, audio: true}, (localMediaStream) => {
            var video = document.querySelector('video')
            video.src = window.URL.createObjectURL(localMediaStream)
            video.onloadedmetadata = (e) => {
               // Ready to go. Do some stuff.
            };
         }, errorCallback)
      </script>
   </body>
</html>
The above program will generate the following output −
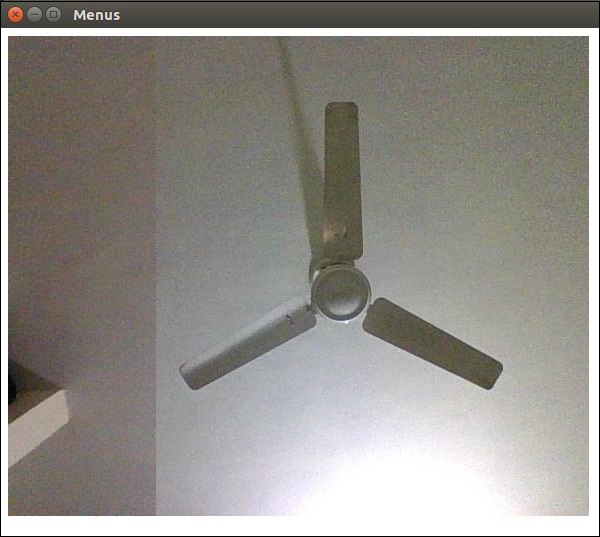
You now have the stream from both your webcam and your microphone. You can send this stream over the network or save this in a format you like.
Have a look at the MDN Documentation for capturing images to get the images from your webcam and store them. This was done using the HTML5 getUserMedia API. You can also capture the user desktop using the desktopCapturer module that comes with Electron. Let us now see an example of how to get the screen stream.
Use the same main.js file as above and edit the index.html file to have the following content −
desktopCapturer.getSources({types: ['window', 'screen']}, (error, sources) => {
   if (error) throw error
   for (let i = 0; i < sources.length; ++i) {
      if (sources[i].name === 'Your Window Name here!') {
         navigator.webkitGetUserMedia({
            audio: false,
            video: {
               mandatory: {
                  chromeMediaSource: 'desktop',
                  chromeMediaSourceId: sources[i].id,
                  minWidth: 1280,
                  maxWidth: 1280,
                  minHeight: 720,
                  maxHeight: 720
               }
            }
         }, handleStream, handleError)
         return
      }
   }
})

function handleStream (stream) {
   document.querySelector('video').src = URL.createObjectURL(stream)
}

function handleError (e) {
   console.log(e)
}
We have used the desktopCapturer module to get the information about each open window. Now you can capture the events of a specific application or of the entire screen depending on the name you pass to the above if statement. This will stream only that which is happening on that screen to your app.
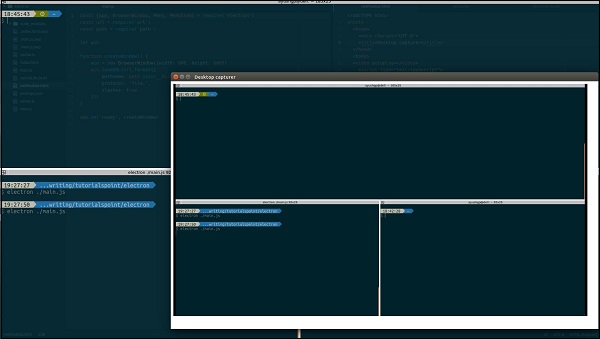
You can refer to this StackOverflow question to understand the usage in detail.
