- Electron - Home
- Electron - Overview
- Electron - Installation
- How Electron Works?
- Electron - Hello World
- Electron - Building UIs
- Electron - File Handling
- Electron - Native Node Libraries
- Inter Process Communication(IPC)
- Electron - System Dialogs
- Electron - Menus
- Electron - System Tray
- Electron - Notifications
- Electron - Webview
- Electron - Audio & Video Capturing
- Electron - Defining Shortcuts
- Electron - Environment Variables
- Electron - Debugging
- Electron - Packaging Apps
- Electron - Resources
Electron - Building UIs
The User Interface of Electron apps is built using HTML, CSS and JS. So we can leverage all the available tools for front-end web development here as well. You can use the tools such as Angular, Backbone, React, Bootstrap, and Foundation, to build the apps.
You can use Bower to manage these front-end dependencies. Install bower using −
$ npm install -g bower
Now you can get all the available JS and CSS frameworks, libraries, plugins, etc. using bower. For example, to get the latest stable version of bootstrap, enter the following command −
$ bower install bootstrap
This will download bootstrap in bower_components. Now you can reference this library in your HTML. Let us create a simple page using these libraries.
Let us now install jquery using the npm command −
$ npm install --save jquery
Further, this will be required in our view.js file. We already have a main.js setup as follows −
const {app, BrowserWindow} = require('electron')
const url = require('url')
const path = require('path')

let win

function createWindow() {
   win = new BrowserWindow({width: 800, height: 600})
   win.loadURL(url.format ({
      pathname: path.join(__dirname, 'index.html'),
      protocol: 'file:',
      slashes: true
   }))
}

app.on('ready', createWindow)
Open your index.html file and enter the following code in it −
<!DOCTYPE html>
<html>
   <head>
      <meta charset = "UTF-8">
      <title>Hello World!</title>
      <link rel = "stylesheet"
         href = "./bower_components/bootstrap/dist/css/bootstrap.min.css" />
   </head>

   <body>
      <div class = "container">
         <h1>This page is using Bootstrap and jQuery!</h1>
         <h3 id = "click-counter"></h3>
         <button class = "btn btn-success" id = "countbtn">Click here</button>
         <script src = "./view.js" ></script>
      </div>
   </body>
</html>
Create view.js and enter the click counter logic in it −
let $ = require('jquery')  // jQuery now loaded and assigned to $
let count = 0
$('#click-counter').text(count.toString())
$('#countbtn').on('click', () => {
   count ++
   $('#click-counter').text(count)
})
Run the app using the following command −
$ electron ./main.js
The above command will generate the output as in the following screenshot −
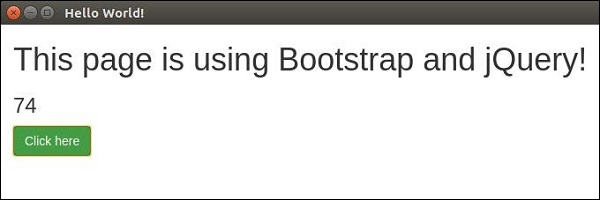
You can build your native app just like you build websites. If you do not want users to be restricted to an exact window size, you can leverage the responsive design and allow users to use your app in a flexible manner.