- BabylonJS - Home
- BabylonJS - Introduction
- BabylonJS - Environment Setup
- BabylonJS - Overview
- BabylonJS - Basic Elements
- BabylonJS - Materials
- BabylonJS - Animations
- BabylonJS - Cameras
- BabylonJS - Lights
- BabylonJS - Parametric Shapes
- BabylonJS - Mesh
- VectorPosition and Rotation
- BabylonJS - Decals
- BabylonJS - Curve3
- BabylonJS - Dynamic Texture
- BabylonJS - Parallax Mapping
- BabylonJS - Lens Flares
- BabylonJS - Create ScreenShot
- BabylonJS - Reflection Probes
- Standard Rendering Pipeline
- BabylonJS - ShaderMaterial
- BabylonJS - Bones and Skeletons
- BabylonJS - Physics Engine
- BabylonJS - Playing Sounds & Music
BabylonJS - Cube Texture
We will now see how to go about texturing with cube.
Syntax
material.reflectionTexture = new BABYLON.CubeTexture("images/cubetexture/1", scene);
It takes image as the texture and the scene to which it has to be attached.
Demo
<!doctype html>
<html>
   <head>
      <meta charset = "utf-8">
      <title>BabylonJs - Basic Element-Creating Scene</title>
      <script src = "babylon.js"></script>
      <style>
         canvas {width: 100%; height: 100%;}
      </style>
   </head>

   <body>
      <canvas id = "renderCanvas"></canvas>
      <script type = "text/javascript">
         var canvas = document.getElementById("renderCanvas");
         var engine = new BABYLON.Engine(canvas, true);
         var createScene  = function() {
            var scene = new BABYLON.Scene(engine);
            scene.clearColor = BABYLON.Color3.Black();
            var camera = new BABYLON.ArcRotateCamera("Camera", -Math.PI/2, 0, 0, BABYLON.Vector3.Zero(), scene);
            var light = new BABYLON.PointLight("Omni0", new BABYLON.Vector3(250, 250, 50), scene);

            camera.setPosition(new BABYLON.Vector3(0, 0, 8));
            camera.upperBetaLimit = Math.PI/2;
            camera.lowerBetaLimit = Math.PI/2;
            camera.attachControl(canvas);

            var box = BABYLON.Mesh.CreateBox("box", 2, scene);

            // box material
            material = new BABYLON.StandardMaterial("bab5", scene);
            material.emissiveColor = new BABYLON.Color3(1, 1, 0);
            material.specularColor = new BABYLON.Color3(1, 1, 0);

            box.material = material;

            var sphere = BABYLON.Mesh.CreateSphere("sphere",32, 5, scene);

            // sphere material
            material = new BABYLON.StandardMaterial("kosh5", scene);
            material.diffuseColor = new BABYLON.Color3(0, 0, 0);
            material.reflectionTexture = new BABYLON.CubeTexture("images/cubetexture/1", scene);
            material.reflectionTexture.level = 1;
            material.specularPower = 150;
            material.emissiveColor = new BABYLON.Color3(0.05, 0.05, 0.05);
            material.alpha = 0.8;

            sphere.material = material;

            scene.registerBeforeRender(function() {
               box.rotation.z += 0.01;
               camera.alpha += 0.002;
            });
            return scene;
         };
         var scene = createScene();
         engine.runRenderLoop(function() {
            scene.render();
         });
      </script>
   </body>
</html>
Output
The above line of code generates the following output −
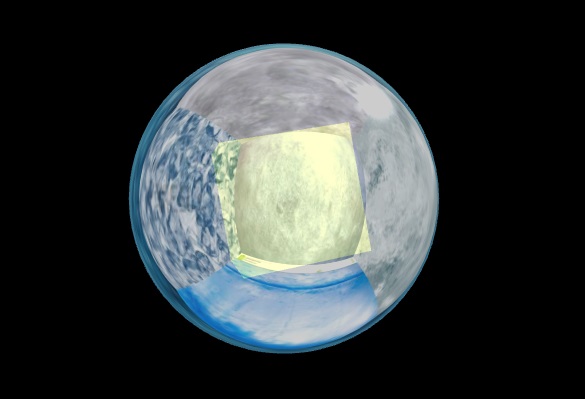
Explanation
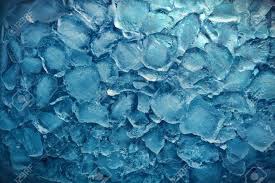
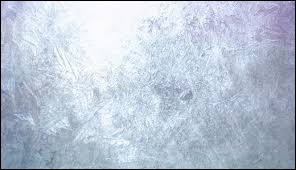
In the above example, we used cubetexture. A cube has 6 faces so the images used have the following names −
- 1_nx.jpg
- 1_ny.jpg
- 1_nz.jpg
- 1_px.jpg
- 1_py.jpg
- 1_pz.jpg
We need six images for a cube. The images are stored locally in images/cubetexture/nameoftheimage. You can download any image of your choice, but when you save it, save as nameoftheimage_nx, nameoftheimage_ny, nameoftheimage_nx, nameoftheimage_px,nameoftheimage_py, nameoftheimage_pz. Please note the images chosen should be in a sequence so that the background look realistic.
images/cubetexture/1
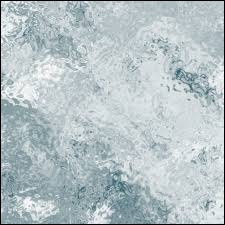
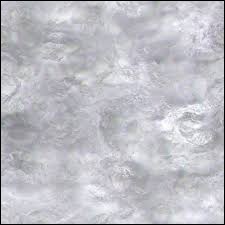
The images are as shown below −
1_nx.jpg
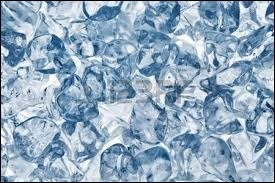
1_ny.jpg
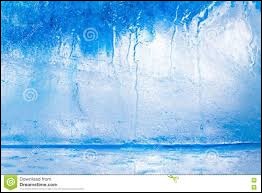
1_nz.jpg
1_px.jpg
1_py.jpg
1_pz.jpg