- AWS Glue - Home
- AWS Glue - Introduction
- AWS Glue - Getting Started
- AWS Glue - Data Catalog
- AWS Glue - Amazon S3 Integration
- AWS Glue - Crawlers
- AWS Glue - Performance Optimization
- AWS Glue - Cost Optimization
- AWS Glue Useful Resources
- AWS Glue - Quick Guide
- AWS Glue - Resources
- AWS Glue - Discussion
AWS Glue - Getting Started
Setup AWS Glue for Your First Job
Follow the steps given below to set up AWS Glue for your first job −
Step 1: Prerequisites
You must have an AWS account to use AWS Glue. You should have IAM roles. It allows AWS Glue to access your data in Amazon S3, RDS, or any other data source.
In addition, you should have your data stored in Amazon S3, RDS, or other supported databases.
Step 2: Setup AWS Glue Data Catalog
First, create a database within the Glue Data Catalog. Next, you need to set up a crawler to scan and classify your data sources (such as Amazon S3).
The role of crawler is to automatically detect data types and create metadata tables in your Glue Data Catalog.
Step 3: Create a New Job in AWS Glue
Once your data is cataloged, go to the AWS Glue Console and select Jobs. Then, click Add Job to create a new ETL job.
Next, you need to configure the job. Use the following options to configure −
Name your job.
Select the IAM role that Glue will use.
Choose your ETL script source (either auto-generated or custom-written).
Define the data sources (Amazon S3, RDS, etc.) and target
It is optional but it is a good practice to add transformations or filters to your job script.
Step 4: Run Your Glue Job
Once done with setup, review the job settings and click Run Job. AWS Glue will start processing the data based on the defined ETL script.
Now you can monitor the progress of your job in the AWS Glue Console under the Jobs section.
Step 5: Verify the Output
To verify the output, after the job is completed, check the target location (such as Amazon S3). The transferred data should successfully load there.
Creating an AWS Glue Crawler and Database
One of the key components of AWS Glue is the Crawler, which automatically discovers new data, identifies its schema, and updates the Data Catalog accordingly. Below are the steps to create an AWS Glue Crawler and Database for your data.
Step 1: Setup Your AWS Glue Database
Before creating a crawler in AWS Glue, you need to set up a database. This database will act as a container for the metadata of your data sources.
Follow the steps given below to set up a database −
First, login to the AWS Glue Console.
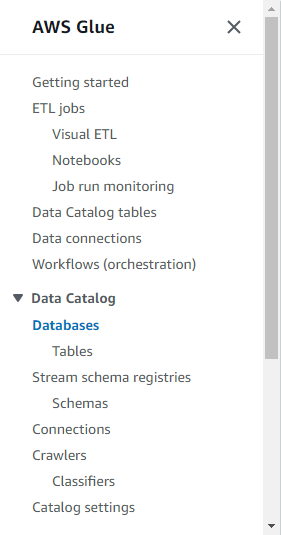
On the left-hand side navigation pane, click on Databases under the Data Catalog section.
Select Add Database and enter a name for your database (e.g., my-data-catalog).
Finally, click the Create button and your database will be ready for use.
Step 2: Creating an AWS Glue Crawler
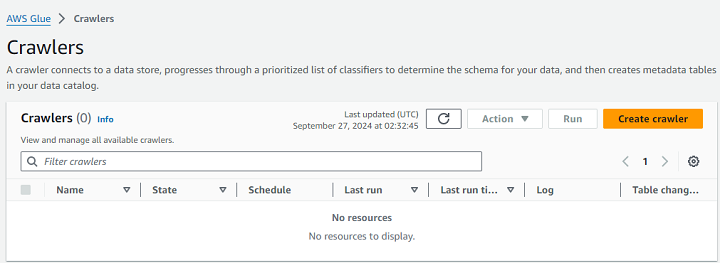
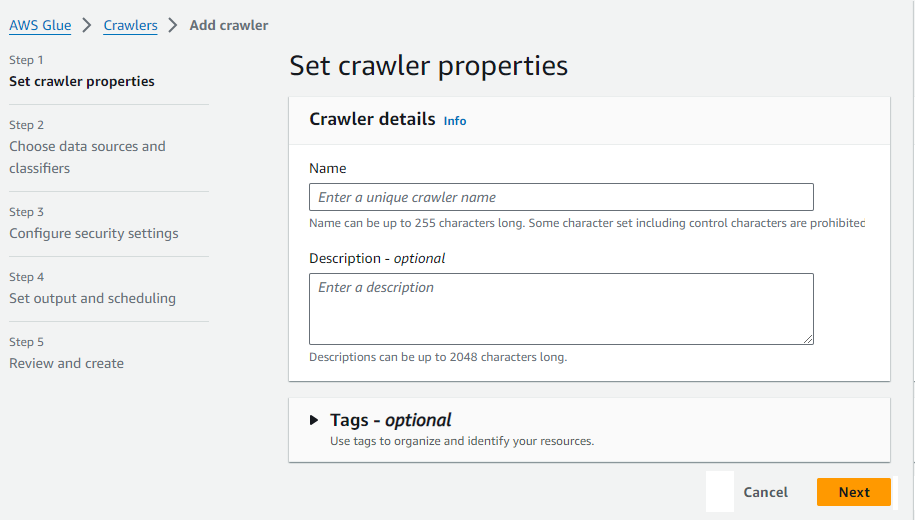
First, go to the AWS Glue Console and navigate to the Crawlers section. Next, click the Create Crawler button.
Now, enter a name for your crawler (e.g., my-data-crawler).
You also need to define the data source. This can be Amazon S3, DynamoDB, or any supported data source where your data is stored.
Next, under configure security settings section, set the IAM role that allows AWS Glue to access your data. Then, specify the target database you created earlier. This is where the crawler will store the metadata it discovers.
You can schedule your crawler to run on demand or at regular intervals to keep the metadata up to date. Finally, review your settings and click Finish.
Step 3: Run the Crawler
After setting the crawler, first, return to the Crawlers section in the Glue Console and select your newly created crawler.
Next, click Run Crawler to start the process. Once the crawler completes, it will populate the Glue Data Catalog with tables and metadata for each dataset it discovers.
