- Apache Flink - Home
- Apache Flink - Big Data Platform
- Batch vs Real-time Processing
- Apache Flink - Introduction
- Apache Flink - Architecture
- Apache Flink - System Requirements
- Apache Flink - Setup/Installation
- Apache Flink - API Concepts
- Apache Flink - Table API and SQL
- Creating a Flink Application
- Apache Flink - Running a Flink Program
- Apache Flink - Libraries
- Apache Flink - Machine Learning
- Apache Flink - Use Cases
- Apache Flink - Flink vs Spark vs Hadoop
- Apache Flink - Conclusion
- Apache Flink Resources
- Apache Flink - Quick Guide
- Apache Flink - Useful Resources
- Apache Flink - Discussion
Apache Flink - Creating a Flink Application
In this chapter, we will learn how to create a Flink application.
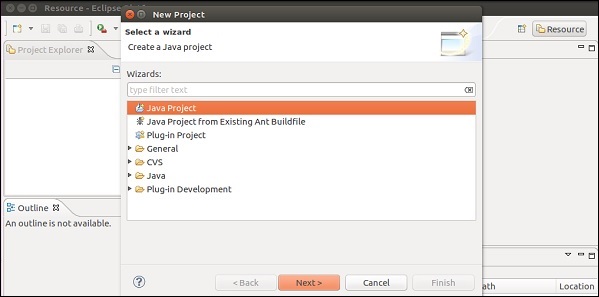
Open Eclipse IDE, click on New Project and Select Java Project.
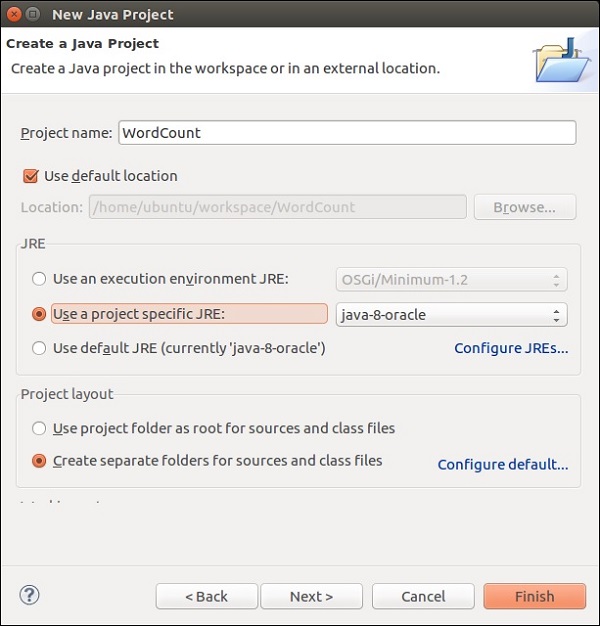
Give Project Name and click on Finish.
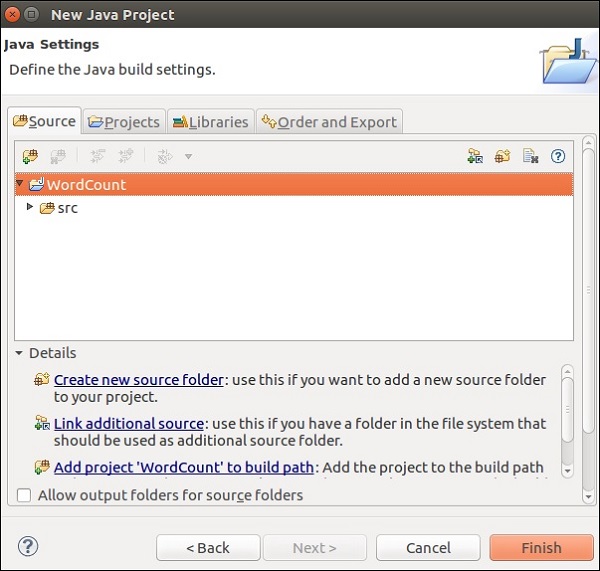
Now, click on Finish as shown in the following screenshot.
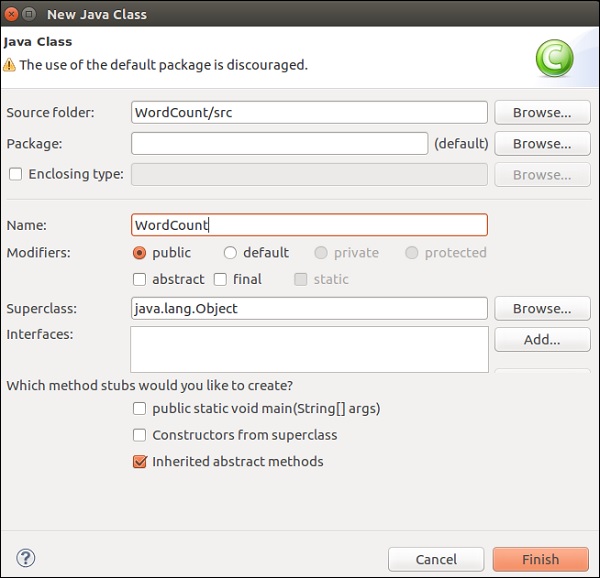
Now, right-click on src and go to New >> Class.
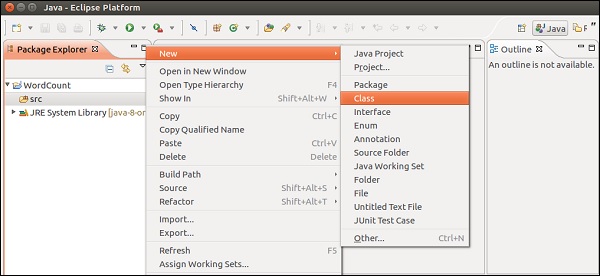
Give a class name and click on Finish.
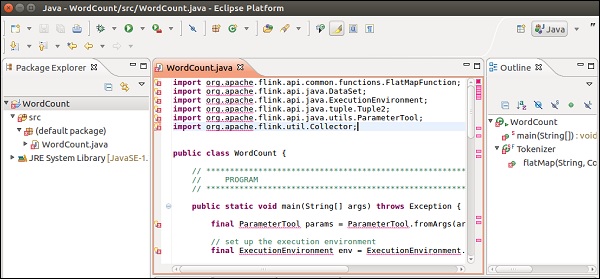
Copy and paste the below code in the Editor.
import org.apache.flink.api.common.functions.FlatMapFunction;
import org.apache.flink.api.java.DataSet;
import org.apache.flink.api.java.ExecutionEnvironment;
import org.apache.flink.api.java.tuple.Tuple2;
import org.apache.flink.api.java.utils.ParameterTool;
import org.apache.flink.util.Collector;
public class WordCount {

   // *************************************************************************
   // PROGRAM
   // *************************************************************************
   public static void main(String[] args) throws Exception {
      final ParameterTool params = ParameterTool.fromArgs(args);
      // set up the execution environment
      final ExecutionEnvironment env = ExecutionEnvironment.getExecutionEnvironment();
      // make parameters available in the web interface
      env.getConfig().setGlobalJobParameters(params);
      // get input data
      DataSet<String> text = env.readTextFile(params.get("input"));
      DataSet<Tuple2<String, Integer>> counts =
      // split up the lines in pairs (2-tuples) containing: (word,1)
      text.flatMap(new Tokenizer())
      // group by the tuple field "0" and sum up tuple field "1"
      .groupBy(0)
      .sum(1);
      // emit result
      if (params.has("output")) {
         counts.writeAsCsv(params.get("output"), "\n", " ");
         // execute program
         env.execute("WordCount Example");
      } else {
         System.out.println("Printing result to stdout. Use --output to specify output path.");
         counts.print();
      }
   }

   // *************************************************************************
   // USER FUNCTIONS
   // *************************************************************************
   public static final class Tokenizer implements FlatMapFunction<String, Tuple2<String, Integer>> {
      public void flatMap(String value, Collector<Tuple2<String, Integer>> out) {
         // normalize and split the line
         String[] tokens = value.toLowerCase().split("\\W+");
         // emit the pairs
         for (String token : tokens) {
            if (token.length() > 0) {
               out.collect(new Tuple2<>(token, 1));
            }
         }
      }
   }
}
You will get many errors in the editor, because Flink libraries need to be added to this project.
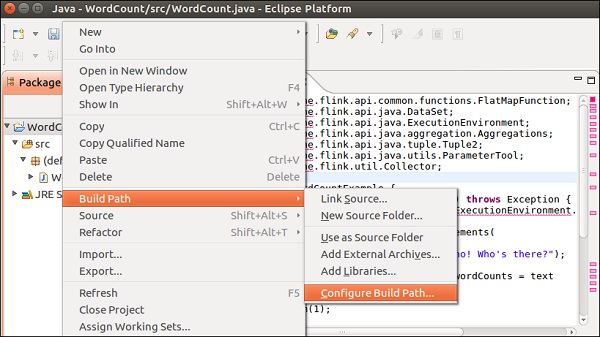
Right-click on the project >> Build Path >> Configure Build Path.
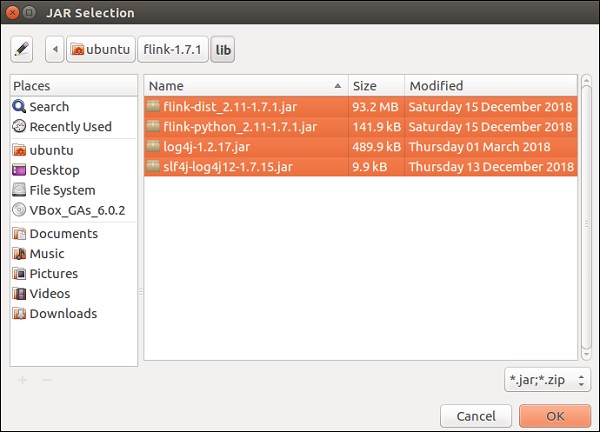
Select the Libraries tab and click on Add External JARs.
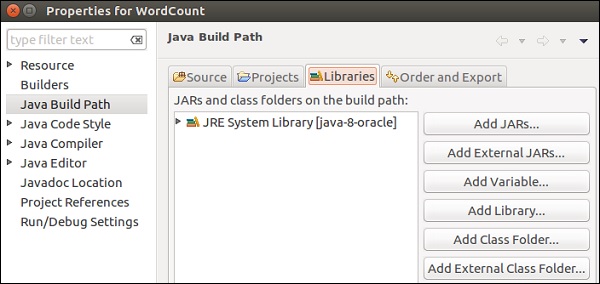
Go to Flink's lib directory, select all the 4 libraries and click on OK.
Go to the Order and Export tab, select all the libraries and click on OK.
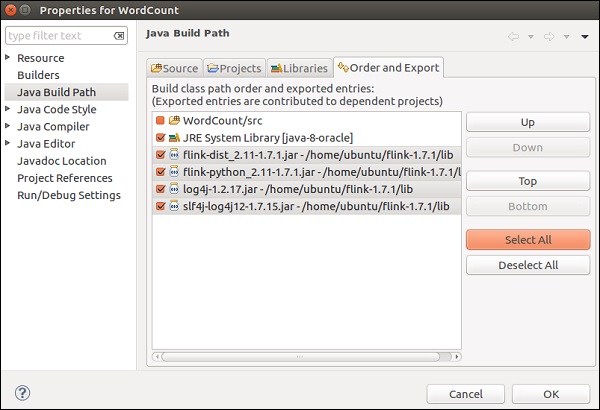
You will see that the errors are no more there.
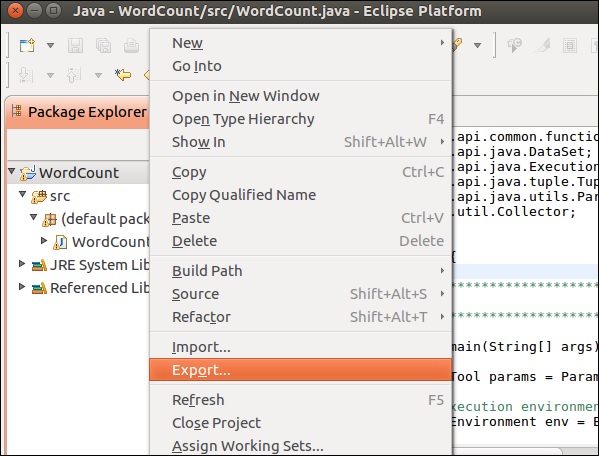
Now, let us export this application. Right-click on the project and click on Export.
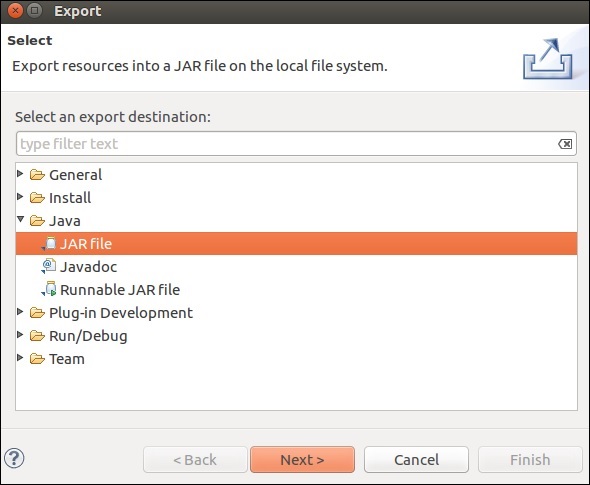
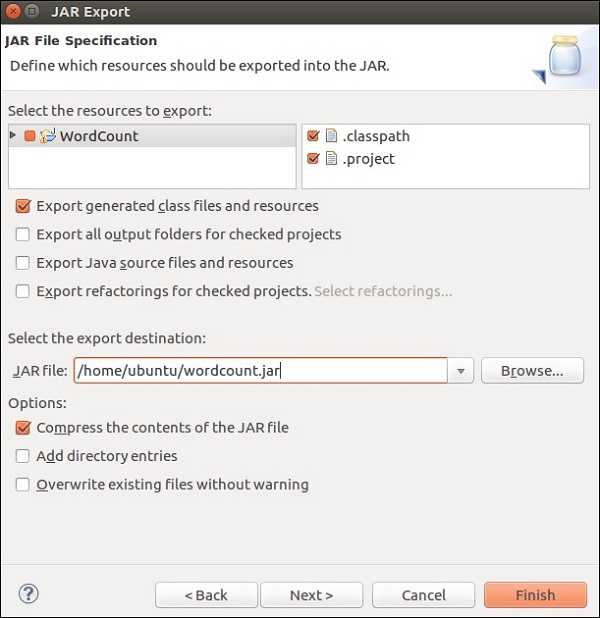
Select JAR file and click Next
Give a destination path and click on Next
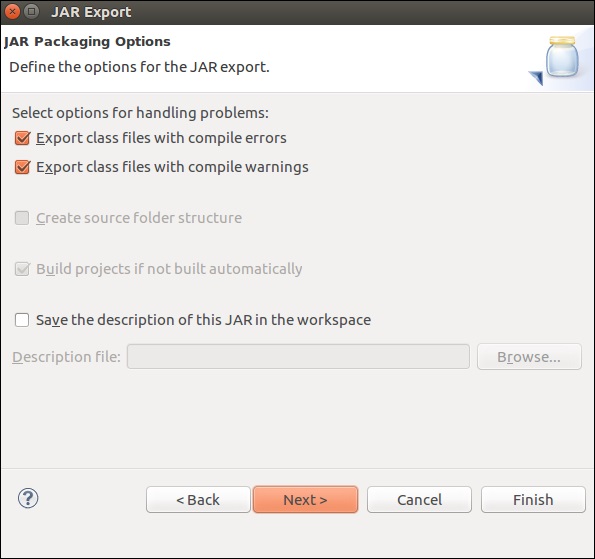
Click on Next>
Click on Browse, select the main class (WordCount) and click Finish.
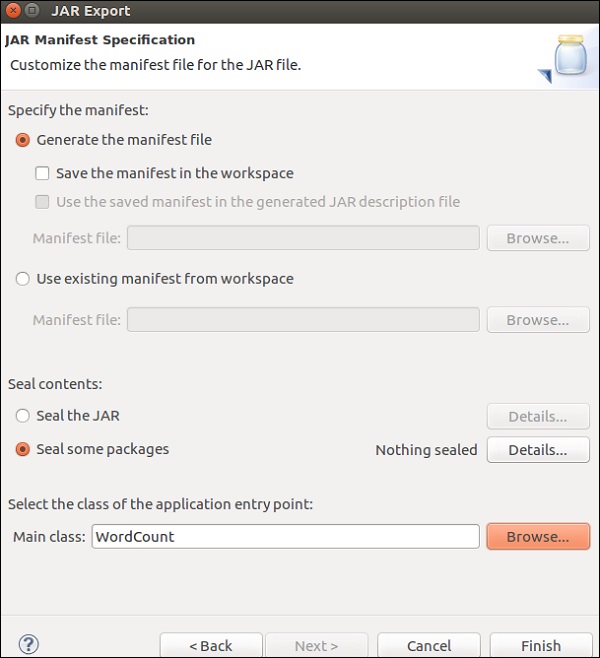
Note − Click OK, in case you get any warning.
Run the below command. It will further run the Flink application you just created.
./bin/flink run /home/ubuntu/wordcount.jar --input README.txt --output /home/ubuntu/output

