
- Angular CLI Tutorial
- Angular CLI - Home
- Angular CLI - Overview
- Angular CLI - Environment Setup
- Angular CLI Commands
- Angular CLI - ng version
- Angular CLI - ng new
- Angular CLI - ng help
- Angular CLI - ng generate
- Angular CLI - ng build
- Angular CLI - ng run
- Angular CLI - ng serve
- Angular CLI - ng lint
- Angular CLI - ng test
- Angular CLI - ng e2e
- Angular CLI - ng add
- Angular CLI - ng analytics
- Angular CLI - ng config
- Angular CLI - ng doc
- Angular CLI - ng update
- Angular CLI - ng xi18n
- Angular CLI - Code Coverage
- Angular CLI - ng cache Command
- Angular CLI - ng completion Command
- Angular CLI - ng deploy Command
- Angular CLI - ng extracti18n Command
- Angular CLI Useful Resources
- Angular CLI - Quick Guide
- Angular CLI - Useful Resources
- Angular CLI - Discussion
Angular CLI - Local Environment Setup
In order to work with Angular CLI on our local system, we need to have Node installed. Let us understand about the environment setup required for Angular CLI in detail. A general understanding of the command line interface is a must when using Angular CLI.
Before moving ahead in this tutorial, please go through the Angular Overview chapter where we have discussed the basics of Angular CLI.
Setting up Local Environment for Angular CLI
The steps needed to set the local environment for Angular CLI are as follows −
- Downloading Node.js
- Installing Angular CLI
Important! The steps to setup Angular CLI and Angular development environment on your local machine are the same.
Download Node.js
Node.js is a JavaScript runtime environment that provides a platform to execute JavaScript code outside of a browser. It is also a central repository from where one can download JavaScript packages using npm. The npm stands for Node Package Manager. These tools come bundled together when you install Node.js on your machine.
To install Node.js and npm for Angular CLI environment setup, follow the steps given below −
Step 1:
Head over to the Node.js official website by following this link. From here, download the LTS (Long Term Support) version of NodeJS installer.
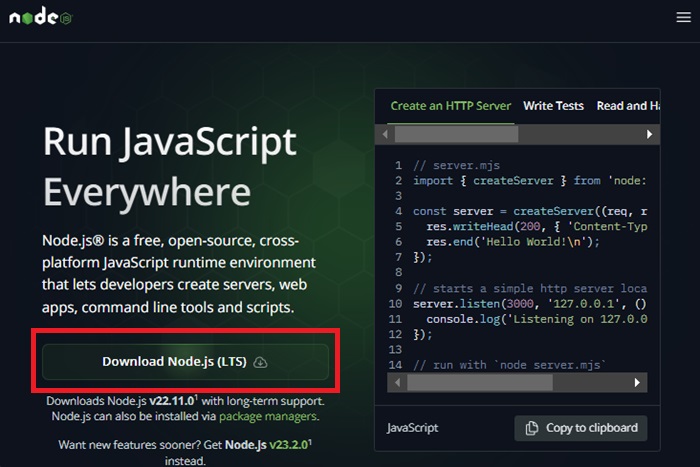
Step 2:
After downloading, navigate to the folder where NodeJS is located and double click the installer. When you double click, the following window will pop up −
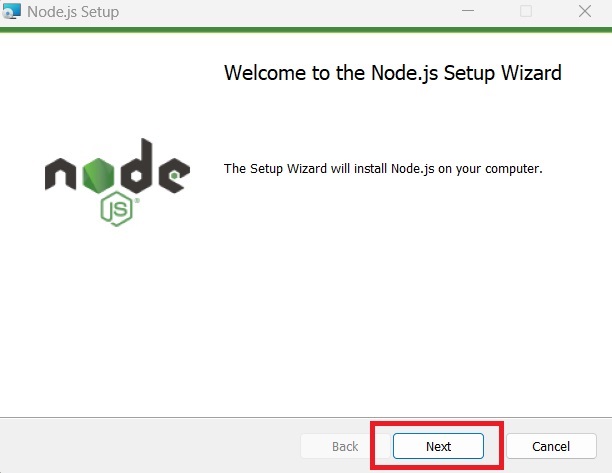
Here, click on Next button.
Step 3:
Accept the end-user license agreement and click Next button to move further.
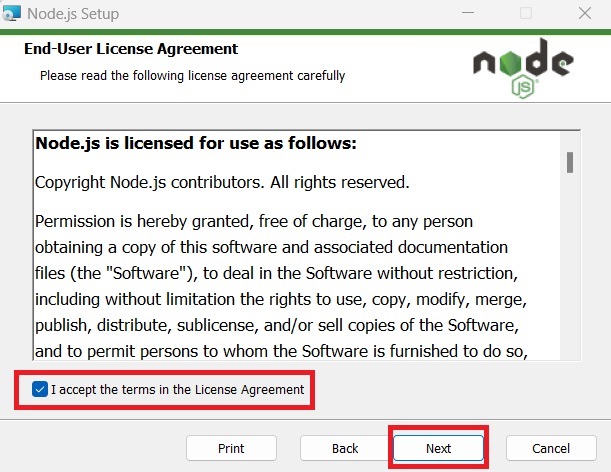
Step 4:
In this step, choose the location where you want to install NodeJS on your machine. Click the Change button to choose custom location or simply click on the Next button to leave default location. We suggest leaving the default location as it is.
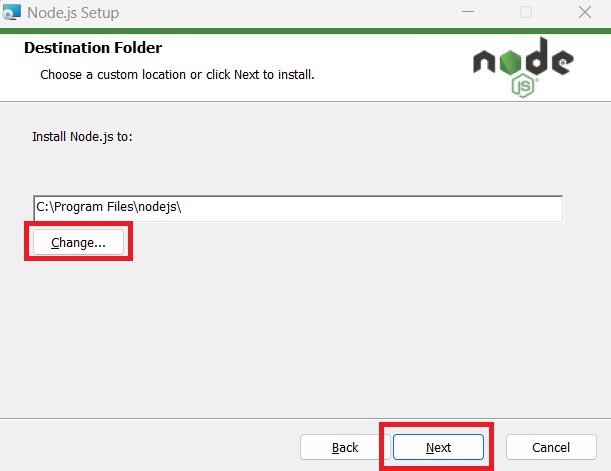
Step 5:
Next, you will be asked to select the features for NodeJS you want to install. Keep the default features selected and click the Next button.

Step 6:
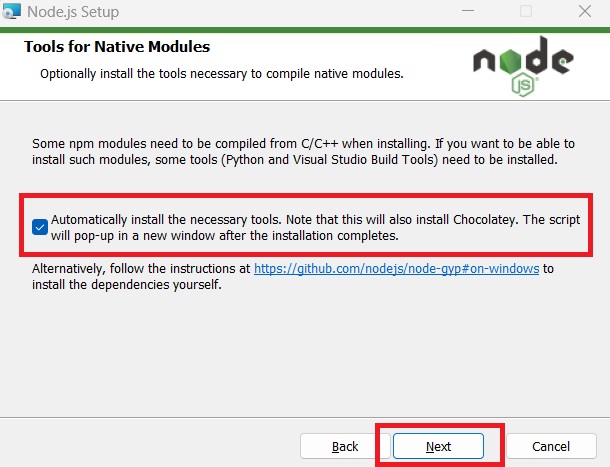
Now, click on the checkbox to install the tools necessary to compile native modules. Then, click Next.
Step 7:
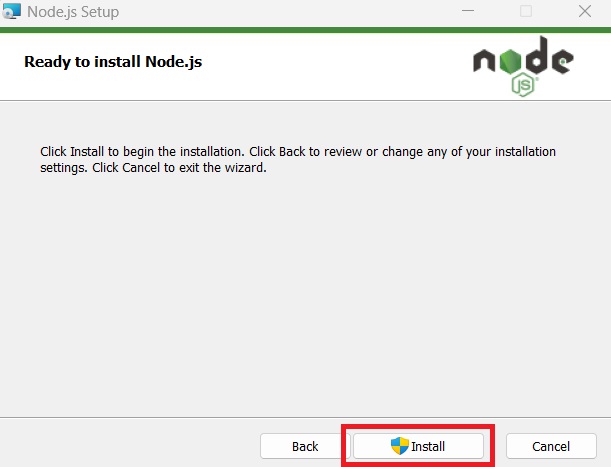
Finally, clicking on the install button will start installation process.
Open the command prompt to verify if node is installed or not. We can check it using the below command −
node --version
Install Angular CLI
Angular CLI, a command line interface used to maintain Angular applications directly from a command shell, uses Node and node package manager to install and run JavaScript tools outside the browser.
Use the following command to install Angular CLI −
npm install -g @angular/cli
If you want a specific version of Angular CLI, use the following command −
npm install -g @angular/cli@version_name
This command will install the latest version of Angular CLI −
npm install -g @angular/cli@latest
For MAC or Linux operating systems, the below command is used −
sudo npm install -g @angular/cli
To verify the successful installation of Angular CLI, use the command given below −
ng version