- Angular7 - Home
- Angular7 - Overview
- Angular7 - Environment Setup
- Angular7 - Project Setup
- Angular7 - Components
- Angular7 - Modules
- Angular7 - Data Binding
- Angular7 - Event Binding
- Angular7 - Templates
- Angular7 - Directives
- Angular7 - Pipes
- Angular7 - Routing
- Angular7 - Services
- Angular7 - Http Client
- Angular7 - CLI Prompts
- Angular7 - Forms
- Materials/CDK-Virtual Scrolling
- Angular7 - Materials/CDK-Drag & Drop
- Angular7 - Animations
- Angular7 - Materials
- Testing & Building Angular7 Project
- Angular7 Useful Resources
- Angular7 - Quick Guide
- Angular7 - Useful Resources
- Angular7 - Discussion
Angular7 - Data Binding
Data Binding is available right from AngularJS, and all the versions of Angular released later on. We use curly braces for data binding - {{}}; this process is called interpolation. We have already seen in our previous examples how we declared the value to the variable title and the same is printed in the browser.
The variable in the app.component.html file is referred as {{title}} and the value of title is initialized in the app.component.ts file and in app.component.html, the value is displayed.
Let us now create a dropdown of months in the browser. To do that, we have created an array of months in app.component.ts as follows −
import { Component } from '@angular/core';

@Component({
   selector: 'app-root',
   templateUrl: './app.component.html',
   styleUrls: ['./app.component.css']
})
export class AppComponent {
   title = 'Angular 7';

   // declared array of months.
   months = ["January", "February", "March", "April", "May", "June", "July",
      "August", "September", "October", "November", "December"];
}
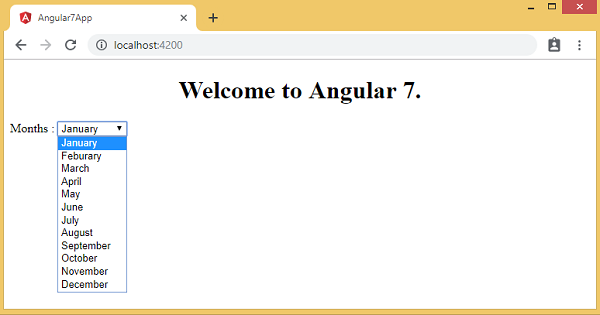
The months array that is shown above is to be displayed in a dropdown in the browser.
We have created the normal select tag with option. In option, we have used the for loop. The for loop is used to iterate over the months array, which in turn will create the option tag with the value present in the months.
The syntax for in Angular is as follows −
*ngFor = let I of months
and to get the value of months we are displaying it in −
{{i}}
The two curly brackets help with data binding. You declare the variables in your app.component.ts file and the same will be replaced using the curly brackets.
Following is the output of the above months array in the browser −
The variable that is set in the app.component.ts can be binded inside the app.component.html using the curly brackets. For example: {{}}.
Let us now display the data in the browser based on condition. Here, we have added a variable and assigned the value as true. Using the if statement, we can hide/show the content to be displayed.
Example
import { Component } from '@angular/core';

@Component({
   selector: 'app-root',
   templateUrl: './app.component.html',
   styleUrls: ['./app.component.css']
})
export class AppComponent {
   title = 'Angular 7';

   // declared array of months.
   months = ["January", "February", "March", "April", "May", "June", "July",
      "August", "September", "October", "November", "December"];

   isavailable = true; //variable is set to true
}
app.component.html
<!--The content below is only a placeholder and can be replaced.-->
<div style = "text-align:center">
<h1> Welcome to {{title}}. </h1>
</div>
<div> Months :
<select>
<option *ngFor = "let i of months">{{i}}</option>
</select>
</div>
<br/>
<div>
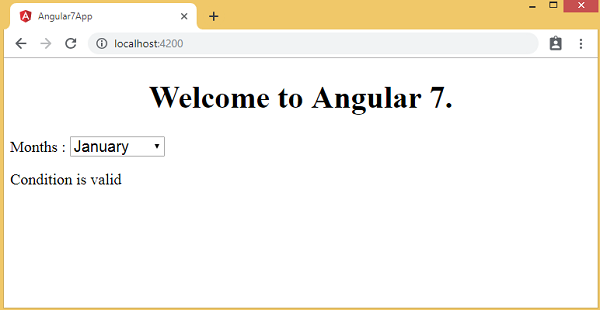
<span *ngIf = "isavailable">Condition is valid.</span>
//over here based on if condition the text condition is valid is displayed.
//If the value of isavailable is set to false it will not display the text.
</div>
Output

Let us explain the above example using the IF THEN ELSE condition.
Example
import { Component } from '@angular/core';
@Component({
   selector: 'app-root',
   templateUrl: './app.component.html',
   styleUrls: ['./app.component.css']
})
export class AppComponent {
   title = 'Angular 7';

   // declared array of months.
   months = ["January", "Feburary", "March", "April", "May","June", "July",
      "August", "September", "October", "November", "December"];

   isavailable = false; //variable is set to true
}
In this case, we have made the isavailable variable as false. To print the else condition, we will have to create the ng-template as follows −
<ng-template #condition1>Condition is invalid</ng-template>
The full code is given below −
<!--The content below is only a placeholder and can be replaced.-->
<div style = "text-align:center">
   <h1> Welcome to {{title}}. </h1>
</div>

<div> Months :
   <select>
      <option *ngFor = "let i of months">{{i}}</option>
   </select>
</div>
<br/>

<div>
   <span *ngIf = "isavailable; else condition1">Condition is valid.</span>
   <ng-template #condition1>Condition is invalid</ng-template>
</div>
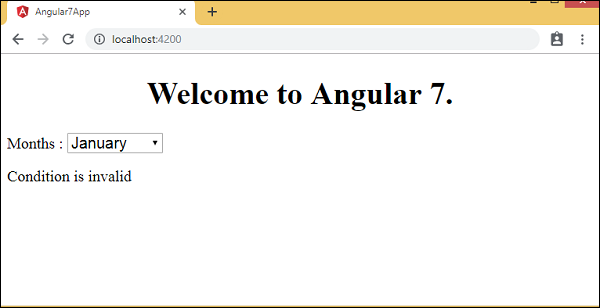
If is used with the else condition and the variable used is condition1. The same is assigned as an id to the ng-template, and when the available variable is set to false the text Condition is invalid is displayed.
Following screenshot shows the display in the browser −
Let us now use the if then else condition.
import { Component } from '@angular/core';
@Component({
   selector: 'app-root',
   templateUrl: './app.component.html',
   styleUrls: ['./app.component.css']
})
export class AppComponent {
   title = 'Angular 7';

   // declared array of months.
   months = ["January", "February", "March", "April", "May", "June", "July",
      "August", "September", "October", "November", "December"];

   isavailable = true; //variable is set to true
}
Now, we will make the variable isavailable as true. In the html, the condition is written in the following way −
<!--The content below is only a placeholder and can be replaced.-->
<div style = "text-align:center">
   <h1> Welcome to {{title}}. </h1>
</div>

<div> Months :
   <select>
      <option *ngFor="let i of months">{{i}}</option>
   </select>
</div>
<br/>

<div>
   <span *ngIf = "isavailable; then condition1 else condition2">
      Condition is valid.
   </span>
   <ng-template #condition1>Condition is valid</ng-template>
   <ng-template #condition2>Condition is invalid</ng-template>
</div>
If the variable is true, then condition1, else condition2. Now, two templates are created with id #condition1 and #condition2.
The display in the browser is as follows −